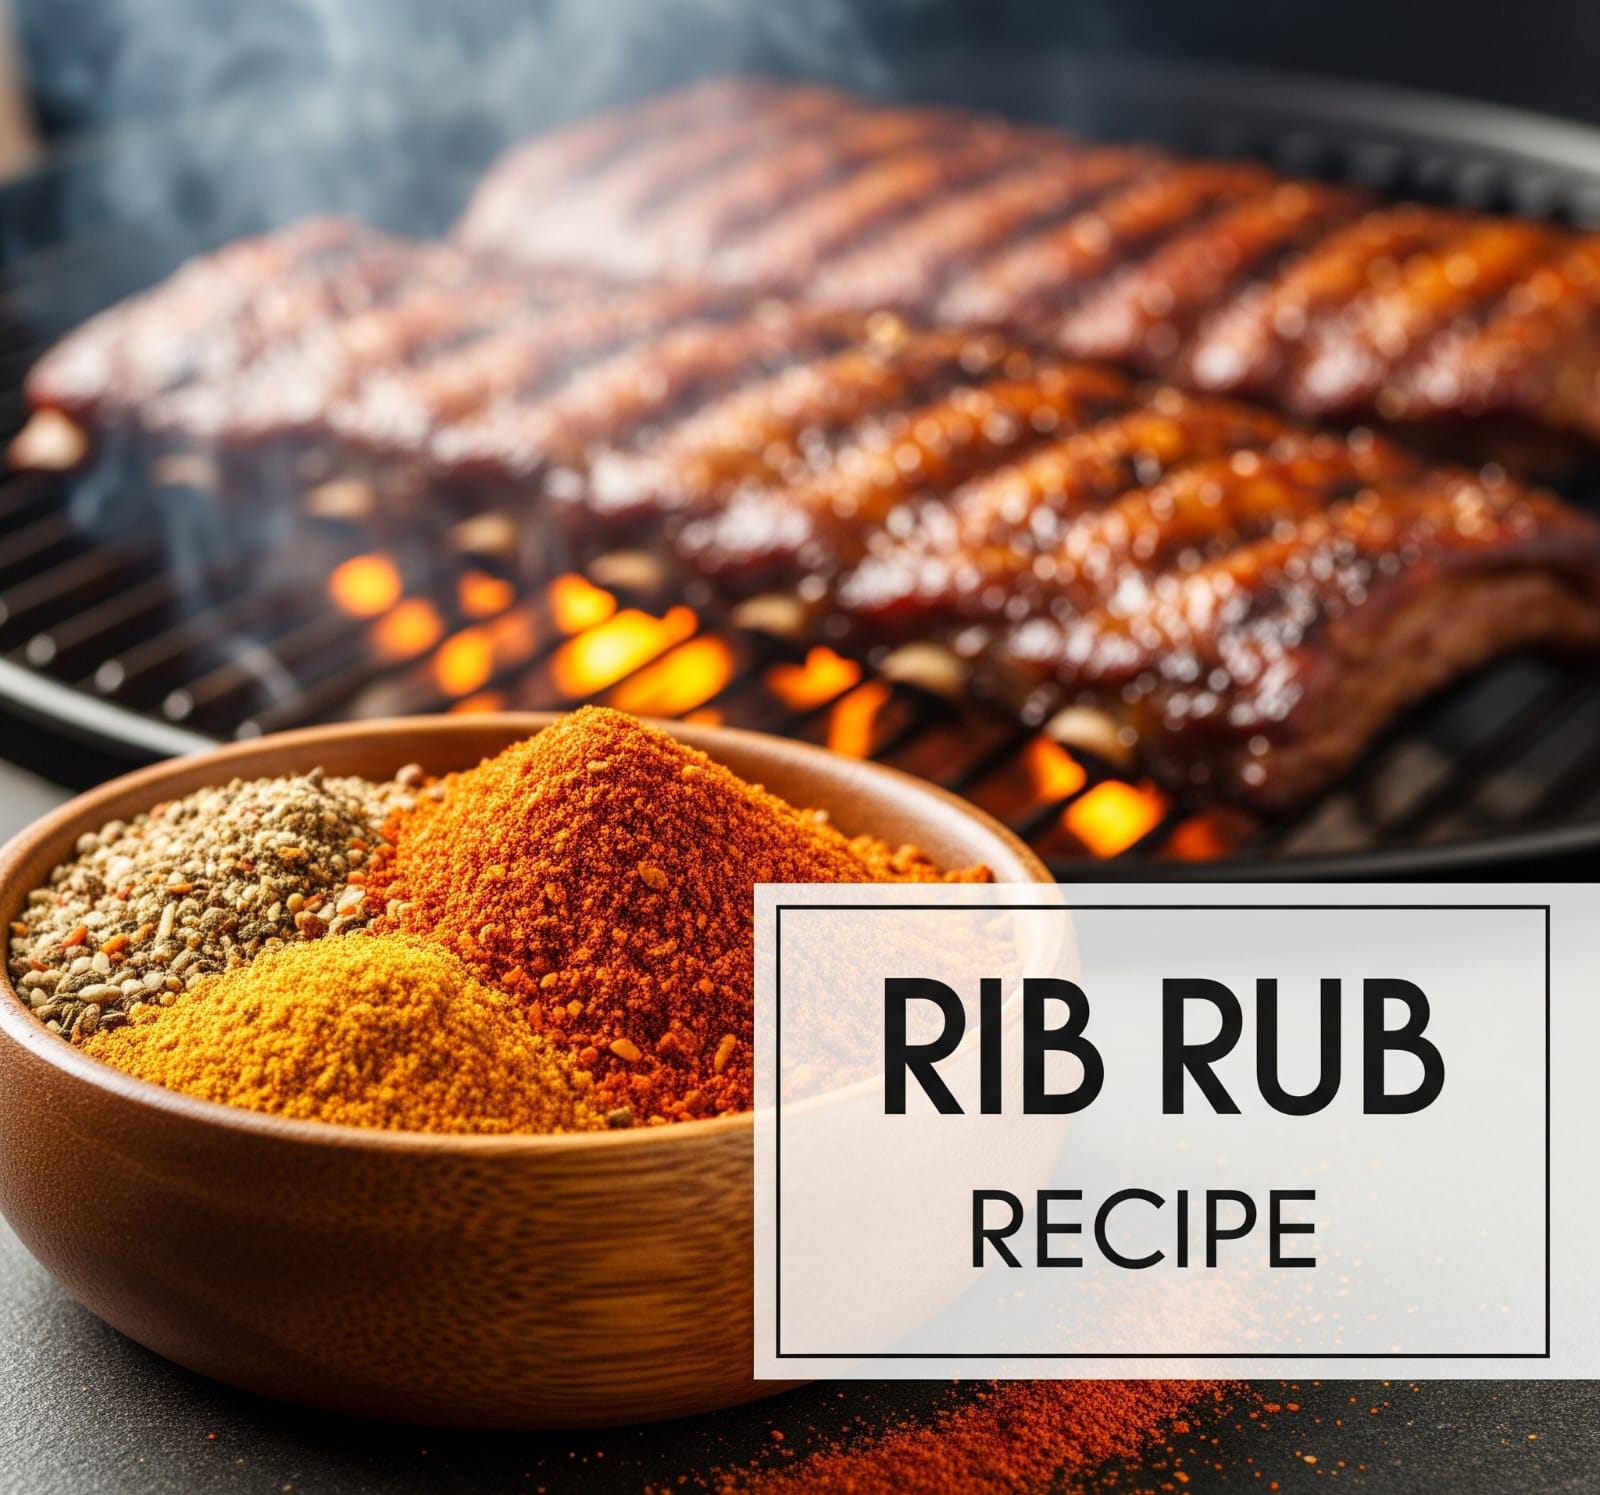
Rib Rub Recipes
Your Ultimate Homemade Rib Rub Recipe
Ever had ribs that were just… okay? We all have. Good, maybe. But not wow. You know, that kinda rib where you take a bite, and your eyes don’t quite roll back in your head. The meat’s alright. The sauce? Pretty decent. But that deep, impossible-to-forget flavor? That bark? Missing.
Yeah, that’s the problem. And I gotta tell ya, the real secret? It ain’t about some fancy smoker. Or even just how long you cook ’em. Nah. It starts way before that. It starts with one magical blend: your very own, kick-ass homemade rib rub recipe.
Forget those dusty packets from the store. You know the ones. Making your own rub? That’s where the pros play. You control every single flavor. Every whisper of spice. Every hint of sweetness. It’s like being a flavor wizard. And listen up: it’s way easier than you think. This guide? It’s gonna show you every detail. Every tiny trick. We’ll turn you into a rib rub recipe master. Get ready. We’re about to make some legendary ribs.
Understanding the Building Blocks of Any Amazing Rib Rub Recipe.
It’s like a hit song. Or maybe a beautiful painting. It ain’t just one thing. Never. It’s a perfect mix of many different parts. All working together. Each ingredient in your rub? It plays a special role. Adds its own unique flavor. Helps make that amazing “bark” on your ribs. Let’s break down these superstars. One by one.
1. The Essential Core:
You Can’t Skip These! These are the big boys. The absolute must-haves. For any great rib rub recipe. They’re the backbone.
-
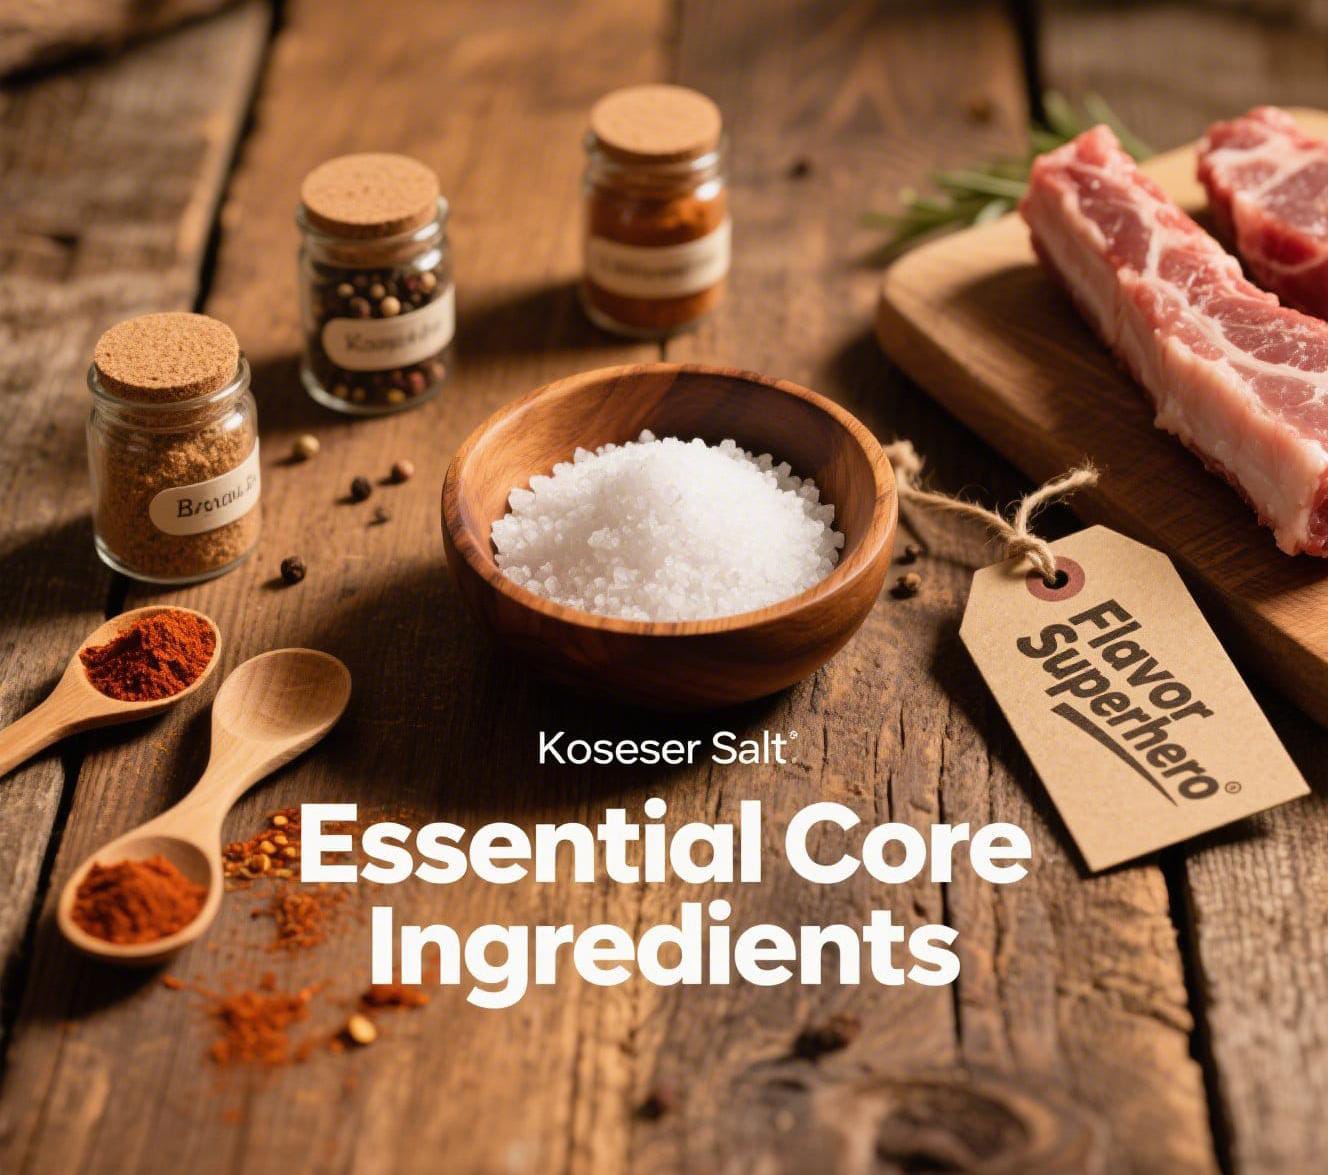
Salt: The Flavor Superhero
- What it does: Salt ain’t just about making things salty. Nope. It’s a flavor amplifier. Big time. It makes all the other spices pop. Brighter. More alive. Like turning the volume up on your favorite tune. That’s salt. Plus, it helps your ribs stay juicy while they cook. Oh, and here’s a cool science bit. Salt helps build that crusty, delicious bark on your ribs. It pulls out a little moisture. Then helps it form a tasty layer as it cooks. Simple. Effective.
- Best Kind to Use: For rubs, Kosher salt is your go-to. Seriously. Its crystals are bigger. Flakier. Spreads nicely. Easy to control. You can also use fine sea salt. Just avoid regular table salt. It’s too fine. Too easy to oversalt. Be careful.

Essential Core Ingredients: Flavor Superhero
-
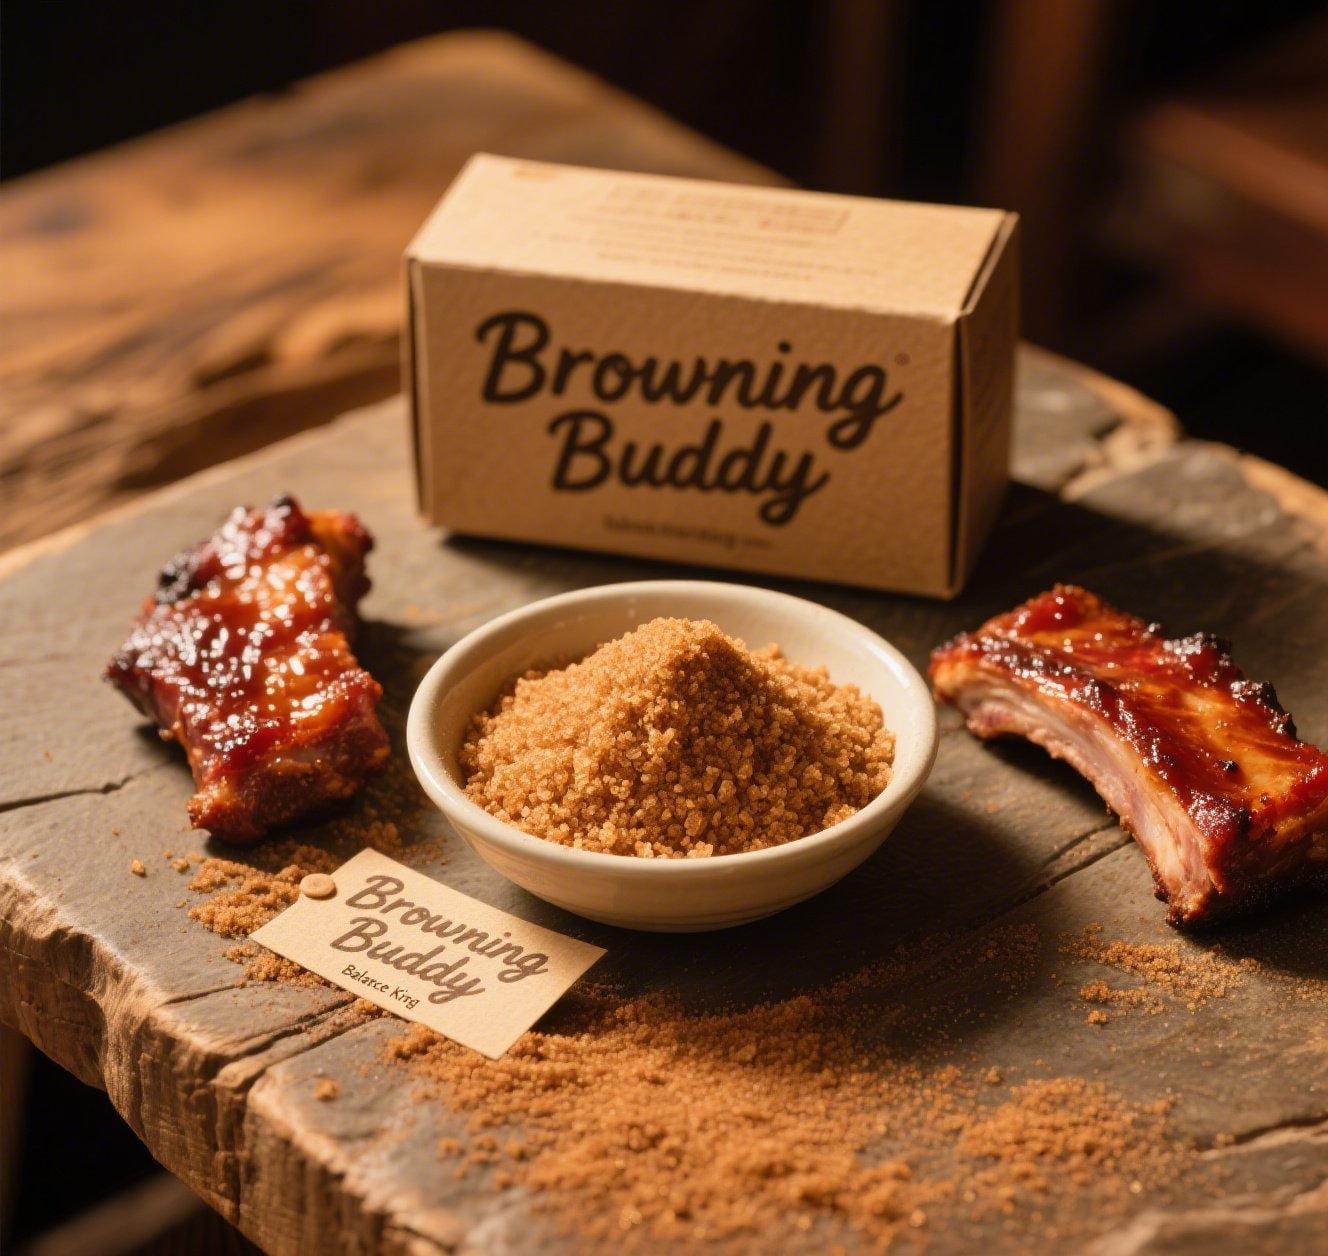
Sugar: The Browning Buddy & Balance King
- What it does: Sugar. It does two amazing things. For your ribs. First, that beautiful, deep reddish-brown color? That’s sugar working. It’s called the Maillard reaction. Big fancy name. Just means amazing, Browning. And flavor. As ribs cook, sugar caramelizes. Turns into a delicious, sweet crust. Second, sugar balances flavors. Especially heat. Adds a lovely sweetness. Makes your ribs irresistible. Trust me.
- Best Kind to Use: Brown sugar is the absolute king. For a rib rub recipe. It’s got a little molasses in it. Gives it a deeper, richer flavor. Helps with that dark bark. You can use white sugar. Or turbinado. But brown sugar? It’s special.
-
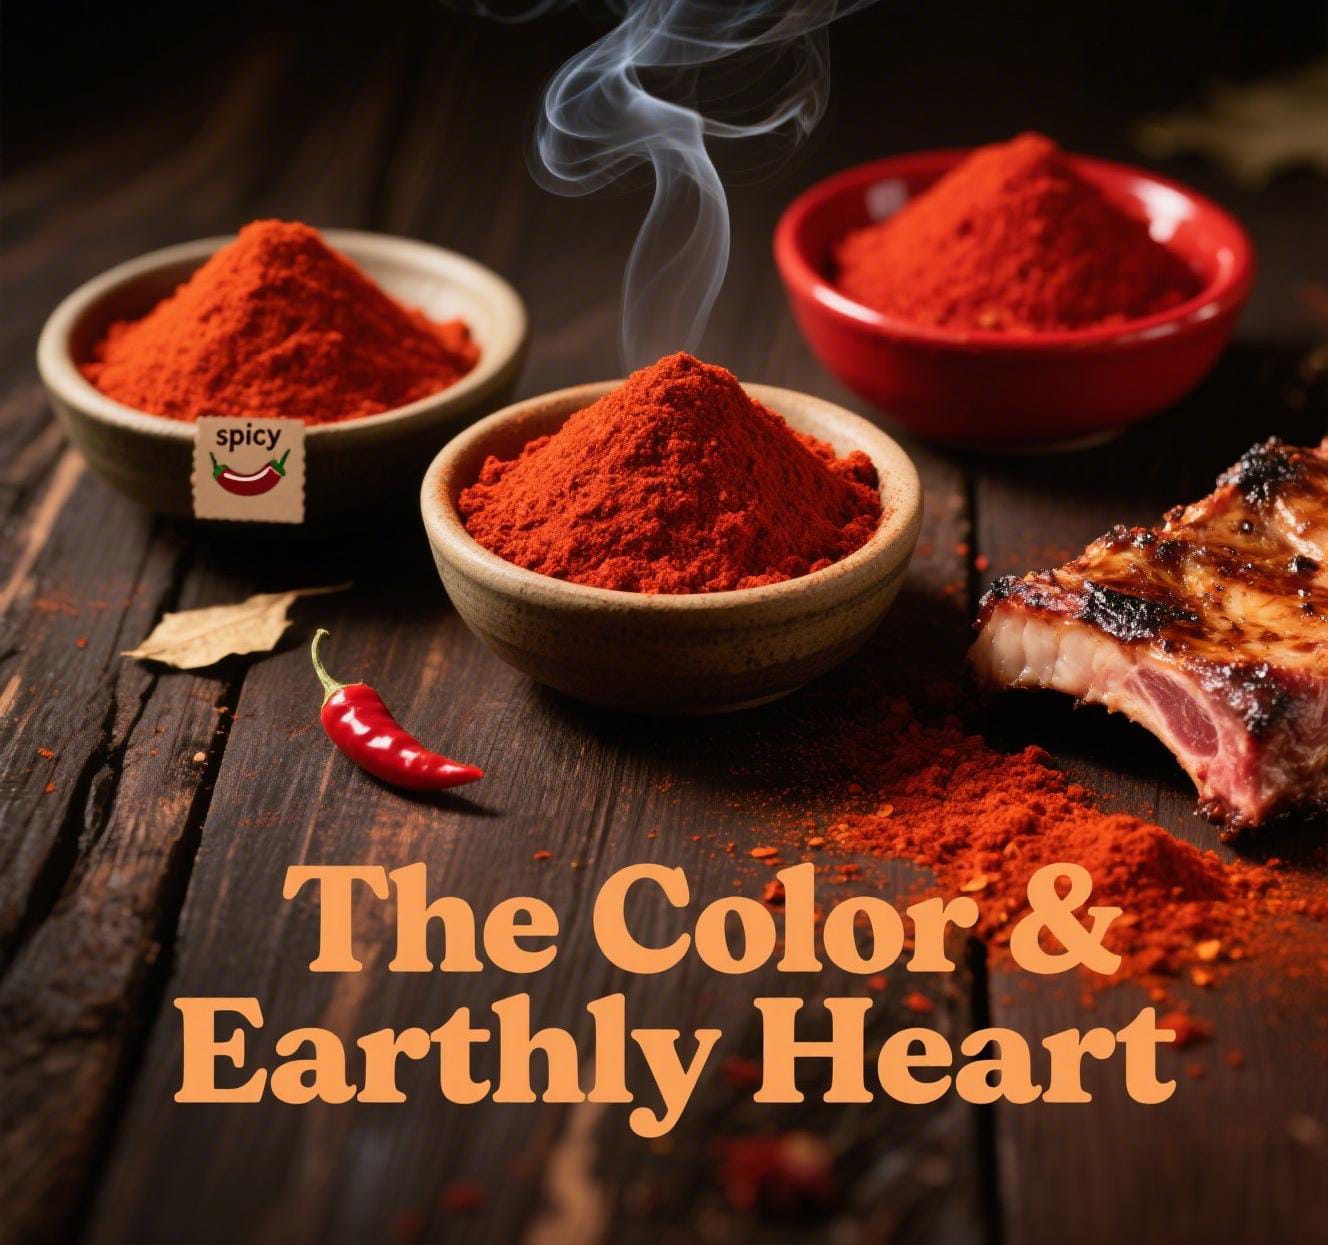
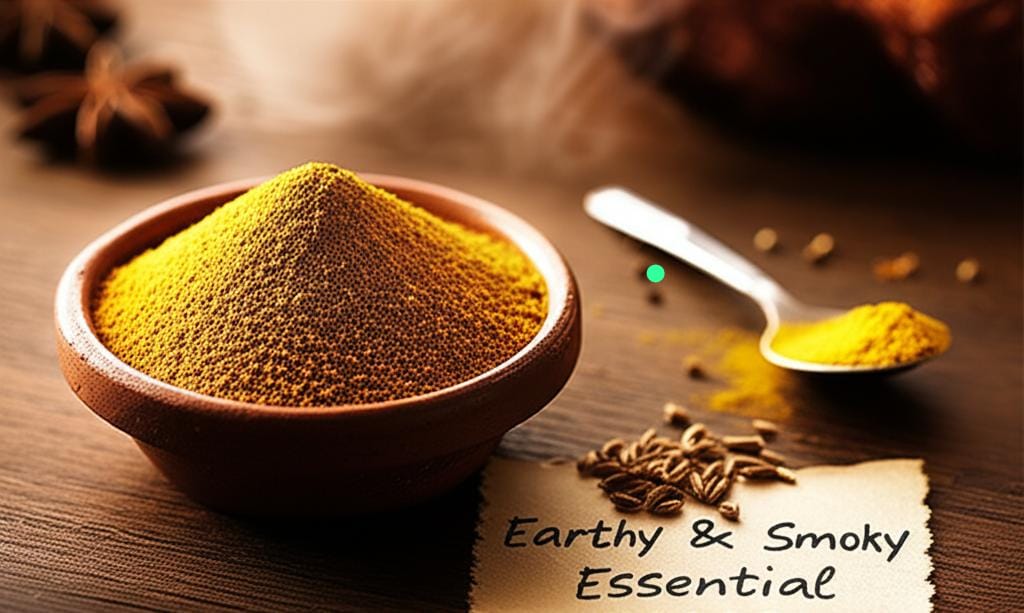
Paprika: The Color & Earthy Heart
- What it does: Paprika is like the artist’s paint. In your rub. It gives ribs that gorgeous, deep red color. Everyone expects it. Beyond color, it adds a mild, earthy taste. Sometimes a little sweet. Ties everything together. Neatly.
- Best Kind to Use:
- Smoked Paprika: A real favorite for ribs. Made from peppers dried over smoke. So it brings a wonderful smoky flavor. Right into your rub. Perfect for oven cooking. Or a grill. Want that smokehouse taste? This is it.
- Sweet Paprika: Most common. Mild. Adds pure color. A little sweetness. Good. * (Just don’t use hot paprika. Unless you want major heat. It’s spicy. Really spicy.)
2. The Heat Seekers:
- Spice It Up Your Way! Like a little kick? These are your ingredients. You control the fire.
-
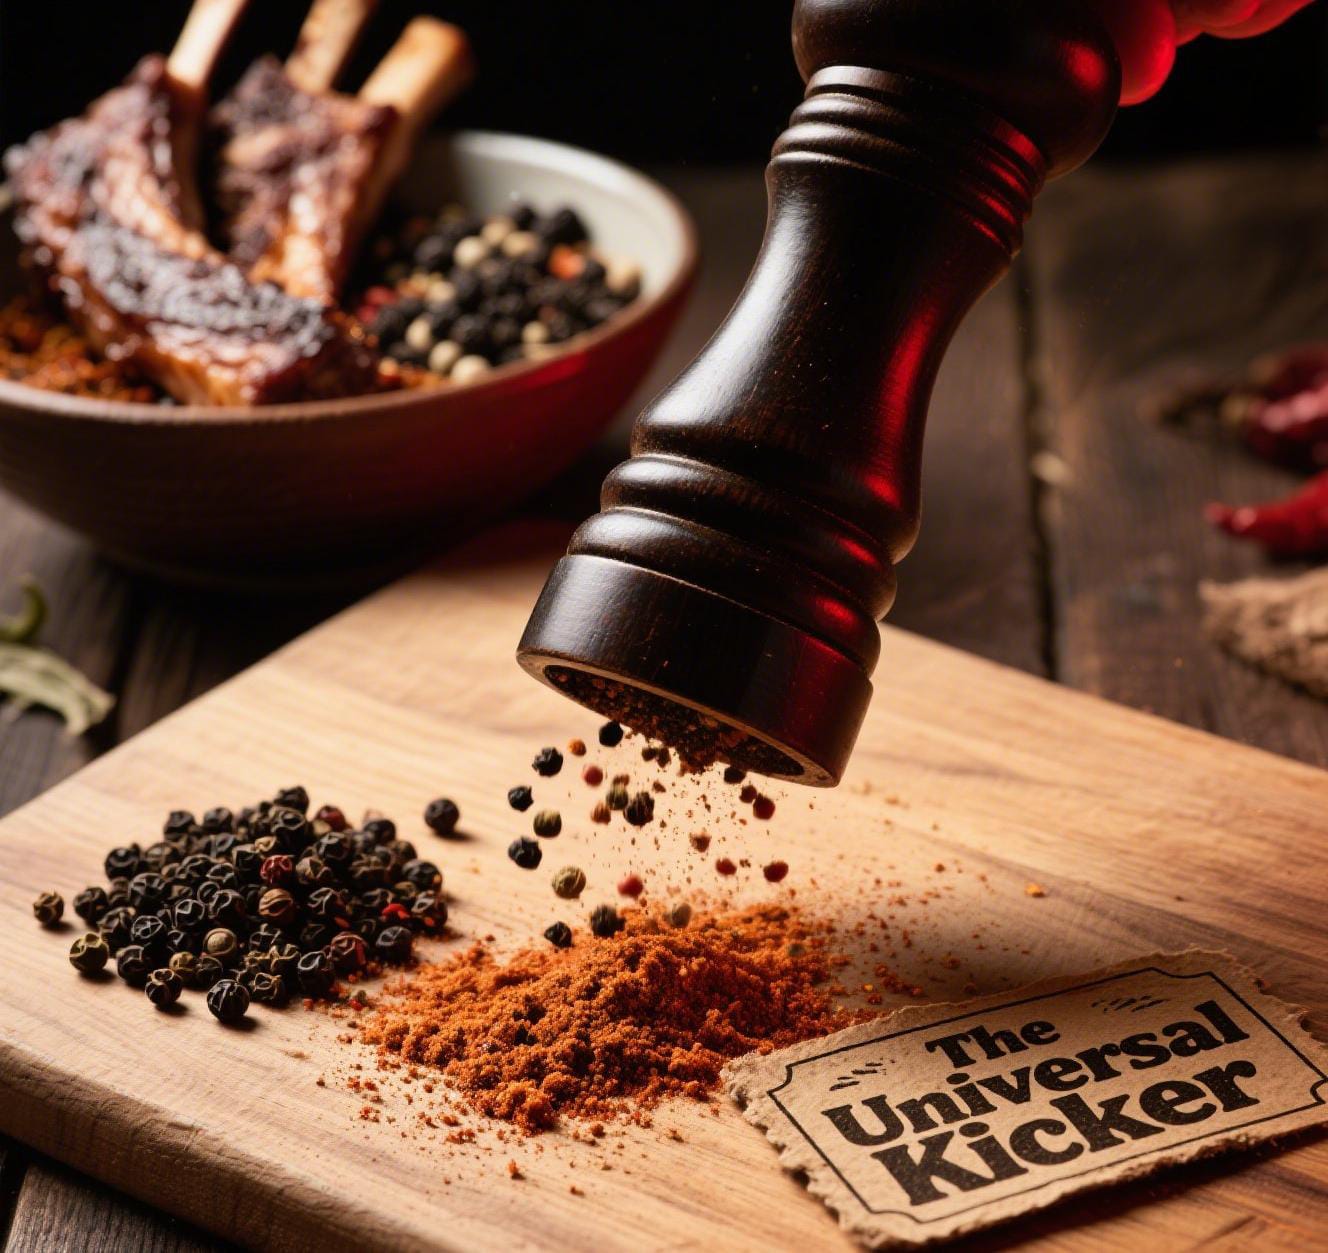
Black Pepper: The Universal Kicker
- What it does: Black pepper. Everywhere. For a reason. It adds a sharp, peppery bite. Cuts through richness. Classic flavor.
- Best Kind to Use: Freshly ground black pepper. Always. It’s stronger. Fresher. Pre-ground stuff? No comparison.
-
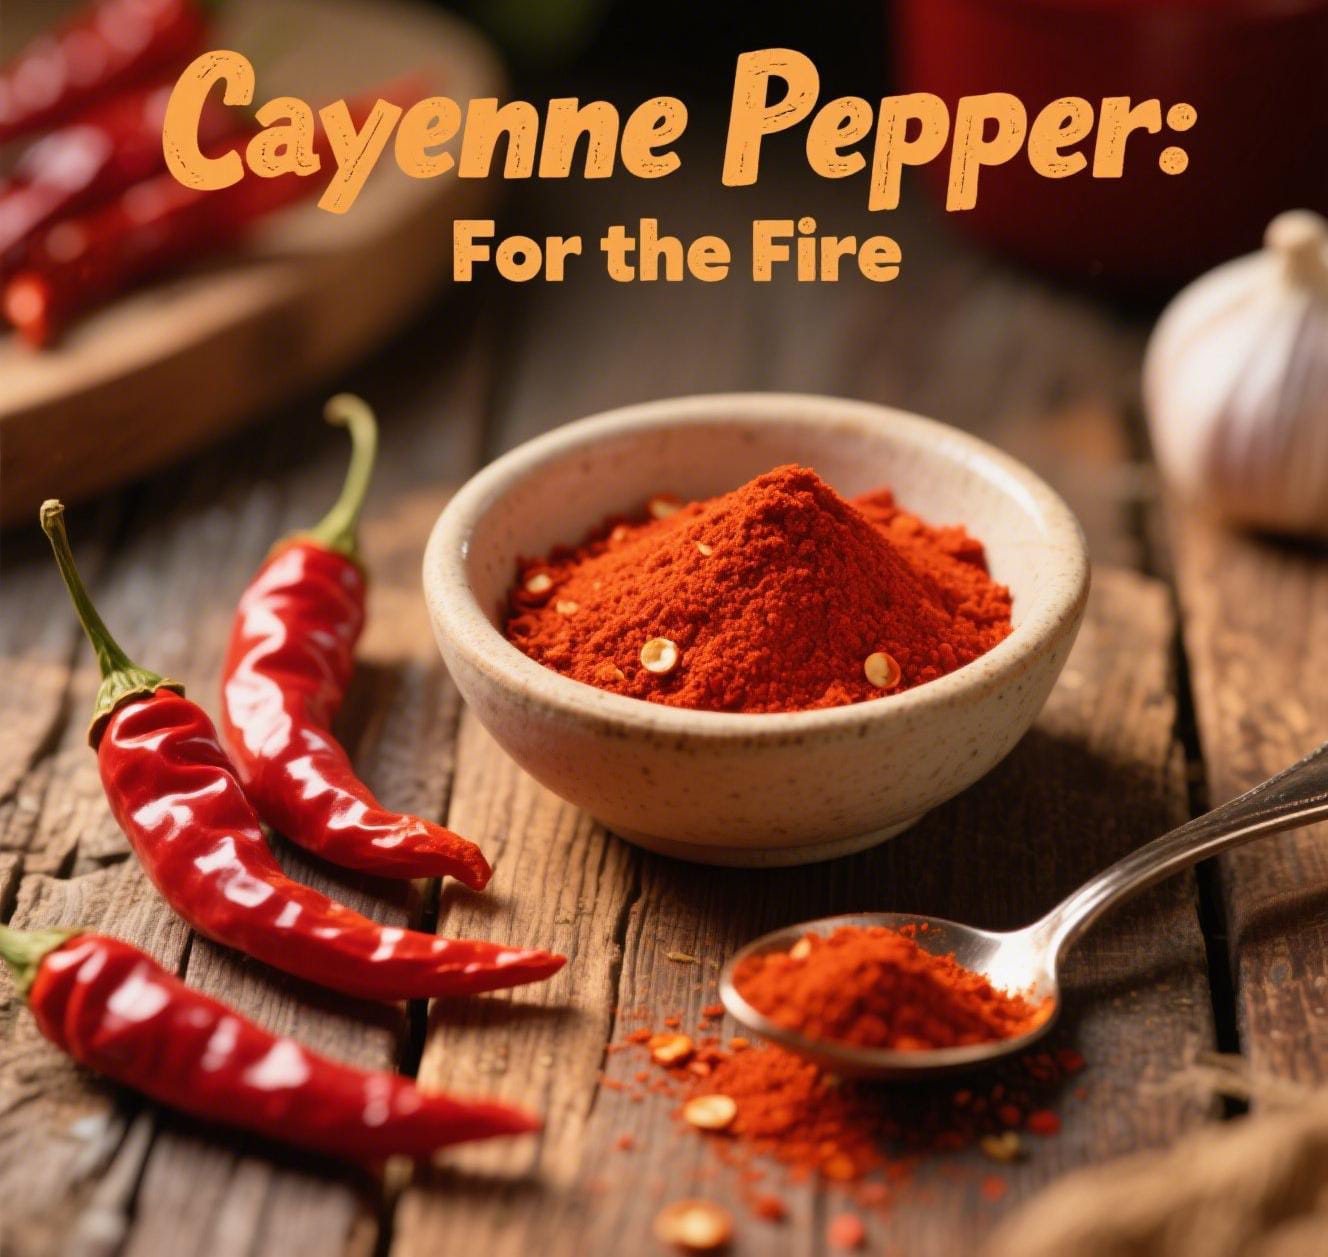
Cayenne Pepper: For the Fire
- What it does: This is for serious heat. Cayenne. From very spicy chili peppers. A little goes a long way. Seriously.
- How to Use: Start small. A tiny pinch. If unsure. You can always add more. Can’t take it away. Remember that.
-
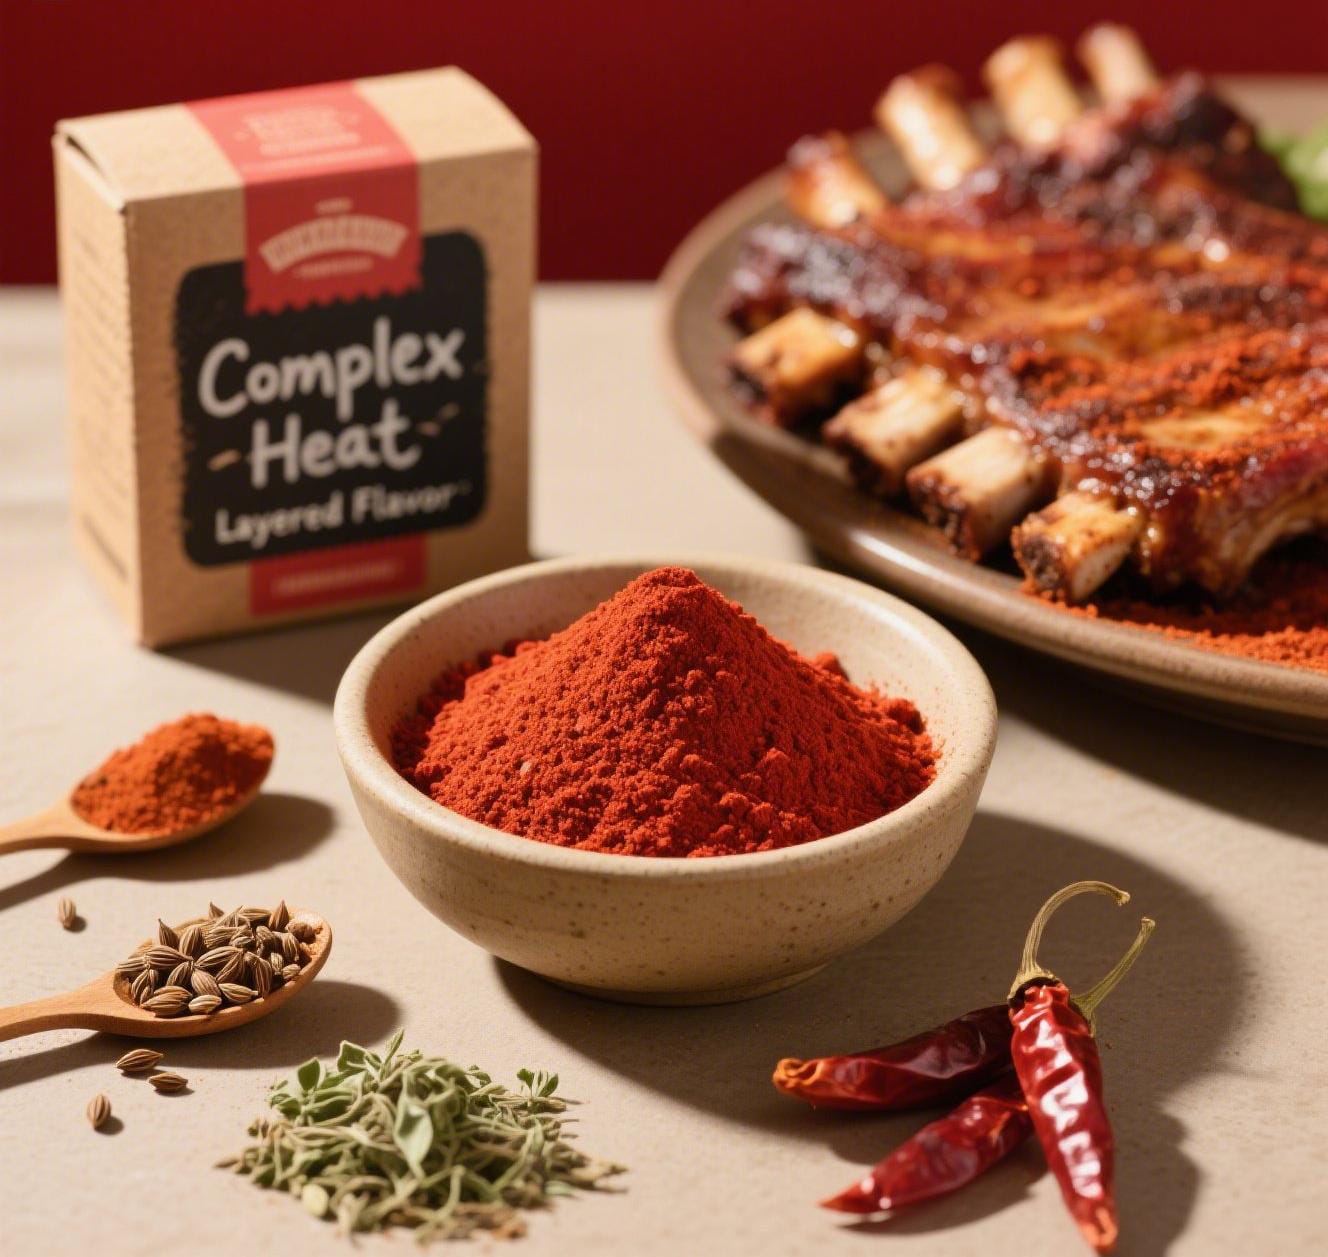
Chili Powder: Complex Heat
- What it does: Many chili powders are blends. Different dried chilies. Other spices too. Cumin. Oregano. So they add a more complex heat. Layered flavor.
- How to Use: Good for a warmer heat. Less sharp.
3. The Aromatic All-Stars: Secret Flavor Bombs!
- These guys? They might not be the main show. But they add incredible depth. A wonderful smell. To your *rib rub recipe*. Essentia
-
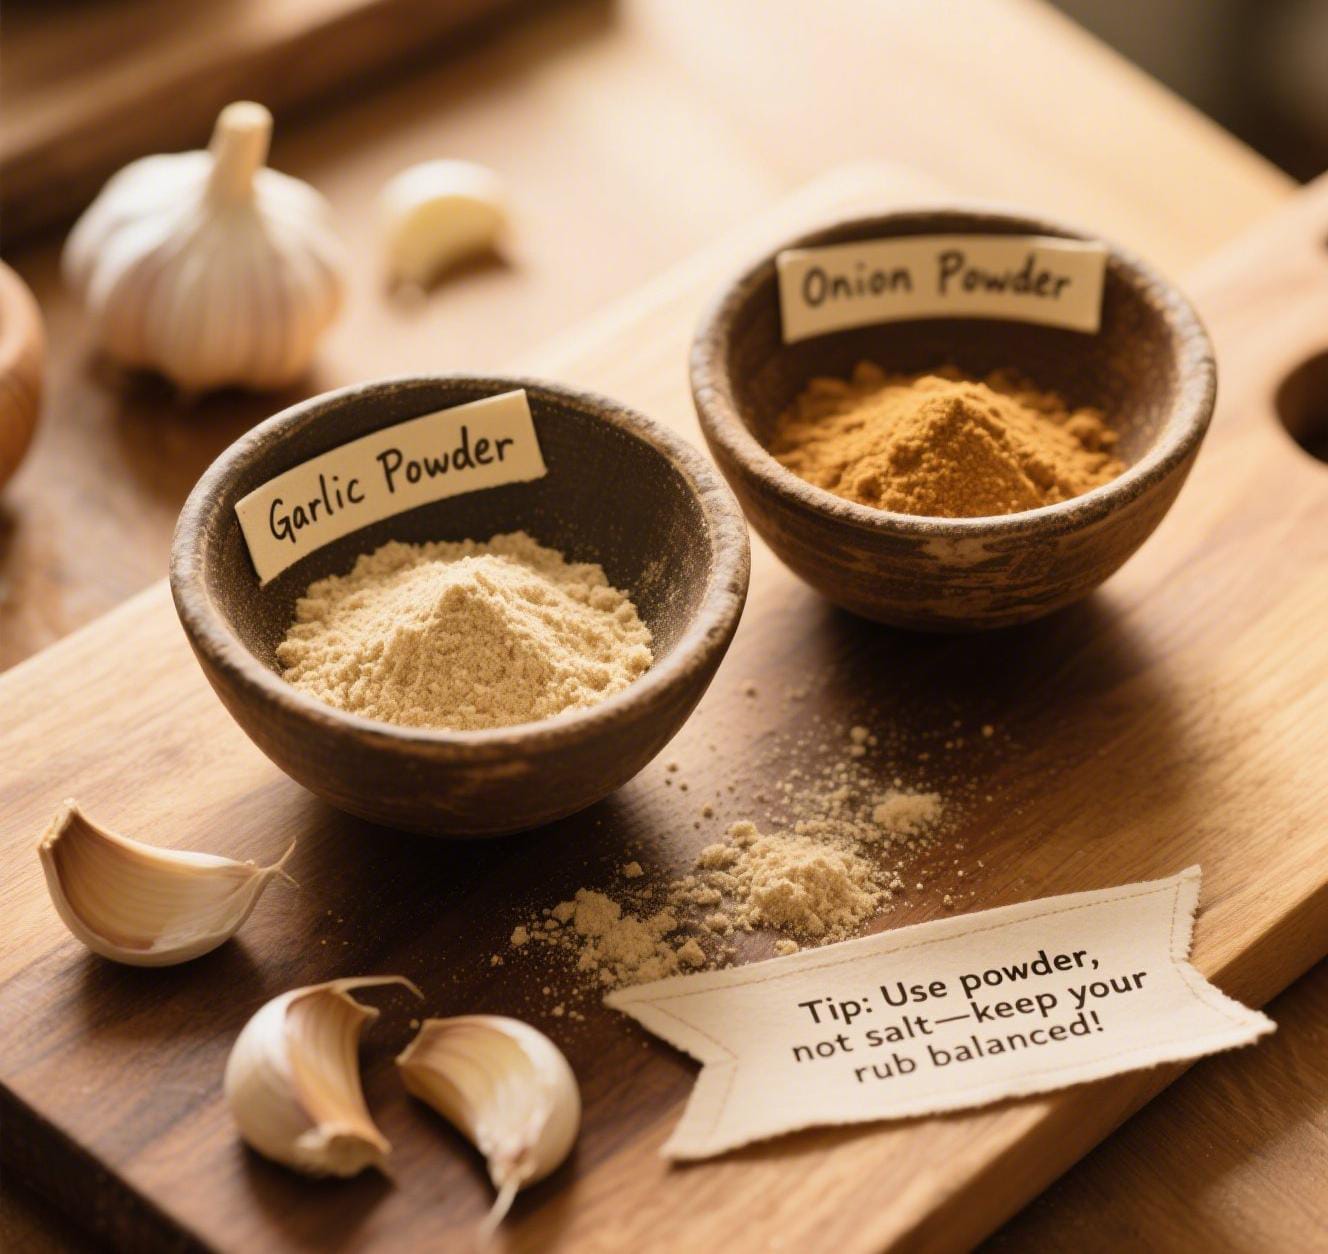
Garlic Powder & Onion Powder: The Dynamic Duo
- What they do: Best friends. In the spice world. Add a savory, earthy, slightly pungent taste. Absolutely essential. For almost any meat rub. They give that deep, comforting “umami” taste. Yeah.
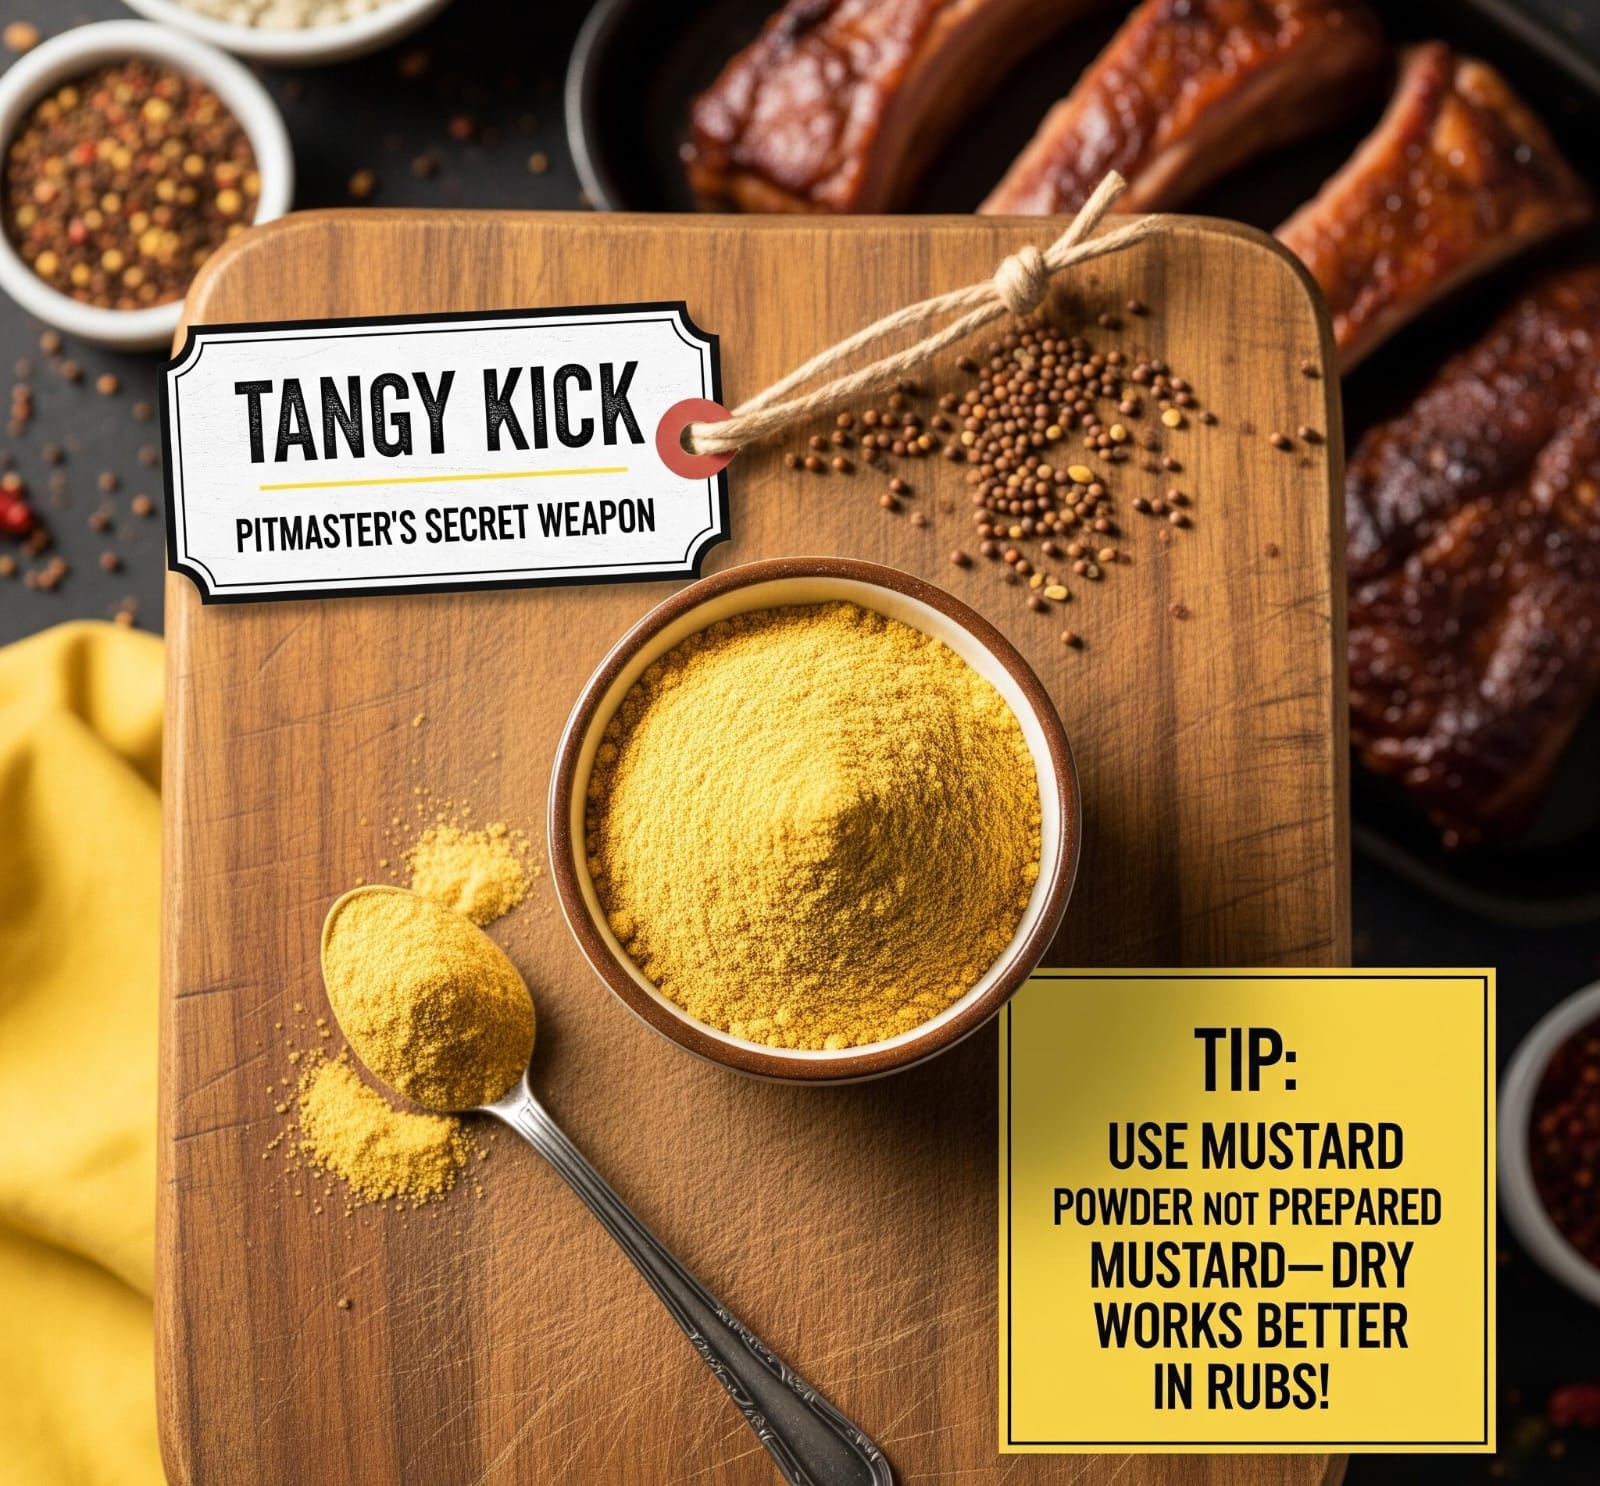
- Important Tip:* Use garlic powder and onion powder. Not garlic salt or onion salt. That’d make your rub too salty. Ruin it.
-
Cumin: Earthy & Smoky
- What it does: Cumin. Distinctive. Earthy. Warm. A little smoky. Common in BBQ rubs. Adds richness.
-
Mustard Powder: A Tangy Kick
- What it does: Dried mustard powder. Adds a sharp, tangy, pungent kick. Wakes up other flavors. A secret weapon for many pitmasters.
4. The Wildcards: Optional, But Oh So Good!
- Got the basics down? Good. Now you can play. Make your rib rub recipe truly unique.
- Celery Salt: Salty. Savory. Fresh celery flavor.
- Dried Herbs (Oregano, Thyme): Use sparingly. Herbs can overpower. But they add a wonderful smell.
- Ginger Powder: A little warmth. A unique kick. Slightly spicy.
- Allspice: Warm. Sweet. Spicy. Like cinnamon, cloves, and nutmeg. Just a tiny bit.
- White Pepper: Milder than black. Different flavor profile. Subtle change.

Your First Homemade Rib Rub Recipe: The “Always a Winner”
- Blueprint Okay. So you know what each ingredient does. Now, let’s put it all together. This is a fantastic starting point. A balanced, delicious rib rub recipe. It’ll make your ribs shine. Flavorsome. Not too spicy. Everyone will love it.
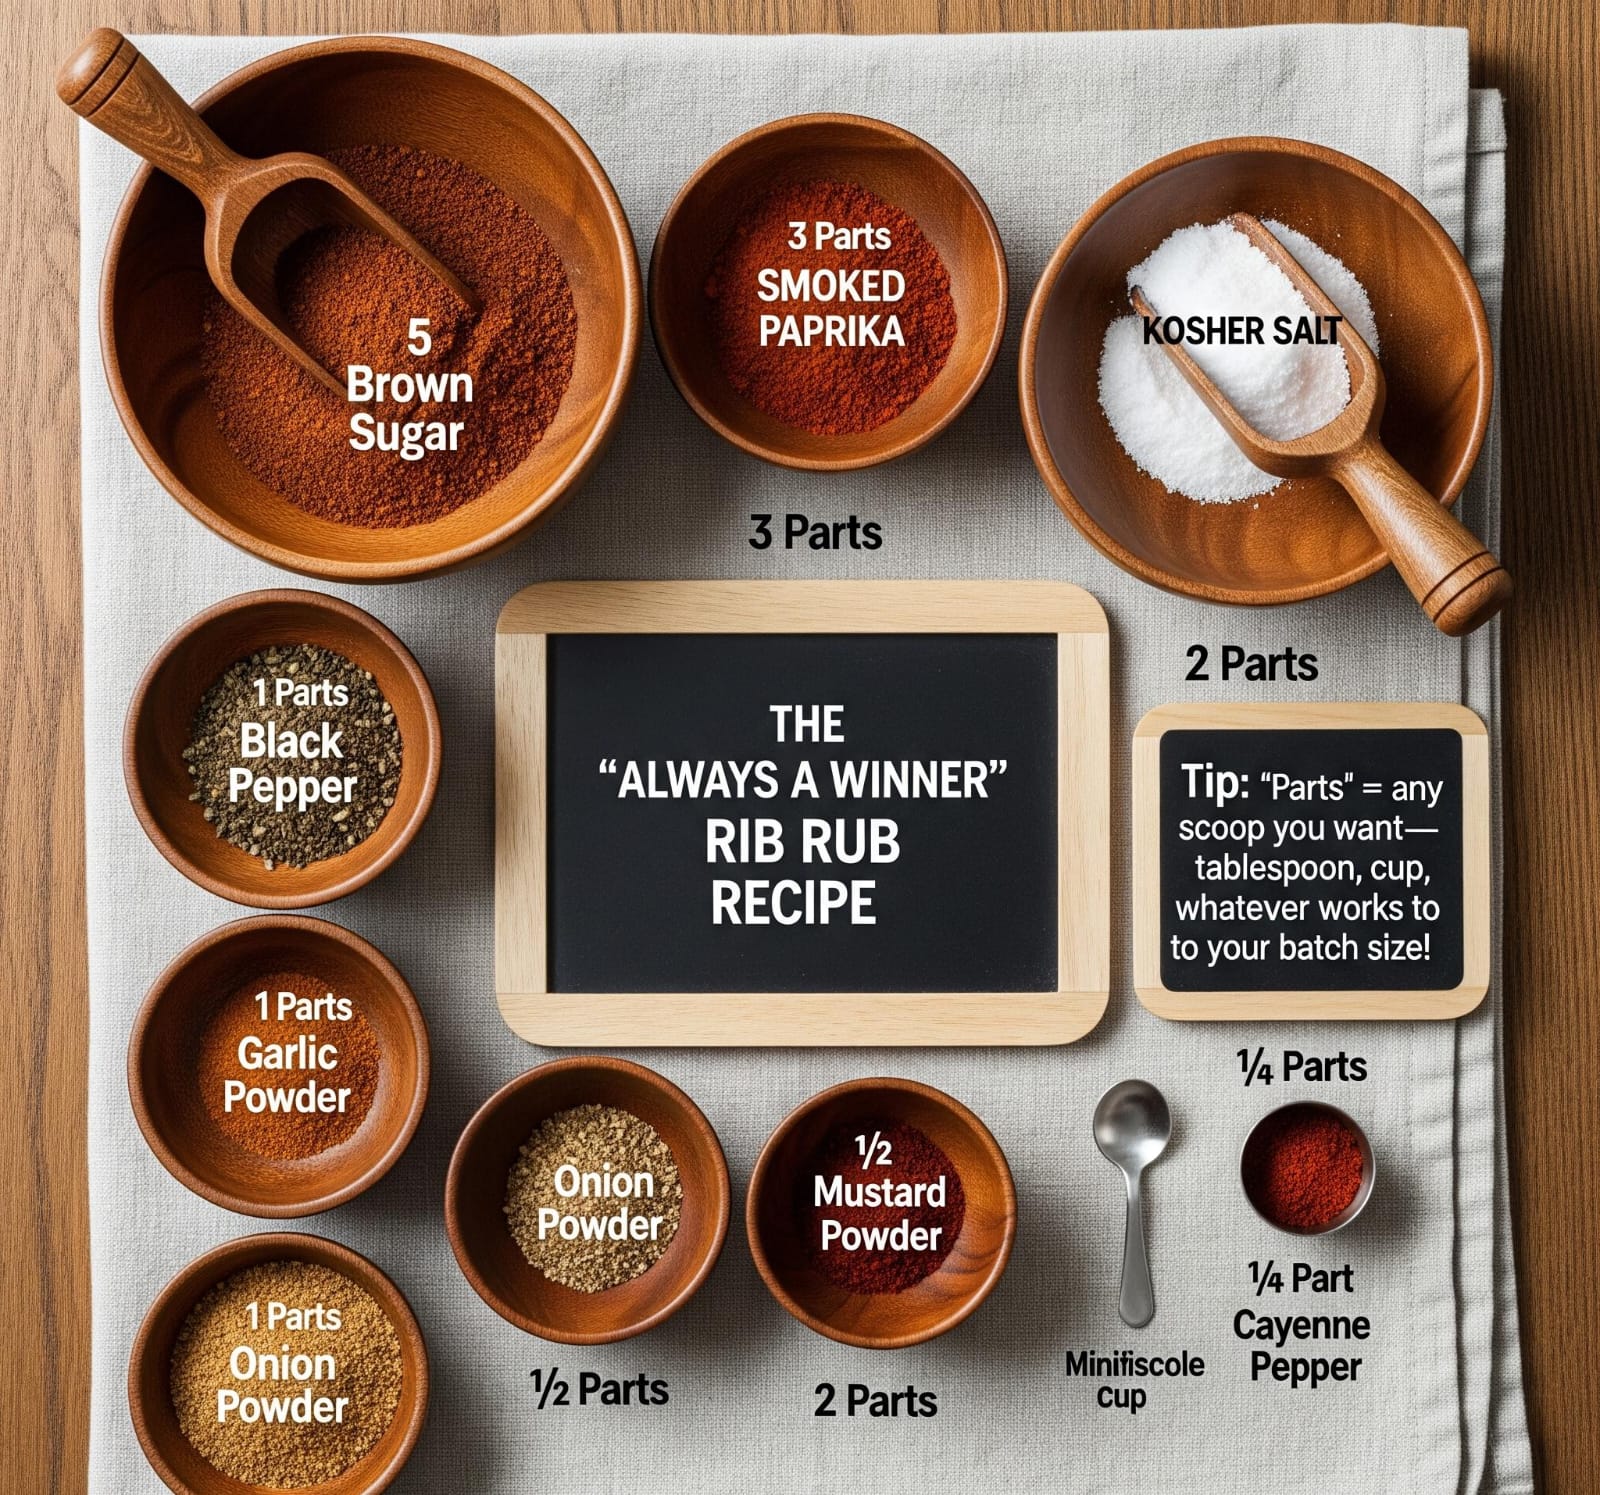
- Understanding Parts: We’re using “parts.” Not grams. Or teaspoons. Think of a “part” as any scoop you use. Could be a tablespoon. A quarter cup. Even a full cup. If you’re making a ton. This way, you can easily make a little. Or a big batch. Simple.
-
The Always a Winner Rib Rub Recipe Formula:
- 5 parts Brown Sugar (light or dark, your call)
- 3 parts Smoked Paprika (or sweet paprika, if you’re not into smoke)
- 2 parts Kosher Salt (or fine sea salt)
- 1 part Black Pepper (freshly ground, please!)
- 1 part Garlic Powder
- 1 part Onion Powder
- 1/2 part Mustard Powder
- 1/4 part Cayenne Pepper (This is for mild heat. Want more? Go for 1/2 or even 1 part.. No heat at all? Skip it. Easy.)
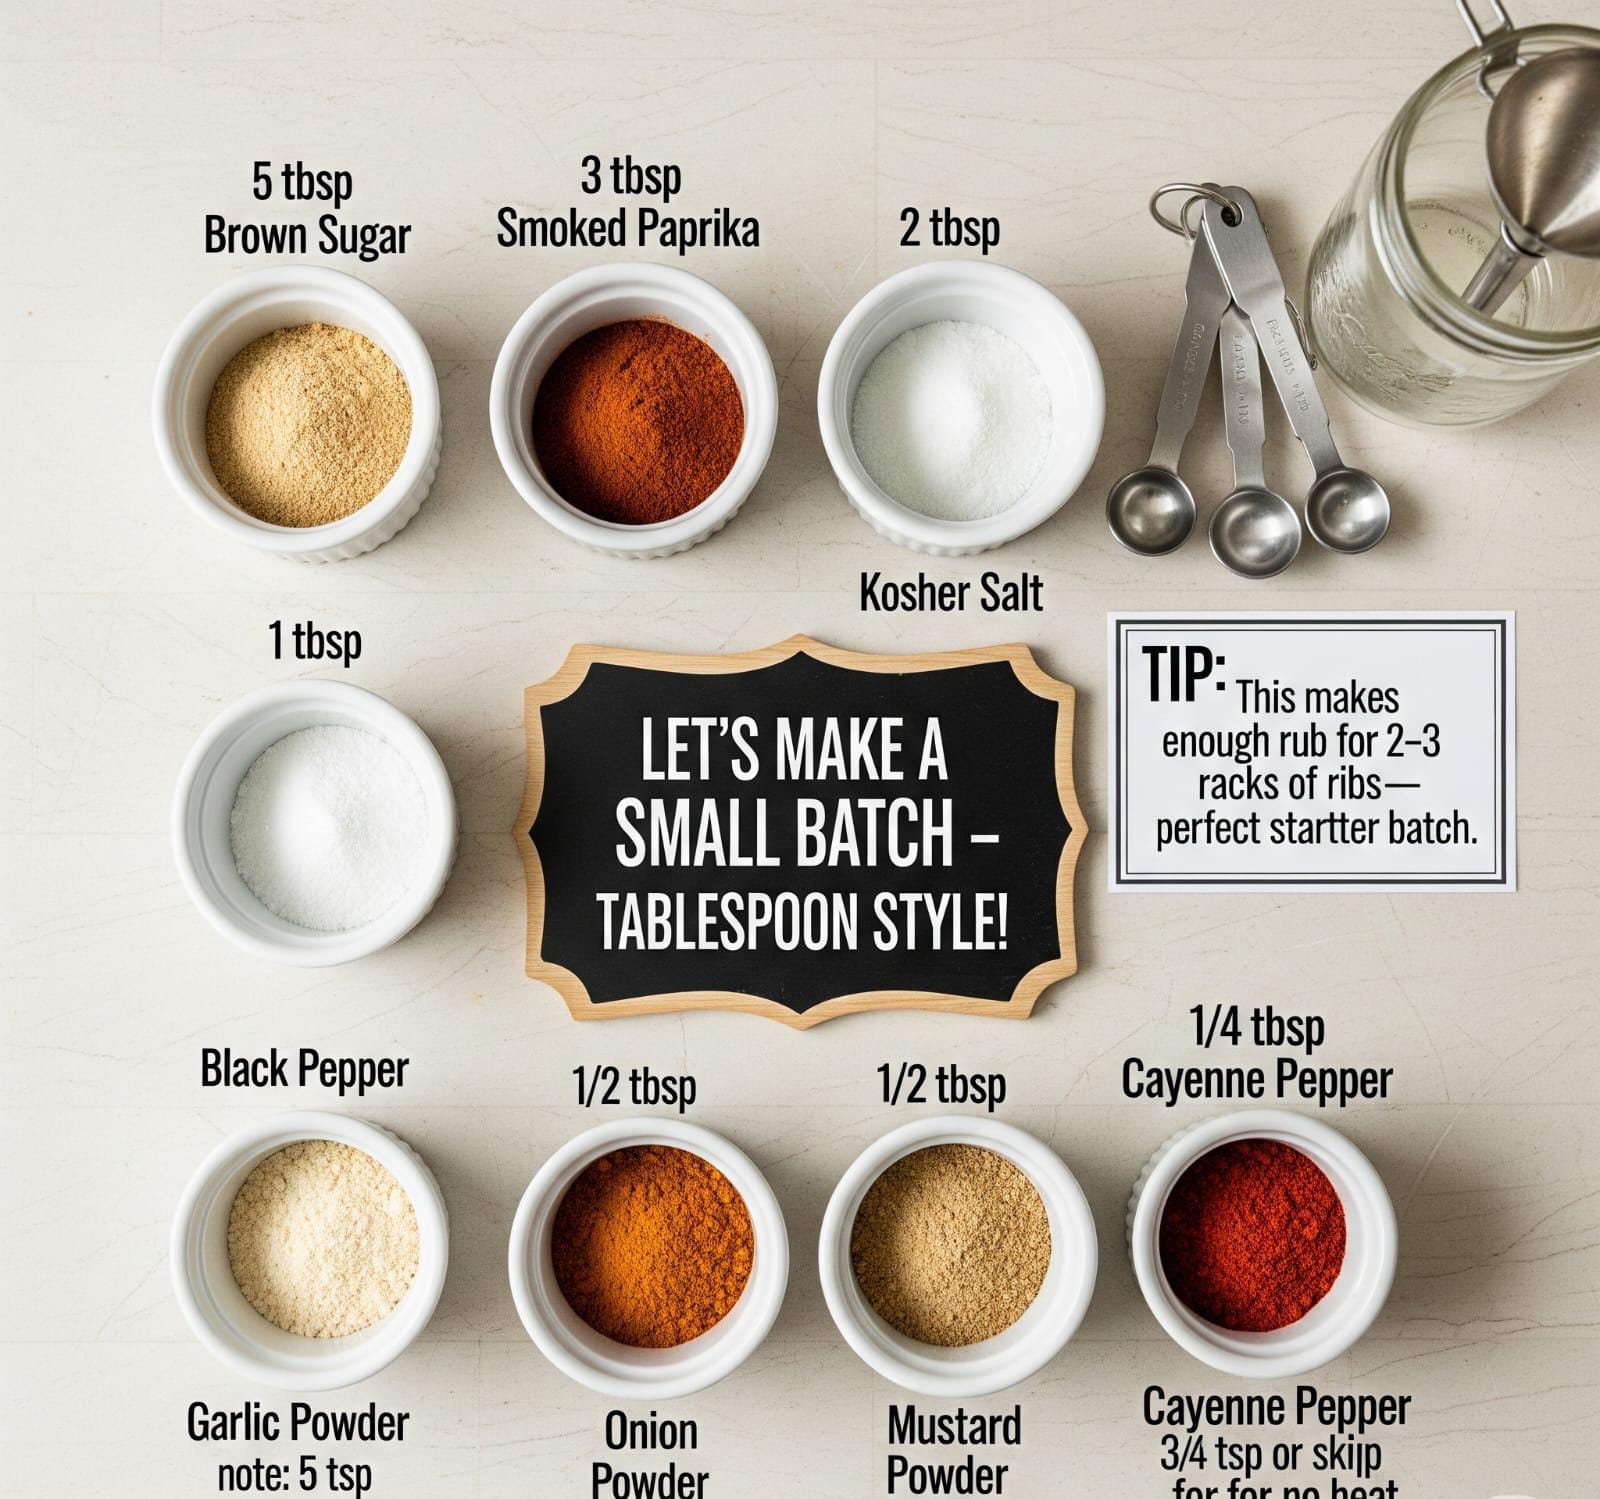
Let’s Make a Small Batch:
This makes enough for maybe 2-3 racks of ribs. Good for a start.
- 5 Tablespoons Brown Sugar
- 3 Tablespoons Smoked Paprika
- 2 Tablespoons Kosher Salt
- 1 Tablespoon Black Pepper
- 1 Tablespoon Garlic Powder
- 1 Tablespoon Onion Powder
- 1/2 Tablespoon Mustard Powder (that’s one and a half teaspoons)
- 1/4 Tablespoon Cayenne Pepper (that’s three-quarters of a teaspoon, or zero if no heat)
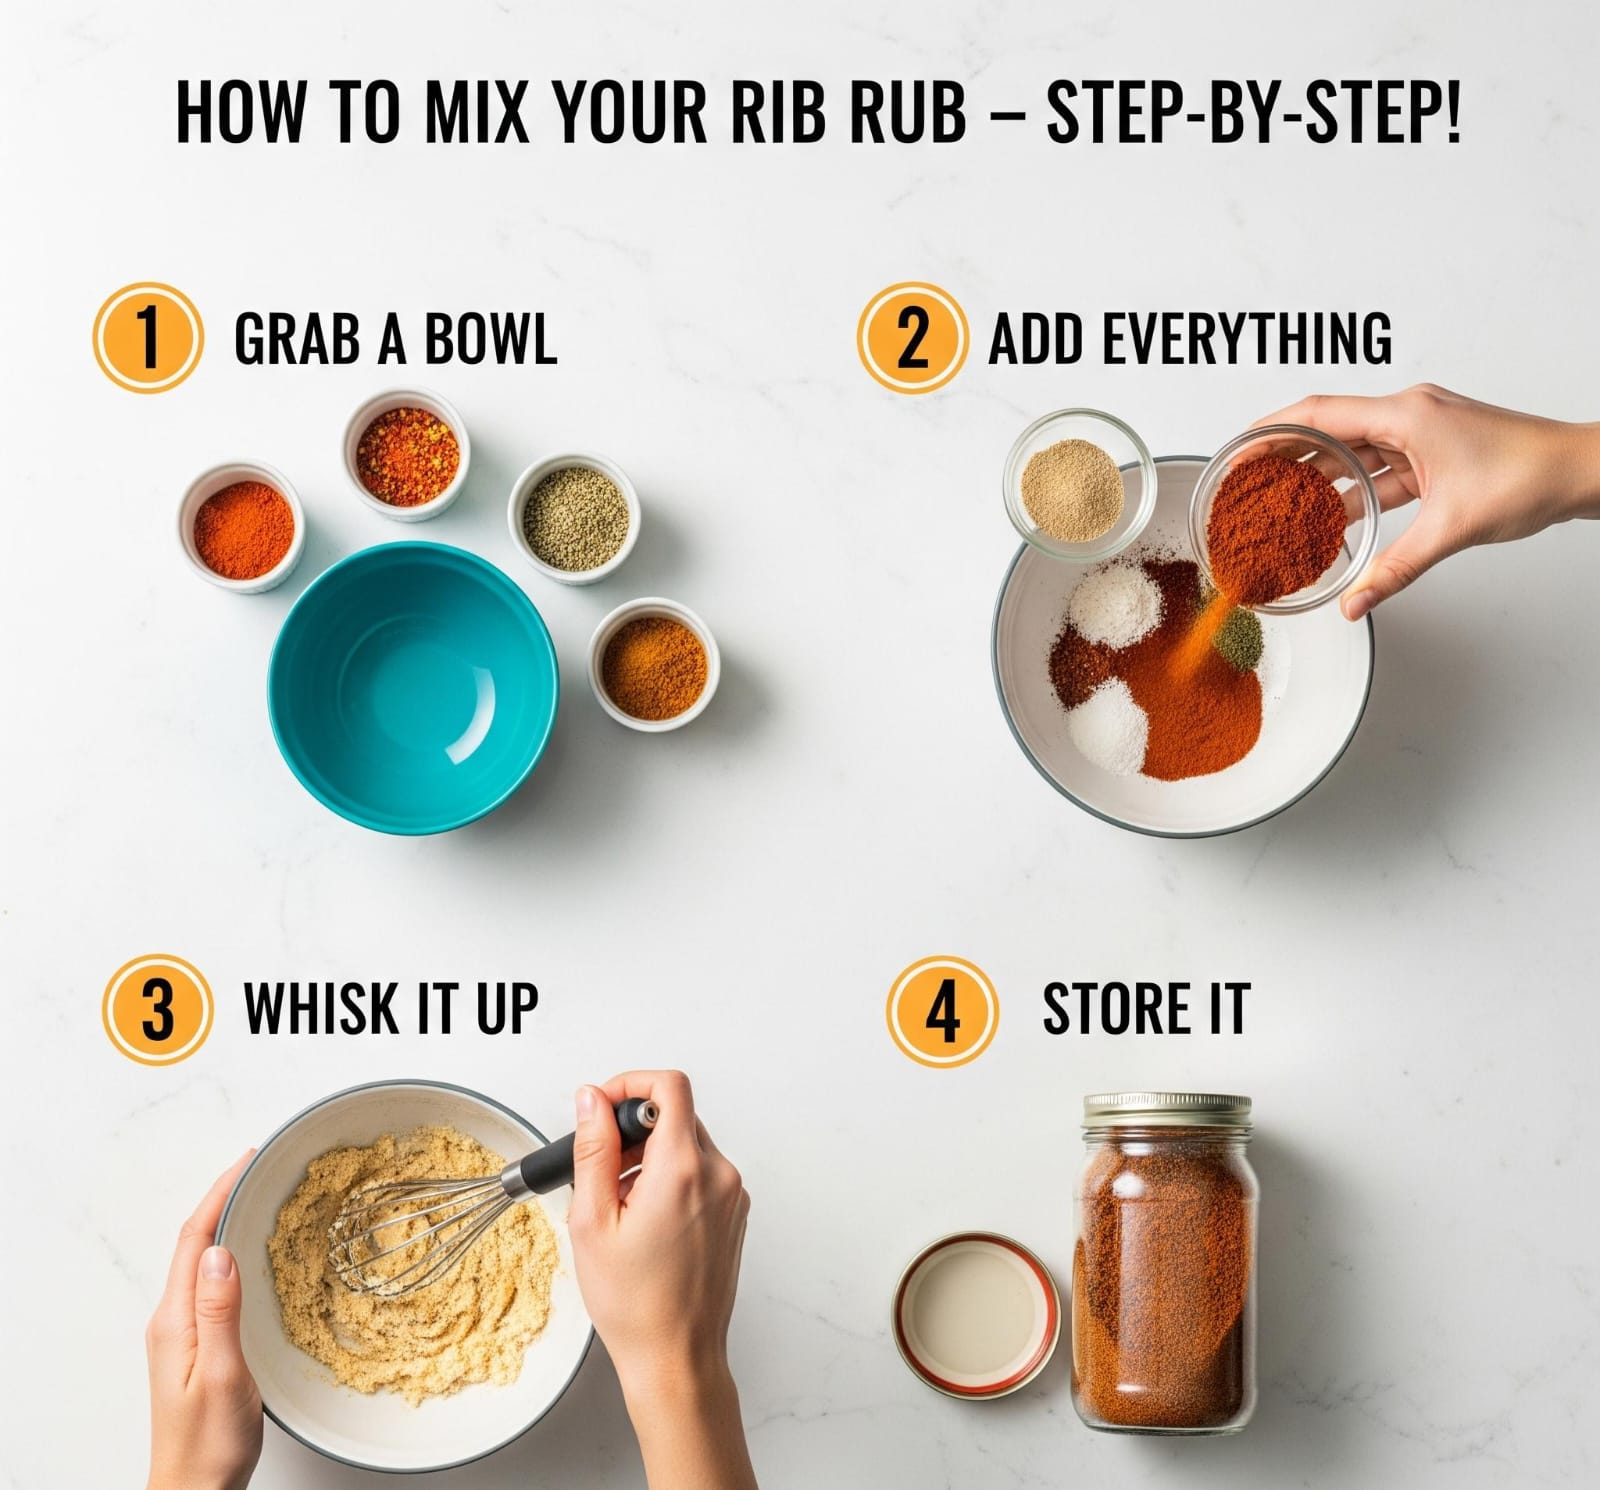
How to Mix Your Rub:
1. Grab a Bowl: Any medium-sized mixing bowl will do.
2. Add Everything: Dump it all in. All your measured ingredients.
3. Whisk It Up: Use a whisk. Or a fork. Mix it really, really well. No clumps. Especially the brown sugar. Break ’em up with your fingers. Get in there.
4. Store It: Once mixed? Put your rib rub recipe in an airtight container. A Mason jar. Or a good plastic one. Store it in a cool, dark place. Like your pantry.
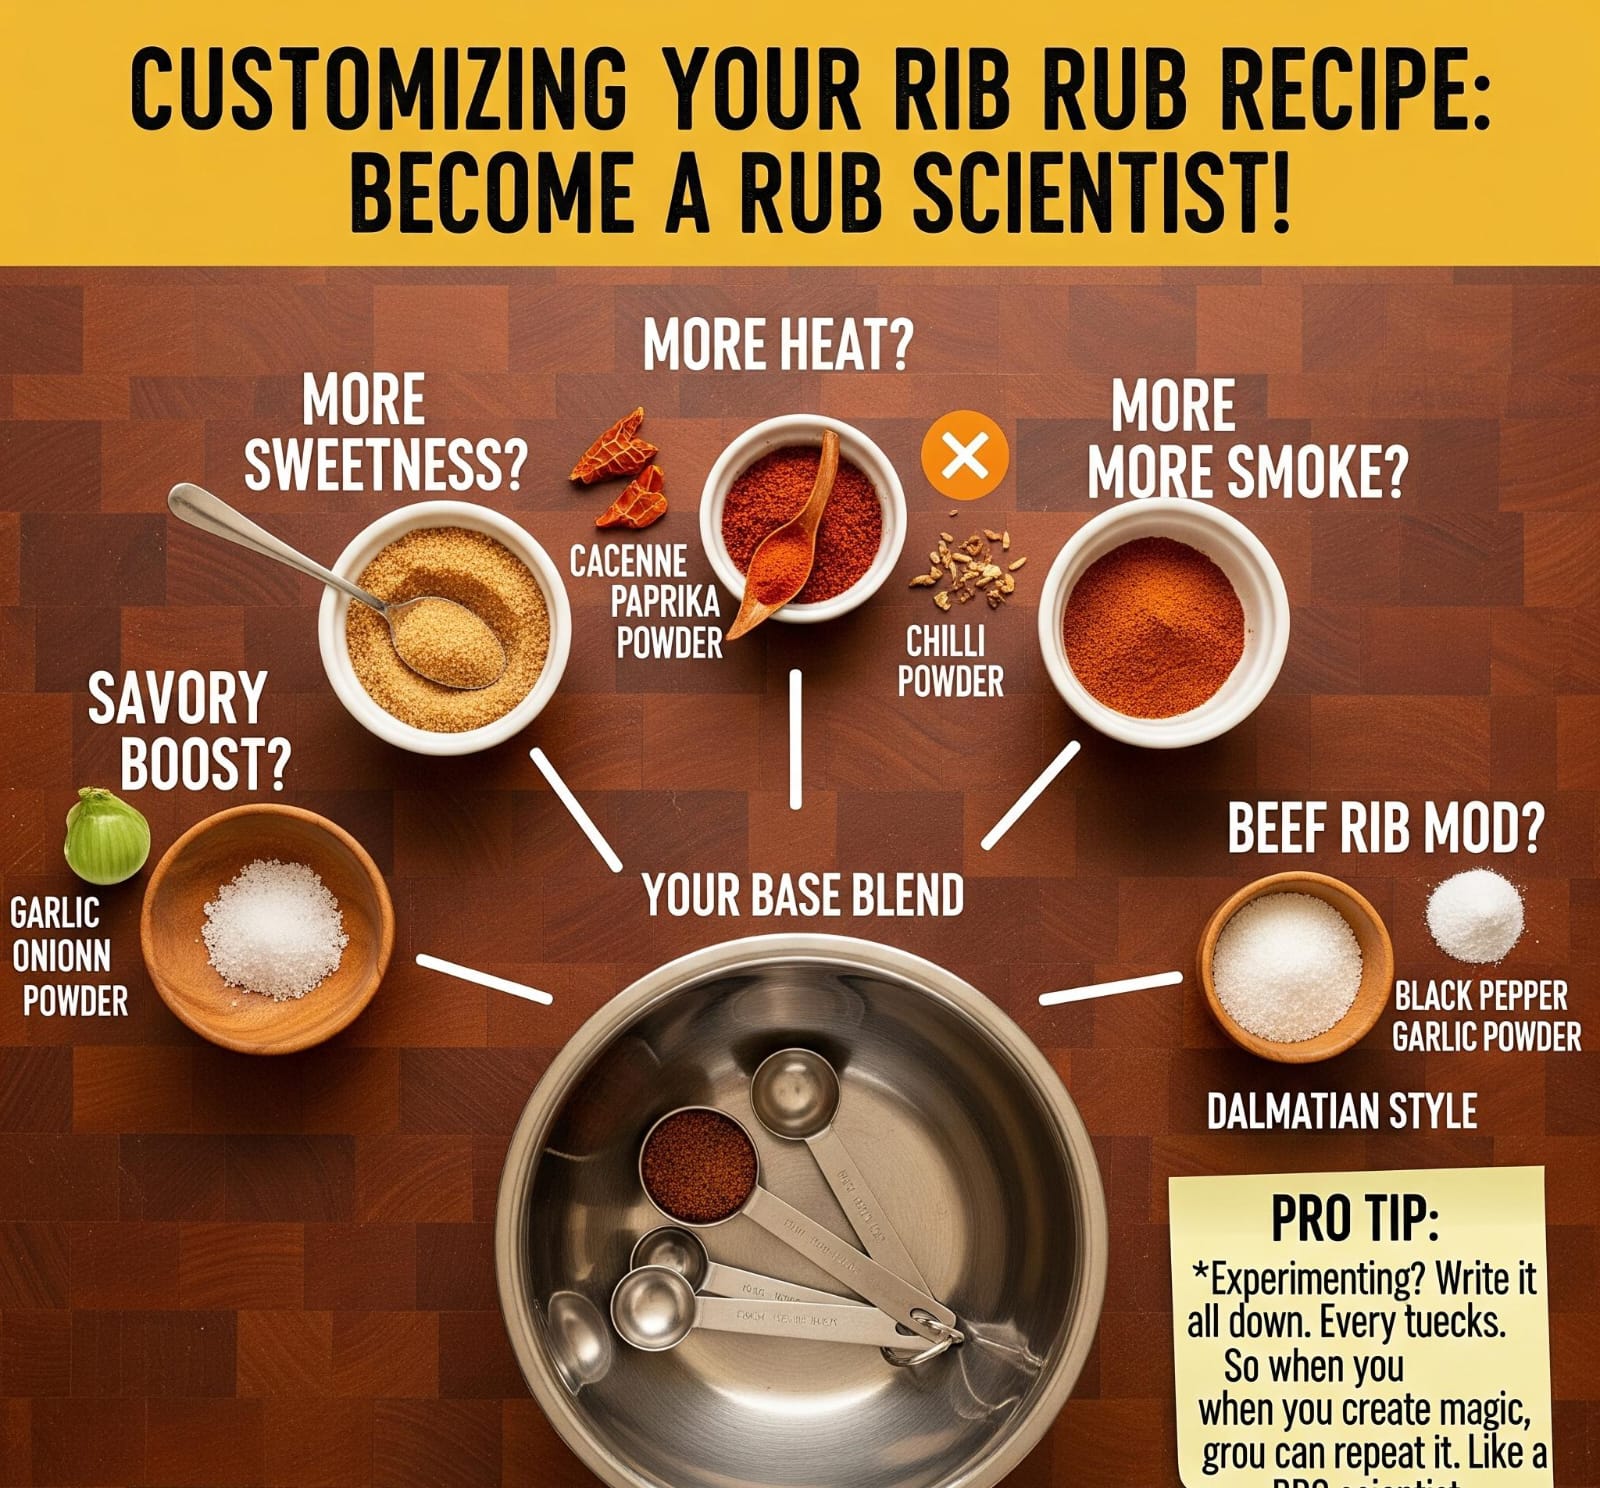
Customizing Your Rib Rub Recipe: Becoming a Rub Scientist!
This is where it gets really fun. You make it your recipe. After you try the “Always a Winner” blend. You’ll get it. How flavors work. Then? You become a “rub scientist.” Create your own signature blend. No kidding.
- Want More Sweetness? Easy . Just add more brown sugar next time.
- Craving More Heat? Amp up the cayenne. Or try a pinch of hotter chili powder. Boom.
- Love that Smoky Flavor? More smoked paprika. Or a tiny bit of chipotle powder. Super smoky. A little spicier.
- Need More Savory Depth? Add more garlic powder. Onion powder. Or a dash of celery salt. Layers of flavor.
- For Beef Ribs: This rub works great for pork. And beef. But for beef ribs, some folks like less sugar. More black pepper. More garlic powder. A bolder, peppery taste. Sometimes called “Dalmatian rub.” Just salt and pepper. Interesting, right?
- Pro Tip: Experimenting? Write it down. Your changes. All of ’em. So if you hit a home run, you can do it again. It’s like keeping notes in science class. Smart.
Beyond the Bowl: The Art of Applying Your Rib Rub Recipe. Making the rub?
That’s just part one. How do you put it on the ribs? Just as important. For that amazing flavor. That perfect bark. So many people miss these little details. They matter. A lot.
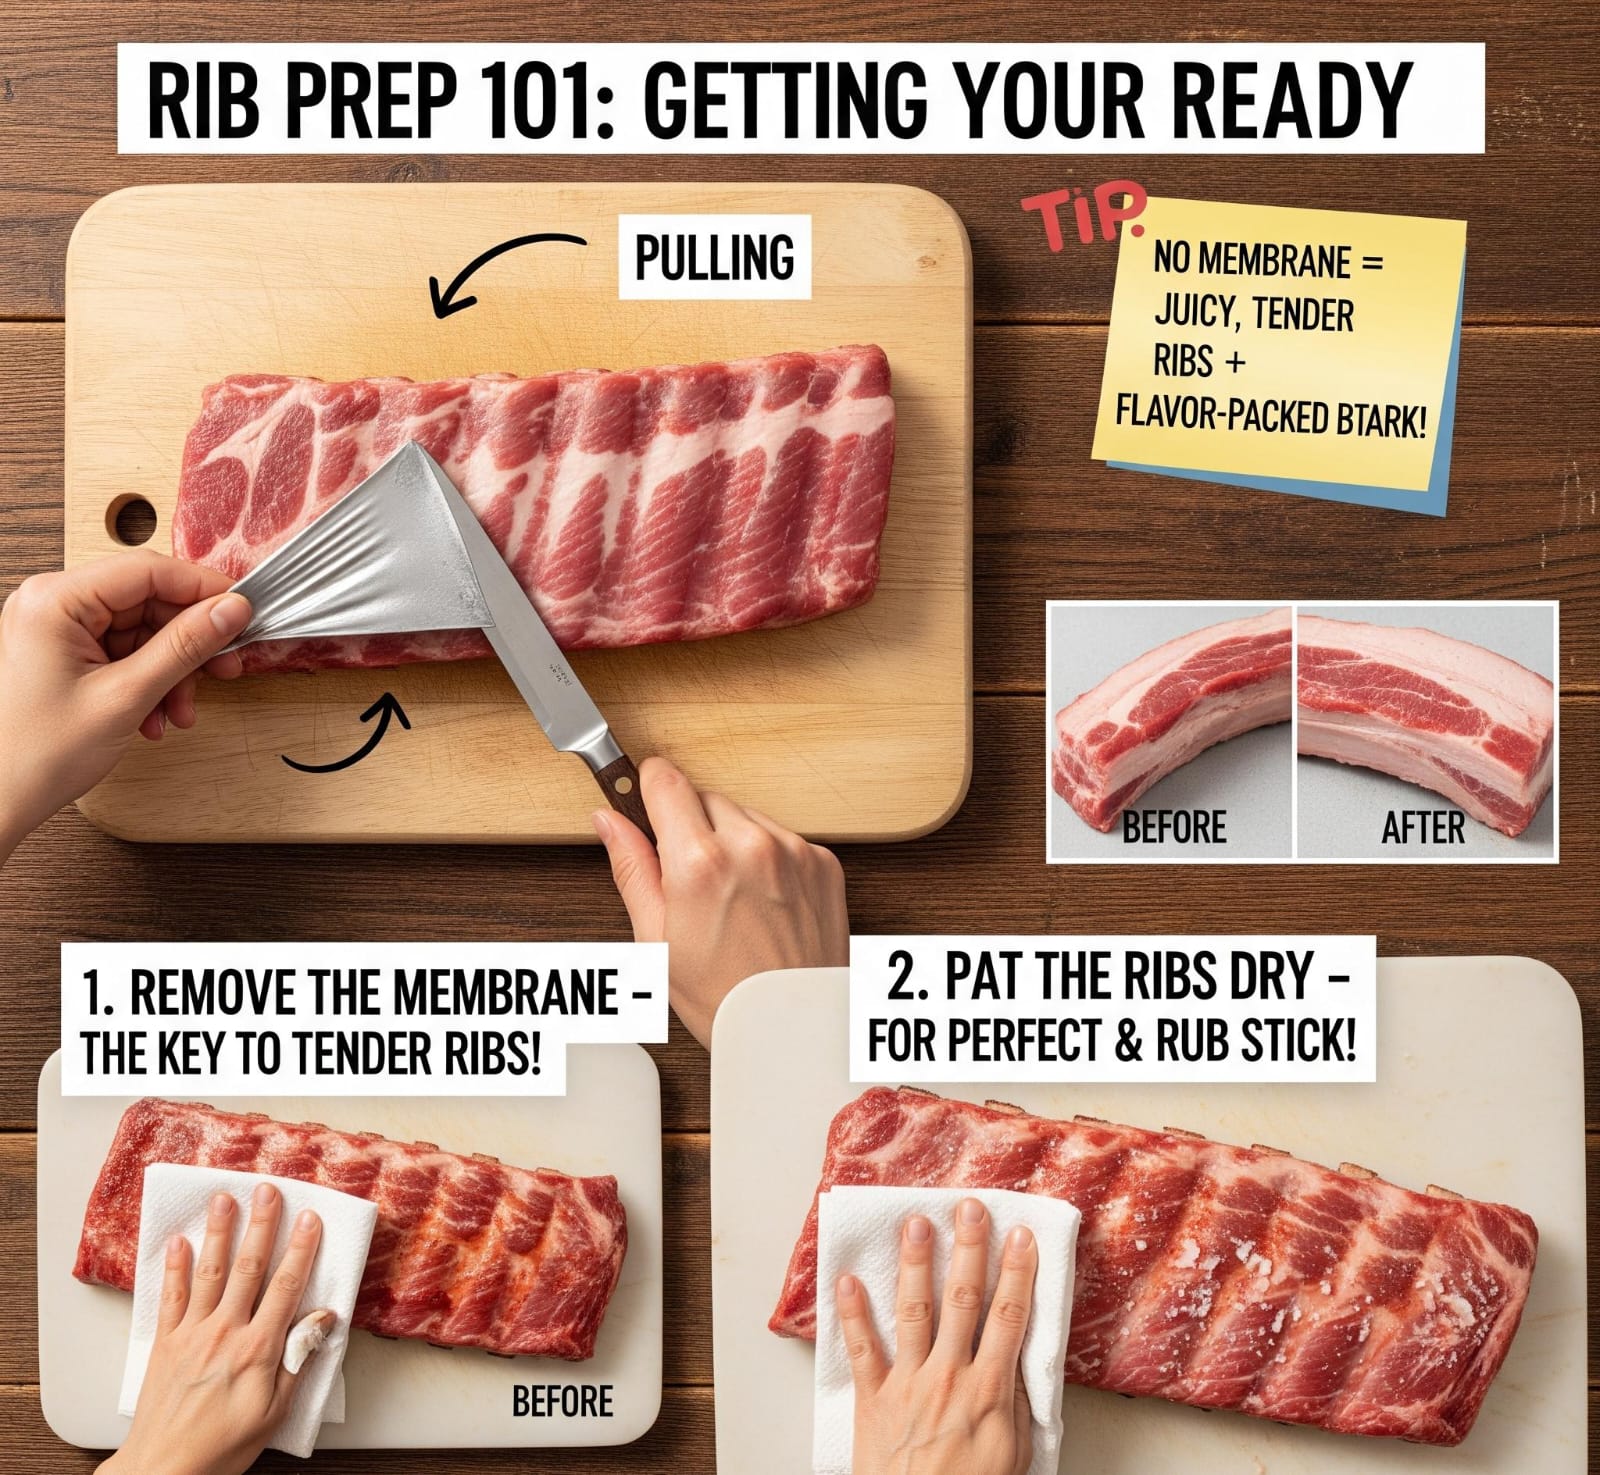
Rib Prep 101: Getting Your Ribs Ready
Before any rub touches those ribs. They need a spa day. Seriously.
1. Remove the Membrane (The Silver Skin): This is THE most important thing. For tender ribs. On the bone side of pork ribs. There’s a thin, tough, silvery membrane. Looks like a clear, thin skin. Leave it on? Ribs will be chewy. Rub won’t soak in. No good.
How to do it: Flip ribs. Meat-side down. Look at one end. See a loose corner? Of the membrane? * Slide a butter knife. Or a spoon tip. Under the membrane. Lift it. * Grab the lifted membrane.
Use a paper towel. Makes it less slippery. So much easier.
Pull firmly. Steadily. Across the rack. Should come off in one big piece. Like peeling a sticker.
If it tears, that’s fine. Just find the next loose edge. Keep pulling. Until it’s all off.
2. Pat Them Dry: Before any rub. Grab paper towels. Pat your ribs. Very dry. All sides. This seems small. But it’s huge! A dry surface? Helps rub stick. Perfectly. Creates a much better bark. Think of painting a wall. You want it clean. Dry. For paint to stick. Same idea.
The Rub Application Process: How Much is Enough?
Now, the fun part. Covering those ribs. In your amazing rib rub recipe
1. Be Generous, But Even: Don’t be shy. No. You want a good, even layer. Of rub. On all sides. Of the ribs. Imagine shaking powdered sugar. Over a cake. Covered. Not piled up. Like a mountain. Get it?
2. Pat, Don’t Rub: Sprinkle your rub. Then, gently pat it. Onto the meat. Don’t “rub” it too hard. Can make meat mushy. Or rub fall off. Just pat gently. So it sticks. Make sure you get the sides. And ends. Every surface. Nice coating.
3. The Rest Period: Letting the Magic Happen Why it’s important: Crucial step. Many beginners skip it. After rubbing? Don’t cook immediately. Let the ribs sit. With the rub on them. Gives salt. And other flavors. Time to work. The salt pulls out a little moisture. That moisture mixes with the rub. Soaks back in. Carries all that amazing flavor. Deeper into the meat. It also helps the bark form. Properly. Essential.
How long? Minimum: 30 minutes. At room temperature.
Better:* 2-4 hours. In the refrigerator. Best (for deep flavor): Overnight. 8-12 hours. In the refrigerator. If you do this, put rubbed ribs uncovered. On a wire rack. Over a baking sheet. Helps dry the surface. For even better bark.

Common Rib Rub Recipe Questions & Troubleshooting
Even the best chefs get questions. Or run into trouble. Happens. Here are the answers. To common things, people wonder about their *rib rub recipe*. And what to do if things go wrong.
-
Do I need a ‘binder’ like mustard or hot sauce?
Answer: Lots of folks use a thin layer. Yellow mustard. Or hot sauce. Before the rub. This is called a “binder.
Pros: Can help rub stick. Especially if the ribs are dry. Some believe it adds flavor. (Don’t worry, mustard cooks off. Mostly.)
Cons: Not strictly necessary. If you pat the ribs dry, right. Too much binder? It can make the bark less crispy. Maybe.
Our advice: For your first few times? Try no binder. See. Once you’re comfy? Experiment. A super thin layer. See if you like it.
-
My rub isn’t sticking to my ribs!
Solution: The Ribs weren’t dry enough. Probably. When you put the rub on. Pat them dry. Remember that. Paper towels. First. Also, pat the rub. Don’t rub hard. Simple.
-
My ribs are too salty/sweet/spicy after cooking!
Solution: It happens to everyone. When learning. Don’t stress. Just adjust your rib rub recipe next time.
Too Salty: Less salt next batch.
Too Sweet: Less sugar.
Too Spicy: Less cayenne. Or chili powder. Easy fixes.
Quick Fix (if already cooked): Too salty? Try a sweet BBQ sauce. Balances it. Too spicy? Creamy coleslaw. Or a sweet side. Helps cool things down. Works.
-
My ribs didn’t get that nice ‘bark
- Solution: Bark. Tricky. Needs a few things.
- Enough Sugar & Paprika:* Key for browning.
- Dry Surface: Ribs are super dry. When you rubbed them. And rested. At least an hour or two. Uncovered. In the fridge.
- Proper Cooking Temperature: Smoker or oven too low? Too much moisture during cooking? Bark might not form. Make sure your cooking is hot enough. Get that crust.
How long do homemade rubs last?
Answer: Your homemade rib rub recipe will last. If stored right. But best when fresh. Period.
Storage: Airtight container. Glass jar with a tight lid. Cool, dark place. Pantry. Perfect.
Shelf Life: Spices don’t really “go bad.” But they lose strength. Flavor. Over time. Especially if open. Or warm. Aim to use the rub within 6 months to 1 year. For the best flavor. Doesn’t smell strong? Time for a fresh batch. Don’t cheap out.
Can I use the old spices I have in my cupboard?
Answer:* You can. Sure. But the rub won’t be as flavorful. Spices lose power. Over time. Especially if open. Or in a warm spot. * *Test:* Rub a tiny bit. Between your fingers. Smell it. No strong, pleasant smell? Buy new ones. Fresh spices? Makes a huge difference. In your *rib rub recipe*. Believe it.
The Grand Finale:
Cooking Your Rubbed Ribs to Perfection (A Brief Nudge) You did the work! You mastered your rib rub recipe. Prepped those ribs. Applied that glorious blend. Now? Your perfectly rubbed ribs are ready. For their transformation. A fantastic rub is step one. But a great cook? That completes the masterpiece. Smoker, grill, or even your oven. Key to tender, delicious ribs? It’s usually low and slow. Cook them at a lower temperature. For a longer time. Patience. This patient’s cooking breaks down the tough meat. Slowly. Becomes incredibly tender. While your amazing rub? Transforms. Into that irresistible, flavorful bark. Pure magic. Don’t forget a meat thermometer. Your best friend. Check for tenderness. Heat around 203°F to 205°F. Or when a toothpick slides in easily. Between the bones. With your incredible rib rub recipe as the star? You’re set. For success.
Wrapping It Up:
Your Rib Rub Journey Has Just Begun! Alright. You made it. You just learned the real secrets. Behind creating an incredible, custom rib rub recipe. You know what each ingredient does. How to mix them. For perfect balance. And the right way to get that rub to stick. To turn into delicious bark. This isn’t just about following a recipe. It’s bigger than that. It’s about understanding the why. You’re not just a cook anymore. You’re a flavor engineer. A BBQ artist. A bona fide rib rub recipe master.