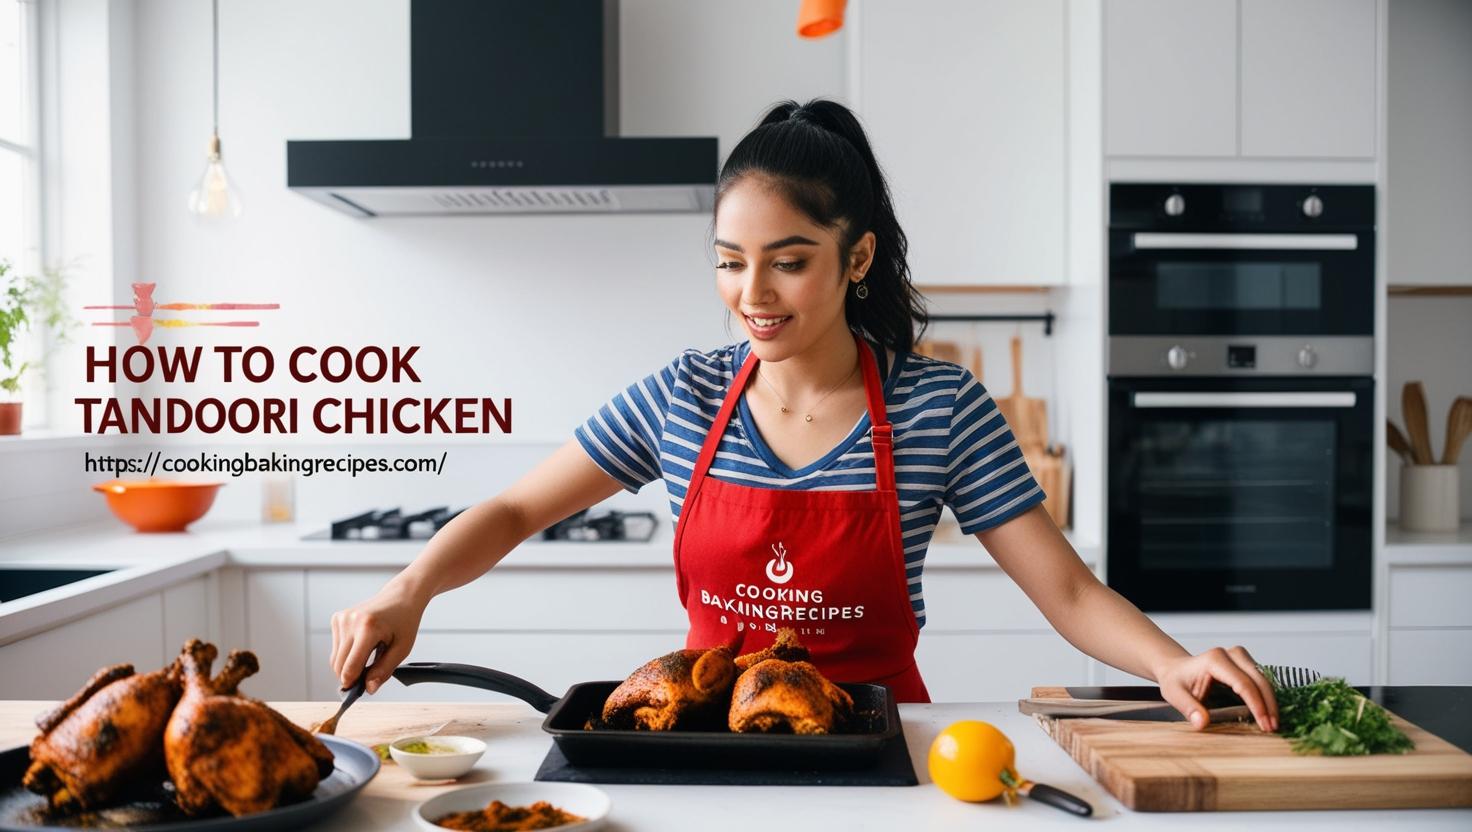
How to Cook Tandoori Chicken: A Simple Guide for Beginners
How to Cook Tandoori Chicken: A Simple Guide for Beginners
YOU. Yes, YOU! Come here for a second. I need to tell you about something that’s gonna make you feel like a total kitchen rockstar. Tandoori Chicken! I know, right? Sounds fancy, sounds complicated, sounds like something you only get at restaurants. WRONG! My friend, you can make this at home, and it is NOT hard. Like, at all. It’s juicy, it’s got this incredible flavor, and it’s got that cool color that just screams “yum!” If you’ve never cooked anything more complicated than toast, you can do this. Pinky promise.
Quick Chat: What’s Up With “Tandoori” Anyway?
So, the name “Tandoori” just comes from the Tandoor, which is basically a super hot clay oven they use in India. They marinate chicken in this amazing yogurt-y, spicy mix and then cook it crazy fast in there. That high heat and the marinade? That’s what gives it that special taste and smokiness. But guess what? Your regular oven or even your grill can totally nail this flavor at home. No special oven required! 🙌
Okay, What Stuff Do We Need? (The Shopping List!)
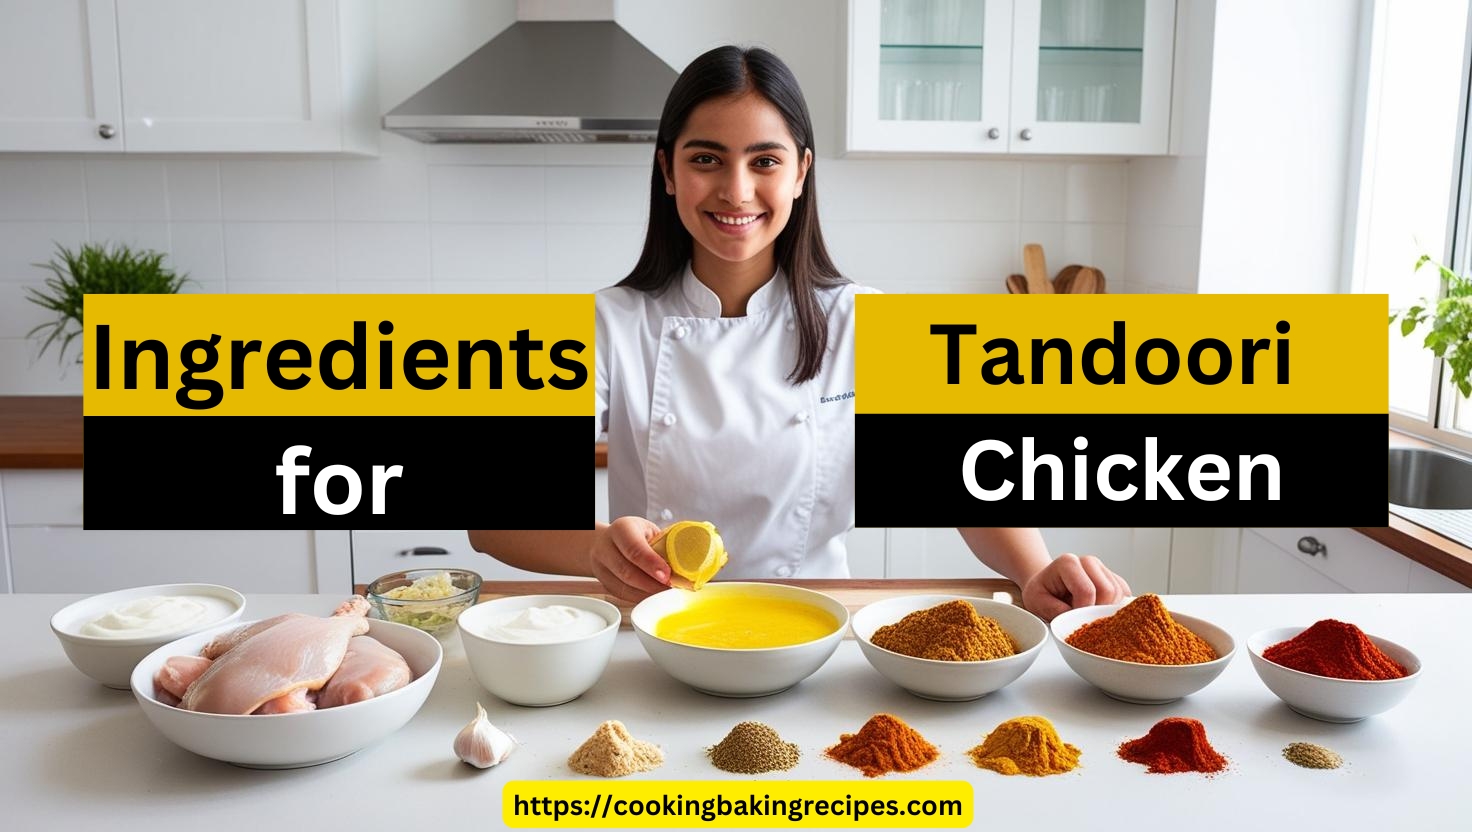
Don’t freak out, the list isn’t scary! You probably have a lot of this already.
- Chicken: Grab maybe 4 to 6 pieces. Honestly, chicken thighs and drumsticks with the bone in are the BEST here. They stay SO juicy. If you only have breast, it’s okay, but the bone-in is just next level for this!
- Yogurt: About a cup of plain yogurt. This is the secret sauce for tender chicken! Don’t skip this.
- Lemon juice: Like, a squeeze or two, 1-2 tablespoons. Adds a little brightness and tang! 🍋
- Garlic paste: Maybe a tablespoon? You can buy the little jars of paste, or just mince a couple of garlic cloves until they’re super super fine.
- Ginger paste: Same deal, about a tablespoon. Jar is easy, or grate fresh ginger really finely.
- Garam masala: Just a teaspoon. This is the magical Indian spice mix! You can find it in the spice aisle.
- Ground cumin: 1 teaspoon. Classic!
- Ground coriander: 1 teaspoon. Also classic, has a nice, almost citrusy flavor.
- Turmeric powder: 1 teaspoon. This helps with the color and has a nice earthy taste.
- Red chili powder: 1 teaspoon. This is where the heat comes from! Adjust based on how much spice you like! 🔥
- Paprika: 1 teaspoon. Gives more color and a mild, sweet pepper flavor.
- Salt: 1 teaspoon. Gotta season!
- Vegetable oil or melted butter: Like 2 tablespoons. This is for brushing on the chicken while it cooks – keeps it moist and yummy!
Let’s DO This! Making the Tandoori Magic Happen!
Ready? It’s seriously just a few simple steps.
Step 1: Chicken Prep – The Little Secret!
Okay, first thing, give your chicken a rinse and pat it dry with paper towels. Now, grab a knife and make a few good, deep cuts – slashes! – right into the thickest parts of the chicken pieces. Don’t be gentle! You want that awesome marinade to really sink in there and flavor the meat all the way to the bone. This is a pro move! 😉
Step 2: The Marinade Party Bowl!
Get a big bowl out. Like, bigger than you think you’ll need, so you can mix easily. Now, just dump everything from the ingredients list (except the oil/butter) into this bowl: the yogurt, lemon juice, garlic, ginger, ALL the spices (garam masala, cumin, coriander, turmeric, chili powder, paprika), and the salt. Grab a spoon and stir it all together until it’s a smooth, beautiful, reddish-orange paste. It should smell AMAZING already! Give it a little taste test if you’re brave, and if you’re thinking, “Needs more heat!”, just add another tiny pinch of chili powder.
Step 3: Chicken’s Spa Day!
Okay, gently put your slashed chicken pieces into that bowl with the marinade. Now, get your hands in there (wash ’em first, obviously!) or use tongs, and make SURE every single piece is absolutely covered in that marinade. Get it into those cuts! Once they’re all beautifully coated, cover the bowl (plastic wrap is your friend here!) and put it in the fridge. Now, for the hardest part: waiting! Let it hang out in the fridge for at least 2-3 hours. If you can remember to do it the night before? DO IT. The longer it sits, the more flavor soaks in, and the more tender it gets. Overnight is seriously the best!
Step 4: Time to Get HOT! (Oven or Grill Time!)
When you’re ready to eat (yay!), preheat your cooking device! If you’re using your oven, crank it up to 400°F (200°C). If you’re grilling, get that grill heated up to medium-high heat. Both work great, just pick whichever feels easier right now!
Step 5: Let’s Cook This Yummy Chicken!
- Oven Method: Grab a baking tray. PLEASE line it with aluminum foil or parchment paper. Trust me, cleanup is a breeze if you do this! If you have one of those wire racks that fits on the tray, use it! It helps the chicken cook evenly all around. Lay your marinated chicken pieces on the rack (or directly on the foil if no rack).
- Grill Method: Carefully place the marinated chicken pieces right onto the hot grill grates.
Now, let ’em cook! This usually takes about 20-30 minutes total, depending on how big your chicken pieces are. You’ll want to flip them over about halfway through (so, around 10-15 minutes in). And hey, remember that oil or melted butter from the ingredients list? If you’re grilling (or even if you’re oven baking and want extra moisture/color), brush some of that onto the chicken every 10 minutes or so. It keeps it nice and juicy and helps with the color.
Step 6: Is It Done Yet?! (How to Tell!)
The best way to know for sure is to use a meat thermometer! Carefully peek under the lid/check the grill, and stick the thermometer into the thickest part of the biggest chicken piece (avoid hitting the bone!). You’re looking for it to read 165°F (74°C). Visually, it should look like that beautiful reddish-orange color, maybe with some nice little charred spots, and when you cut into a piece, the inside should be totally white and the juices should run clear.
Step 7: EAT IT! (And Enjoy the Applause!)
You did it!!! 🎉 Carefully get the chicken off the heat. Let it sit for just 5 minutes before serving – this lets the juices redistribute and makes it extra tender. If you have fresh cilantro, chop some up and sprinkle it on top. A little extra squeeze of lemon juice is also perfect! Serve your amazing homemade tandoori chicken with some warm naan bread, some rice, or a simple salad. Prepare for people to ask, “OMG, where did you buy this?!” 😉
You Can Watch Video As Well
My Personal Top Secret (Okay, Just Good Advice!) for Nailing It!
Just a few things from my own kitchen adventures:
- Bone-In IS Better for This: Seriously, the bone adds flavor and helps keep it moist. If you can get bone-in thighs or drumsticks, do it!
- MARINATE LONGER! I know I said it, but it’s the biggest flavor booster. Plan ahead if you can and let it chill in that marinade overnight. Life changing.
- Give Them Space! I know we already talked about it, but seriously, don’t overcrowd the pan/rack/grill. They need room to get crispy, not steamy!
- Adjust the Spice! That chili powder is just a starting point. If you like things HOT, add more! If you’re nervous, start with less and you can always add a spicy sauce later.
- Trust Your Gut (and a Thermometer): Once you make this a few times, you’ll get a feel for it. But the thermometer is always your best friend for knowing it’s safely cooked!
Quick Recap: You Got This!
See? Tandoori chicken at home is totally doable and SO rewarding. It’s mixing, waiting (the hardest part!), and then cooking. You don’t need fancy equipment, just some yummy ingredients and these simple steps. You’re going to make juicy, flavorful chicken that tastes incredible.
So please, please try this! It’s way easier than you think and tastes amazing. You’re going to love making this! Happy cooking (and eating!)! ❤️
You Can Check Our Recipes Category For More Recipes Click! (Go find your next kitchen adventure, champ!)