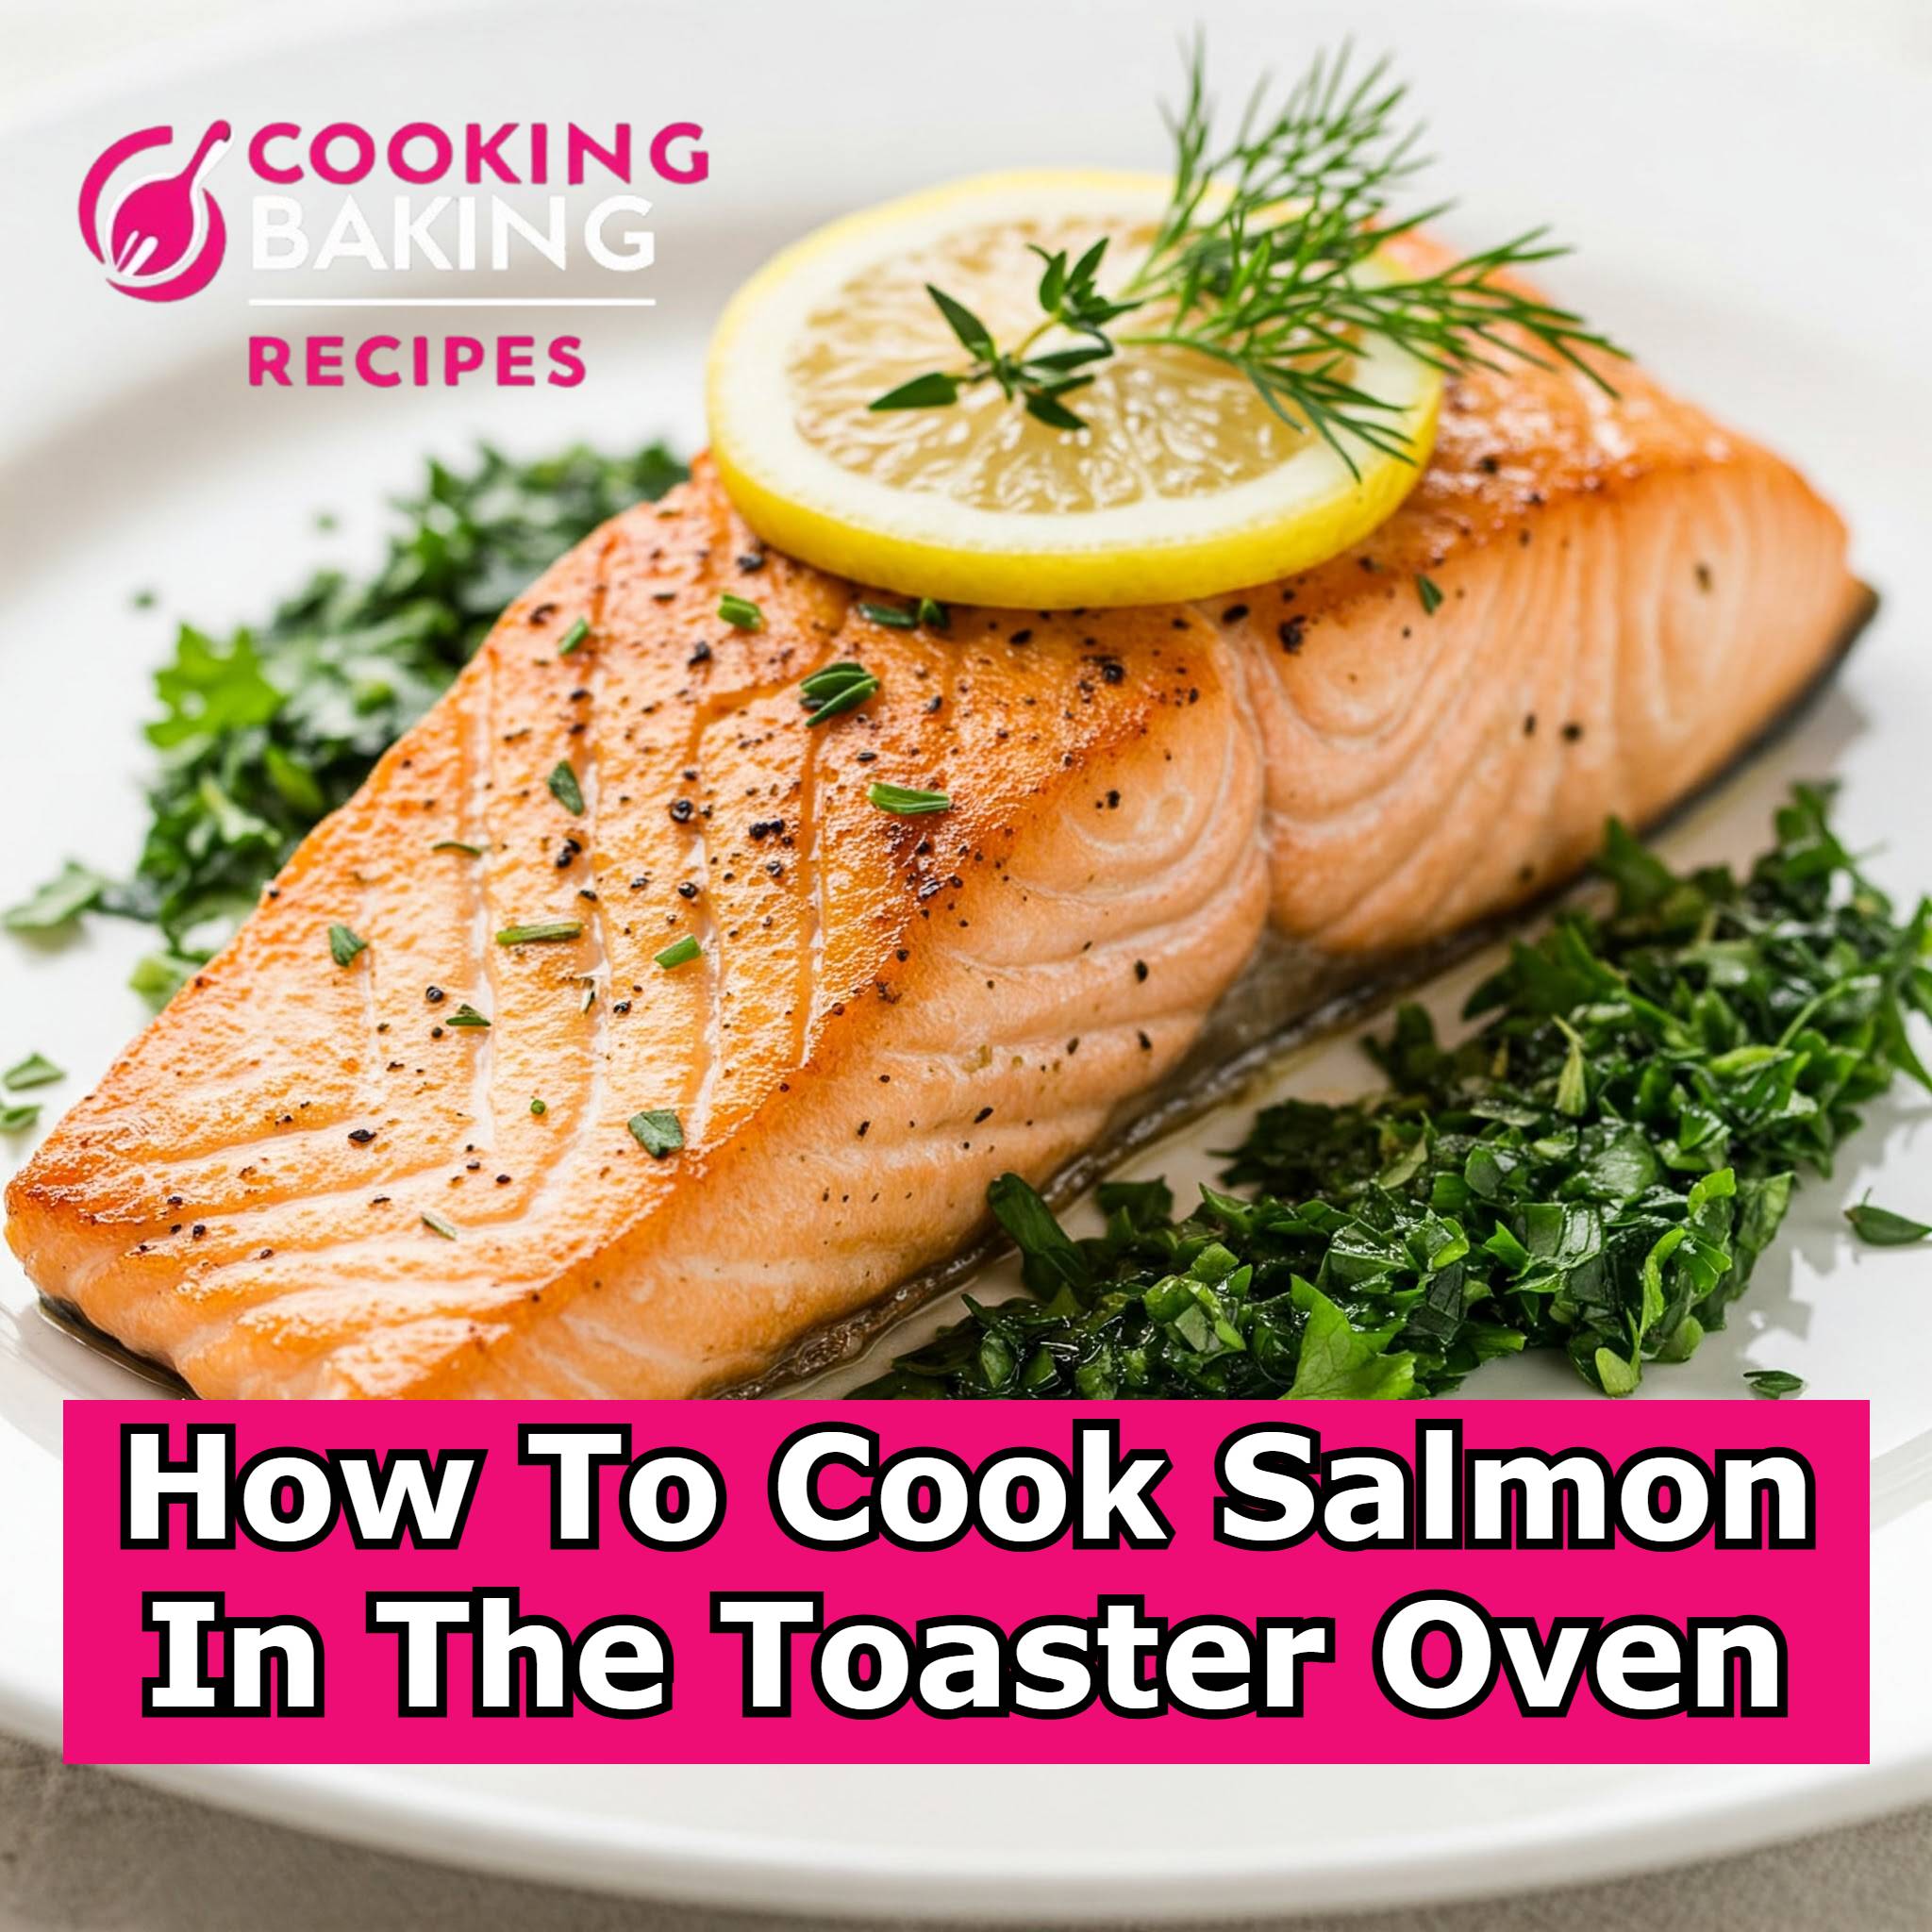
How To Cook Salmon In The Toaster Oven

How To Cook Salmon In The Toaster Oven

Let’s be real, cooking fish can feel like a whole thing, right? Especially weeknights when you’re tired. But guess what? You can make the most unbelievably tasty, healthy salmon right in your toaster oven. No fancy stuff needed. If you haven’t tried this yet, you are in for such a treat! It’s my little secret weapon for a fast, delicious meal. Wanna know how? Let’s do this!

How To Cook Salmon In The Toaster Oven

Why I’m Obsessed with Toaster Oven Salmon

Okay, first off, toaster ovens are little kitchen superheroes. They heat up in a flash – way faster than your big oven – and honestly, they use way less energy. Cooking salmon this way is a total game-changer because it gets beautifully cooked and flaky without drying out. Seriously, it’s like a little flavor sauna for your fish! Plus, on a hot day, who wants to crank up the big oven? Not me!

And salmon itself? It’s just good for you. Full of all those amazing omega-3s that your brain and heart will thank you for, plus tons of protein. It’s brain food that tastes good. Making it this easy means you can actually eat it more often. Win-win!

What You Need – The Super Simple List

Alright, ready to gather your goodies? It’s not much, I promise:

  • Some nice fresh salmon fillets (skin-on is my go-to for crispy bottoms, but skinless totally works!)
  • A little bit of olive oil (or whatever oil you usually grab)
  • Salt and pepper (the essentials!)
  • Maybe a lemon? (Adds such a bright, fresh pop!)
  • Any other little flavor boosters you like – maybe some garlic powder, a sprinkle of paprika, or some fresh dill if you have it.
  • A piece of foil or parchment paper (makes cleanup a breeze!)
  • And, obviously, your trusty toaster oven!


Let’s Cook! Your Easy Steps:

This is so straightforward, you’ll barely believe it!

Step 1: Get That Toaster Oven Warm First things first, fire up your little oven. Set it to 375°F (that’s 190°C). While it’s getting nice and toasty inside, you prep the star of the show.

Step 2: Pat Your Salmon Dry (Trust Me!) Grab your salmon fillets and pat them really dry with a paper towel. This is a little pro tip – it helps everything stick better and can even give you a nicer texture on the outside. Lay them on a piece of foil or parchment paper that fits your toaster oven tray.

Step 3: Time to Make it Yummy! Drizzle a tiny bit of olive oil over your fillets. Just enough to coat them. Now, be generous with the salt and pepper! Season both sides. This is where you can get fun – sprinkle on that garlic powder, that paprika, that dill! If you’re using lemon, give it a good squeeze over the fish, or even lay a thin slice or two right on top. It looks pretty and tastes amazing.

Step 4: Into the Toaster Oven! Okay, your oven should be ready. Carefully slide the tray with your seasoned salmon inside. If your toaster oven has racks, the middle one is usually perfect. Close the door and let it cook! It usually takes me about 12-15 minutes. The time really depends on how thick your particular piece of fish is. If it’s thick, maybe lean towards the 15 minutes or a tiny bit more.

Step 5: Is It Done? The Easy Check! Around the 12-minute mark, take a peek. The easiest way to tell if it’s done is to gently flake the thickest part with a fork. If it separates easily and the inside looks opaque (not shiny and raw-looking), you’ve nailed it! Pull it out! Seriously, be careful not to overcook – dry salmon makes me sad.

Step 6: Plate It Up & Enjoy! Carefully lift the tray out (use those oven mitts!). Let the salmon sit for just a minute. Then, serve it up with whatever you’re having on the side. Steamed green beans, some quick rice, or just a simple salad? Perfect partners!

My Little Pro Tips for Salmon Success:

  • Give ‘Em Space: Don’t crowd the pan if you’re cooking more than one piece. They need breathing room for the heat to work its magic.
  • The Temp Check: If you have a meat thermometer, the perfect temp is 145°F (63°C) in the thickest part. Game changer for getting it just right.
  • Play with Flavors! Don’t be scared to experiment! A little honey mustard? Some soy sauce and sesame? Get creative!
  • Keep an Eye On It: Toaster ovens are powerful! Check your fish a minute or two earlier than you think you need to, just in case.


Why Kids Can Totally Make This (with a little help!)

This recipe is awesome for getting little ones involved! It’s quick, the steps are simple, and there aren’t too many ingredients to mess with. They can help pat the fish dry, sprinkle seasonings (supervised, of course!), or squeeze the lemon. It teaches them basic cooking skills and hey, eating healthy food you helped make always tastes better! Pair it with mashed sweet potatoes or some roasted broccoli florets they helped toss.

You Can Watch Video Related Salmon Recipes In Toaster Oven 

Why This is Like a Hug for Your Body

We already talked about the omega-3s – think happy brain, strong heart! Salmon is also protein-packed, which keeps you full and helps your muscles. Eating it regularly is just good vibes for your health. And cooking it this way keeps all those good nutrients right there in the fish, where they belong.

Final Thoughts: You Got This!

Honestly, cooking salmon in your toaster oven is one of the easiest ways to get a healthy, incredibly tasty meal on the table fast. With these simple steps, you’ll look and feel like a total kitchen pro. Whether it’s just for you or your whole crew, this method is a winner.

Seriously, give it a shot this week. You’ll be amazed how something so simple can taste so darn good. Happy cooking, friend!
How To Cook Frozen French Fries In Air Fryer

How To Cook Frozen French Fries In Air Fryer?

It has never been so easy to make crispy, golden-brown fries. The frying machine will allow you to make tasty and quick snacks with little oil. You can fry them faster and more healthily than you would by deep-frying. With this guide, you can make delicious fries whether they are for your family or just yourself.

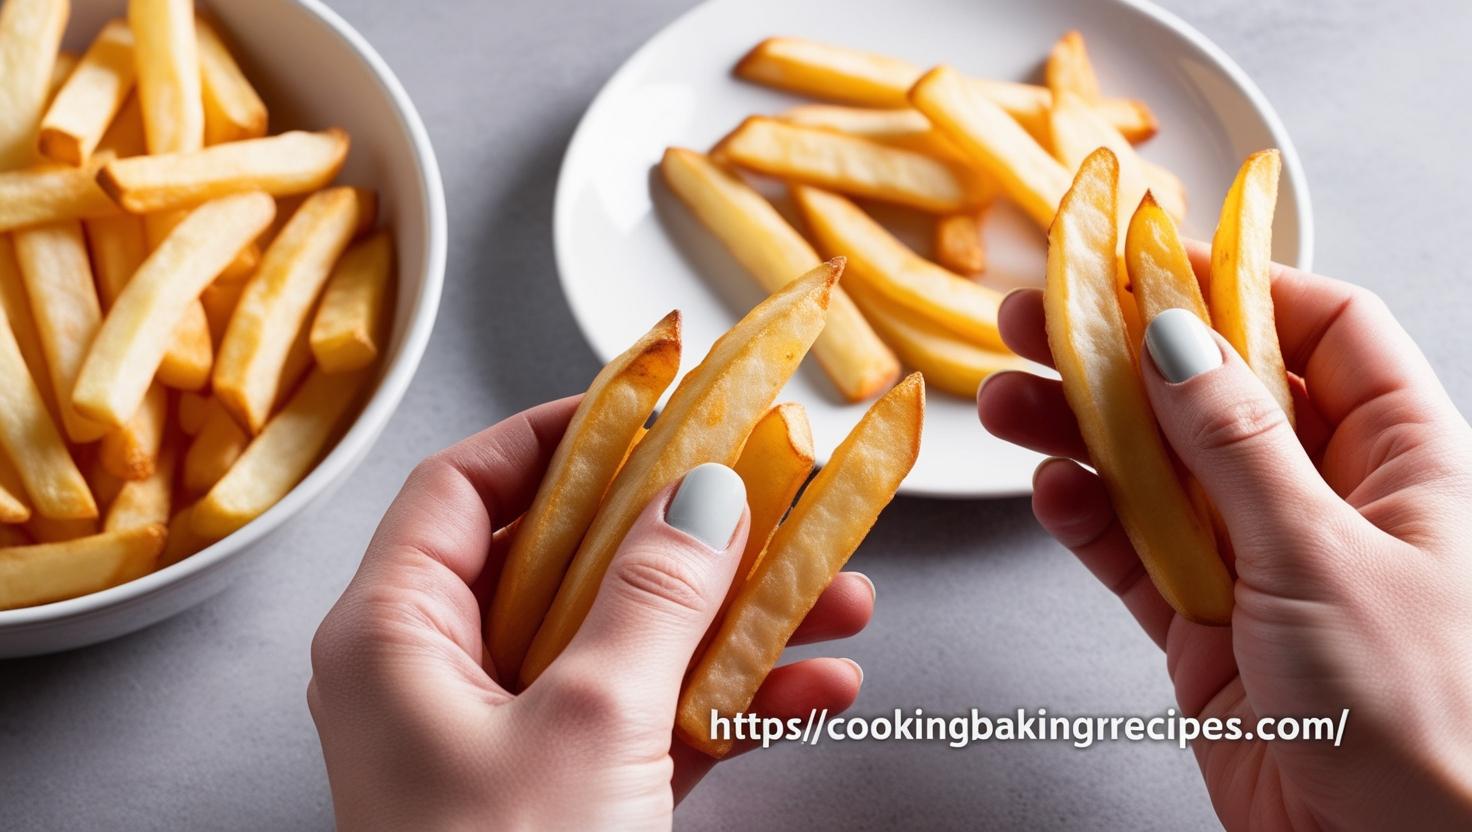
cooked frozen french fries

Why Use an Aerofryer?

The air fryer makes a great kitchen gadget. Food is cooked using hot air, so it doesn’t need much oil. The crunch that you crave is now possible with less grease. The design is intuitive, allowing for effortless use. Detachable pieces and non-stick surface make it easy to clean. The oil does not have to be heated up.

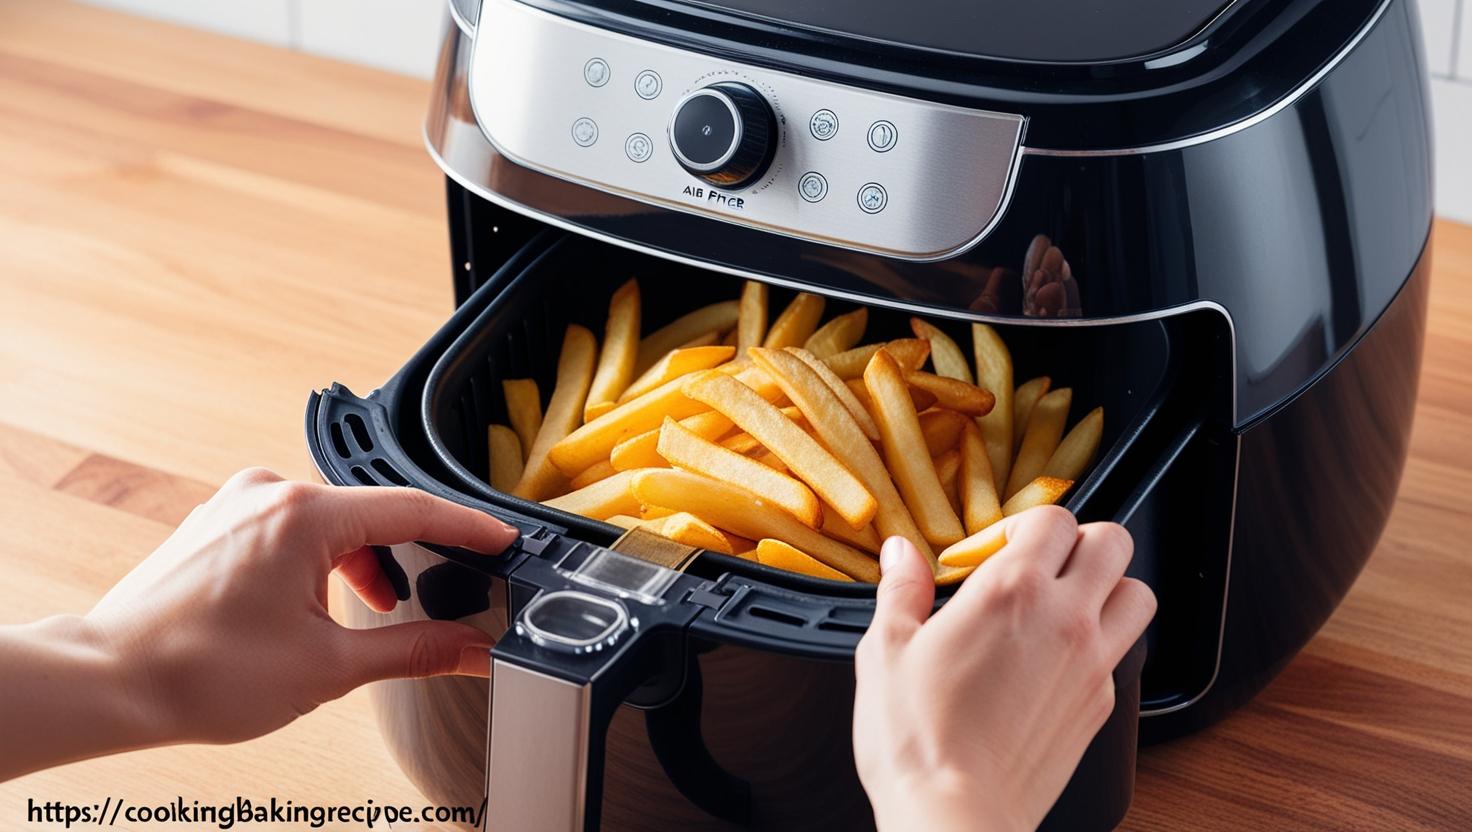
how to cook frozen french fries in an air fryer
air fryer

Why You Need

Gather everything you will need before starting to cook:

Ingredients:

This bag of frozen potatoes strips contains:

A minimal amount of oil, cooking sprays or other non-stick products can be used.

Use salt or seasonings as desired

Tools:

air frother

Tongs or a spatula

The time has come to start your project!

Step by step instructions


Step 1. Preheating the air Fryer

Preheating the fryer helps to cook them evenly. For 2-3 minutes, preheat the frying machine at 400degF. It will warm up while you prepare food.

Step 2: Lightly Coat Basket

You can spray a thin layer cooking oil into the fryer’s basket. If you spray the fryer basket with oil, it will keep fries from sticking. To spread the oil, you can also use paper towels if there is no spray.

Step 3: Add your Fries

The potatoes should be placed in the basket. You don’t want to pack them too tightly. Don’t overcrowd your basket. It will lead to suboptimal results. The air will circulate better if you spread them apart.

Set the timer

Cook at least 10-15 minutes. Remove the basket carefully from the air fryer at mid-cycle and shake it gently. This will ensure an even browning and cooking of French fries. This ensures the food cooks uniformly and gets maximum crispiness across all surfaces.

Step 5: Make sure you have enough food and cook it more, if needed

You can check after 10 minutes to see if your fries are golden-brown and crispy. If the potatoes need more time to cook, add another 2-3 minutes. Always check to be sure that the food doesn’t burn.

Step 6: Add the Seasonings

Once the French fries are done cooking, carefully remove them from their air-fryer basket. Transfer the French frites to a serving platter. To add more flavor you can also sprinkle on some parmesan, paprika or other spices.

Step 7: Enjoy!

Serve these hot with sauces that include ketchup and ranch dressing. The perfect snack for chicken nuggets and fish sticks or as a side with burgers.

you can watch video as well

The Best Fries

  • To get the best results, start by preheating your fryer.
  • Half-shake the basket: This ensures all of your pieces get crispy.
  • Do not use thick layers. Cook small batches in order to prevent soggy potatoes. When cooking in large quantities, it is best to do several rounds of cooking. This will ensure a consistent product and reduce the chances of overcrowding your frying basket.
  • Apply a Light Coating of Oil for Extra Golden Fries. Not much is needed–just one teaspoon or a spray.
  • Don’t Forget Seasoning:Get Creativity with Flavors Garlic powder and chili powder are great options.

Avoid These Mistakes

Even though they are simple, there can be a number of things that go wrong. You should be on the lookout for:

  1. Too many Fries in the Basket at Once:Don’t overload your basket. This will prevent the airflow required to cook fries evenly.
  2. Skipping the ShakeIf it isn’t shaken before putting the fry basket in the oven, some of the fries could stay soft. Others may be overcooked.
  3. Start off with a Fryer that is Cold:Preheat always. You can cook your food in just two minutes.
  4. Never check your fries: Perfect fries can easily turn to burnt fries. Be sure to keep an attentive eye on your food for the last couple of minutes.
  5. Too Little Oil: Using a little too much can result in greasy fries instead of crisp ones. Air fryers are easy to use.

When Does It Take to Complete?

The length of time it takes to cook fries depends on their thickness and whether you prefer them crispy or not. Shoestring cuts cook faster while thicker slices take longer. The average cooking time is 10-15 minutes. Cooking time can be extended by up to two minutes for a better crispiness. Watch the cooking process closely to prevent any burning.

You Will Love this Method

An air fryer makes it easy to prepare healthy and delicious fries. The fact that you use less oil means you can reduce the amount of calories you consume and also save some time. Additionally, this is a better option to deep fry. This is great for kids as well as adults.

Pair Them With Other Foods

Find out what pairs well with fries. Why not pair fries with?

  • Enjoy chicken tenders
  • Burgers
  • Hot dogs
  • Fish fillets
  • It’s possible to have eggs and bacon for breakfast.

The French fries are best accompanied by a wide variety of dipping condiments. Some options include classic cheese, honey mustard and sriracha for a sophisticated touch.

Final Thoughts

Making crisp fries in the air fryer with your is fun, easy and super simple. No advanced cooking knowledge is required to produce successful results. If you have a little patience and follow a few simple tips, it is possible to get the crispy crunch without a lot of grease. If you crave something delicious the next few times, use your air-fryer to try this recipe. This recipe yields an incredibly versatile dish, which is both flavorful and fast.

You Can Check Our Recipes Category For More Recipes 
Click!

How Long To Cook Hamburger Patties On Cuisinart Grill

How Long To Cook Hamburger Patties On Cuisinart Grill

Grilling can be a great way to prepare food. This is especially true when you are making burgers. Our guide will show you how to get the perfect burgers every time on a Cuisinart grilled. It will guide you in the right direction, step by step.

Hamburger Patties on a Cuisinart Grill

Start Your Grill

Be sure to clean your grill prior to cooking. Make sure your grill is clean. Brush off any bits of leftover food. To begin, turn on your Cuisinart Grill and allow it to heat. To cook your food evenly, you need a heated grill. Use the dials to set it at medium. It’s best to wait until the temperature is high enough for a water droplet to sizzle.

Tip Make sure to spray cooking oil or spray a few drops of cooking cream on the grates before you cook. This will prevent your food from sticking.

How To Prepare Burger

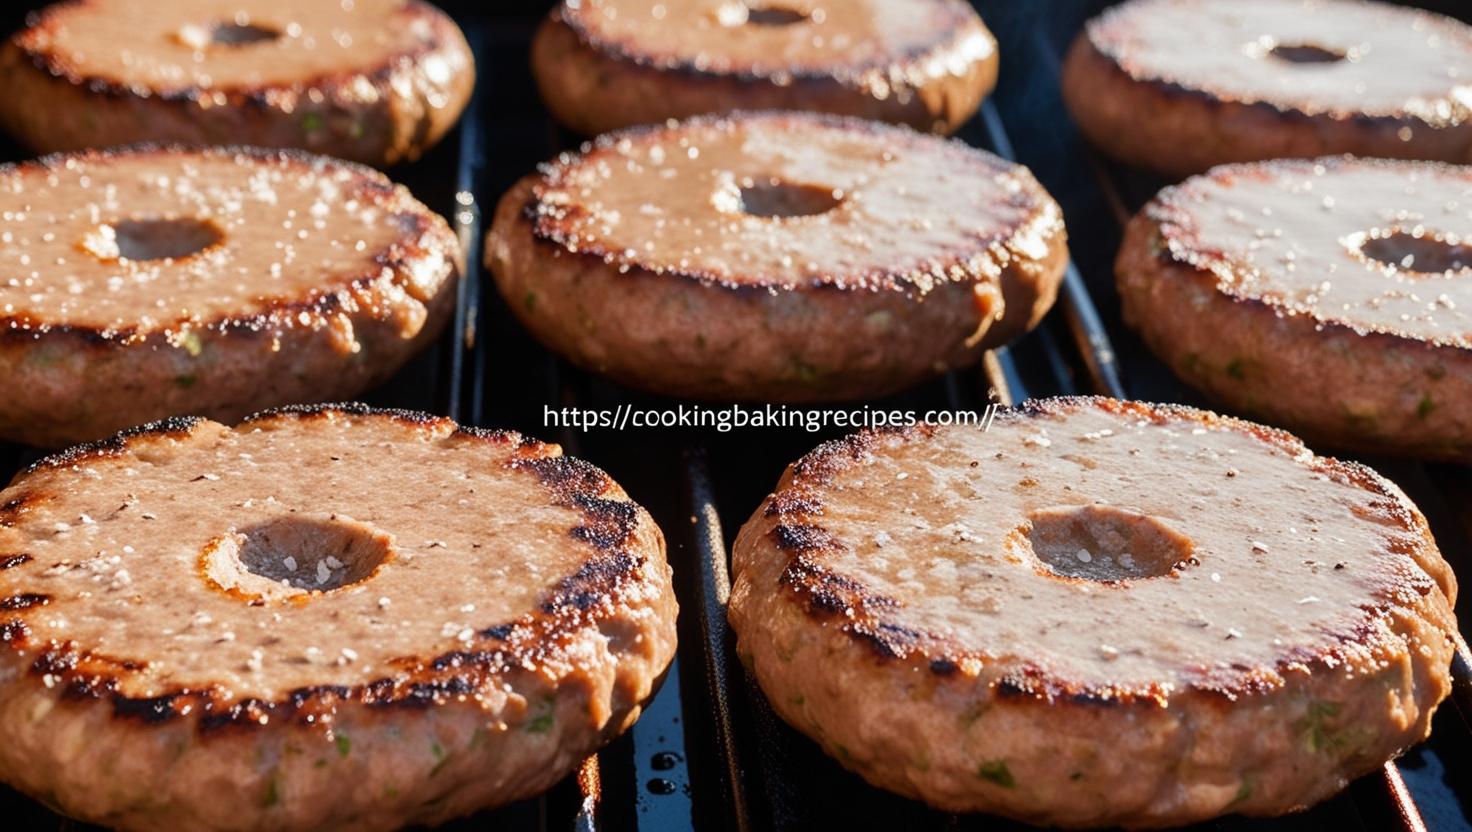
To begin, shape your burgers into round, evenly shaped pieces. These are called patties. They should be about the same thickness as a pack of cards. This will ensure even cooking. Your thumb can be used to poke a hole through the middle of every patty. The little trick allows them to remain flat as they are cooking. Remember to salt them and sprinkle some pepper on top!

No need to fret! It’s fine to place the patties directly on your grill. They will take a bit longer to cook if you give them more time.

pieces of patties
pieces of patties

The length of time to cook each side

As soon as your BBQ heats up and the burger is done, you can place it onto the surface. If you want to maintain the heat, close the lid of the grill while cooking. Here is the time needed by each side for various levels of doneness.

  • Rare After cooking for 2 or 3 minutes on the one side of your grill, turn over the griddle and continue to cook it for a further 2 minutes.
  • Medium Flip it and grill for 4 further minutes.
  • Cooked: Turn the patties and grill them for a further 5 minutes.

Be aware that times will vary depending upon the thickness and heat of the BBQ. In case you’re not sure, you can use a food thermometer. It is safe to cook beef at 160degF.

Hint: When grilling burgers, avoid pressing the burger down. By doing so, you will squeeze out all the delicious juices from your burger.

you can watch video as well

How to Flip

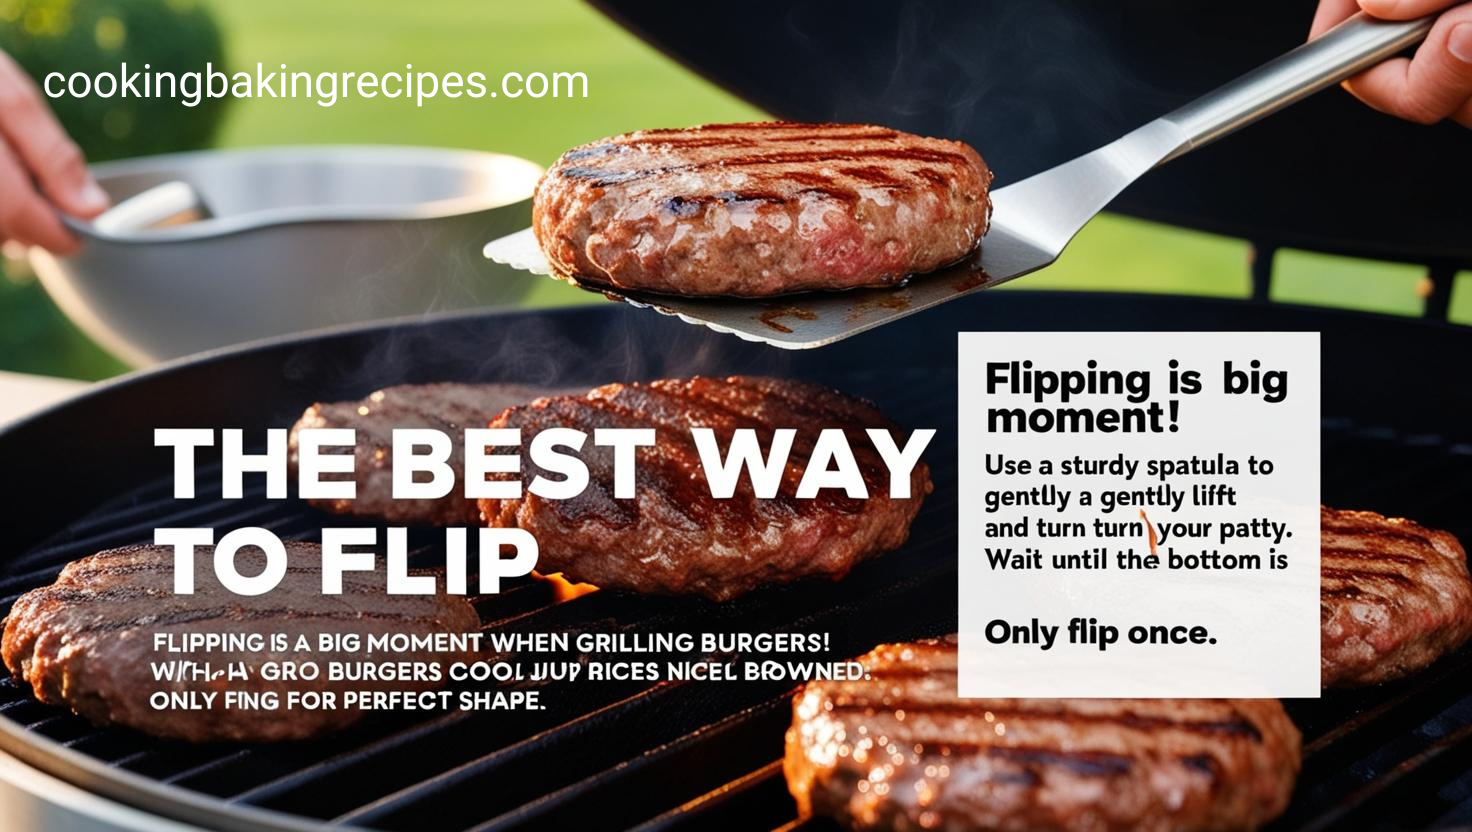
Flipping your burgers can be a huge moment. To flip the patty, use a heavy spatula. Do not flip it over. When the bottom of your burger is nicely browned, flip it. If you are too quick to start moving it, it may become stuck to the grill.

Rule-of-thumb: Turn your patties just once during the cooking process. If you flip your patties too often, they can lose their shape.

The Best Way to Flip

The Best Way to Flip

Safety Guidelines for Cooking

Securing meat is an important aspect of cooking. Ensure that the burgers you serve are fully cooked. Unsafe to eat is a burger that looks raw in the middle. A thermometer can help you determine if the food is safe to eat.

It is safe to use beef or poultry meat that has reached 165 degrees Fahrenheit. You should always wash both your hands and the utensils you use after touching any raw meat.

Top with Cheese or Toppings

For a delicious cheeseburger, you can add a few slices of cheese in the last couple of minutes. To melt the cheese to gooey perfection, you can cover your grill.

Do you want to raise the bar on your burgers still further? Special toppings can be added to burgers. These include grilled lettuce, tomato, pickles or onions. To add flavor, spread some mayo on top of your buns.

The Best Way to Check if It Is Complete

It’s ready for eating when your burger has an attractive brown exterior and its juices flow clear. Use a temperature gauge to achieve the desired results. 160degF should be your target. It is perfectly safe to cook burgers at 160degF. They are also deliciously juicy.

Cleaning Up

When you’re done, clean the grill. Let it cool down and then scrape gently any residue. Cleanliness will help it to last longer, and make it easier for you to use it next time.

A Final Thought

Cuisinart makes grilling easy and enjoyable. If you follow these simple tips, your guests and family will be impressed with the perfectly cooked patties each time. No matter if you prefer your patties rare, cooked medium, or done well, patience is the key. Then get out there and grill!

You Can Check Our Recipes Category For More Recipes 
Click!


How Long To Cook Nachos

How Long To Cook Nachos?

It’s easy and delicious to prepare at home. Perfect for movies, parties, and even a quick snack. The time it takes to make nachos can be a concern for those who are just starting out. Don’t worry! It’s easy to learn with this guide.

How Long to Cook Nachos
Nachos

What Are Nachos?

It is a delicious dish that consists of tortilla chips covered in melted cheese. You can add toppings, such as fresh vegetables or meat, to customize your nachos. This is a favourite for casual parties, such as game nights.

When Do You Need to Work?

The process of making nachos can be done quickly and easily. Even if you cook nachos by baking in an over, or using a microwave oven, they only take about 10 to 15 minutes. For sure, cooking times will differ depending on how many toppings or methods you are using. Oven is best for a crispy and evenly browned plate.

Step-by-Step Guide to Make Nachos

This is how to prepare delicious nachos with just a couple of minutes.

1. The Ingredients

Before you start, gather all the materials that you will need. Check out this simple checklist:

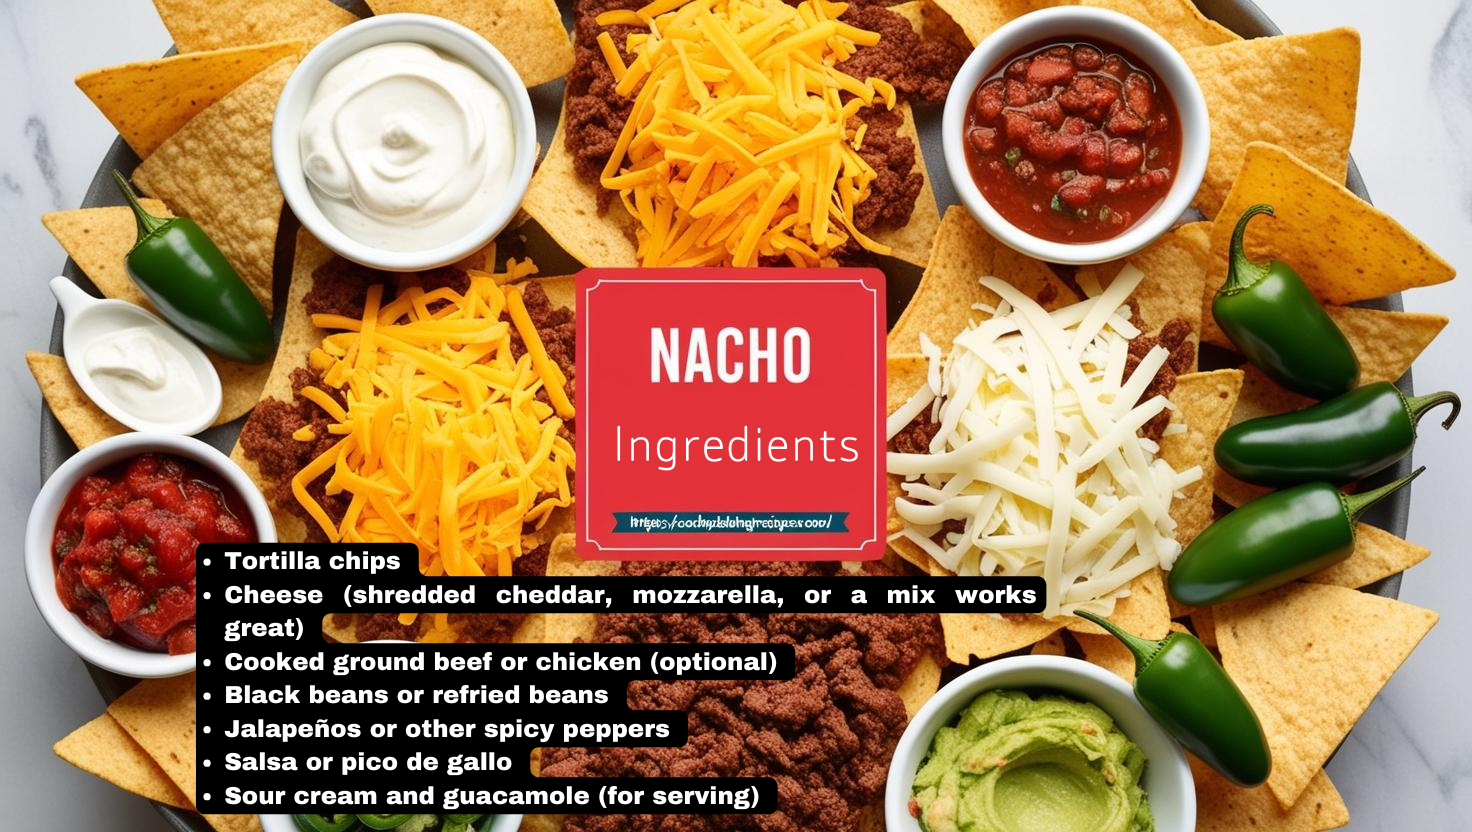
  • Tortilla chips
  • A cheese mixture (shredded cheddar and mozzarella works best)
  • Ground chicken or ground beef cooked (optional).
  • Beans or black beans
  • Jalapenos (or other spicy peppers)
  • Salsa or pico de gallo
  • Sour cream and Guacamole
Ingredients that are used to cook Nachos

Pro tip: Fresh ingredients always taste better, so try to use high-quality cheese and toppings.

2. How to Lay out the Chips

Choose a large dish that can be used in the oven. Keep the crumbs from piling up. Avoid overlapping them too much. The toppings will be evenly distributed on every chip.

3. Add Toppings

Starting with the Cheese Then, generously sprinkle the cheese on top. Then add the extras of your choice, whether it’s cooked meat, bean or vegetable. If you pile it too high, your chips will get soggy.

4. Bake or Microwave
  • Oven method: Place nachos tray in preheated (350degF) oven. It takes about 5-7 minutes to melt the cheese and get it bubbling and gooey. Keep an eye on them so that they do not burn.
  • The Microwave Method If in a pinch, microwavable the nachos high for 1 to 2-minutes. Check to see if the cheese has melted evenly.

The best results are usually achieved by using the oven. You can make the tortilla chips crispier while heating all of the toppings.

5. Enjoy Cold Toppings

Finish the nachos with cold toppings. You can use salsa, sourcream avocado or fresh herb. Because they’re fresh, these ingredients make food taste better.

6. Enjoy and Serve

The nachos you made are ready. The cheese will still be melted and gooey, so eat the nachos as soon you can! It’s best to consume them fresh. Leftovers will keep in your fridge for one or two days.

Tips for Amazing Nachos

  • Layer With Care : If you want to ensure that each bite contains the perfect combination of toppings and ingredients, it is best to stack chips, cheeses, or other ingredients on multiple levels instead of piling all your ingredients onto the top.
  • The Right Cheese: Certain cheeses melt better. Monterey Jack cheese and cheddar work great. Mozzarella makes a tasty addition but is not very flavorful.
  • Pick Crunchy Chips– Use chips thicken enough to hold your toppings. Chips that are too thin may crumble or become soggy.
  • Be careful not to overload. A lot of toppings such as beans or salsa will make the tortilla chips soggy. Keep them to a minimum.

Fun Nacho Facts

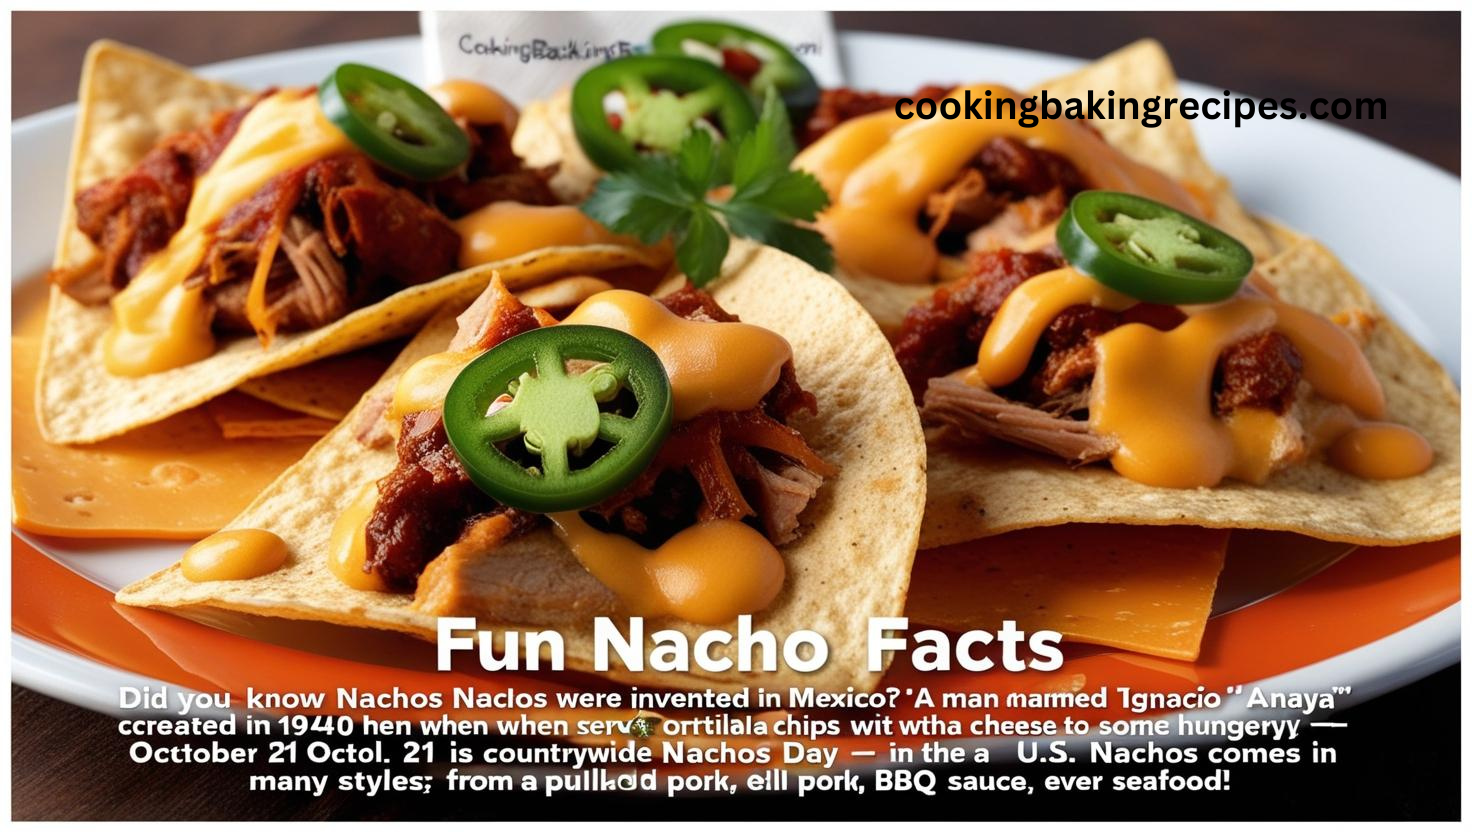
  • You may not know, but nachos came from Mexico. Ignacio Anaya aka Nacho created Nachos back in 1940 after he gave tortilla chips and some cheese to hungry clients.
  • Countrywide Nachos Day occurs on the 21st October in the U.S.
  • Many different types of nachos are available, including those made with pulled-pork, BBQ sauce and seafood.
These are some fun facts about nachos
These are some fun facts about nachos 

Common Questions 

Is it possible to prepare nachos in advance?

Nachos should be prepared fresh. It is possible to prepare the toppings for your nachos before baking them. It’s best to keep cold foods separate and only serve them when you are ready.

How Do You Reheat Nachos?

Reheat leftover nachos at 350degF in the over for about 5-7 mins. You should avoid using the microwave because it will make the tortilla chips mushy.

Are Nachos Healthy?

The traditional nachos are high in calories. However, you can create healthier versions. Add fresh veggies, low-fat cheese and baked chips. Also, black beans and avo add nutrients without compromising flavor.

What Is important about the cooking time?

When you cook nachos correctly, they will have the perfect texture. Overcooked nachos might burn or turn too hard. The cheese may remain unmelted in undercooked nachos. It’s important to have every bit warm and happy.

The time you need to bake your chips is 5 to 10 minute at 350degF. This allows for the cheese and toppings to be heated without causing the chips to become overcooked.

Get Creative

Nachos are the coolest because you can add anything to them. The ingredients can be changed to suit your taste. Here are a few fun ideas.

  • Consider using sweet potatos instead of chips.
  • Shredded BBQ chicken will make this dish taste smoky.
  • The topping is a delicious Mexican street corn! Enjoy the cheese and lime!

They are limitless!

Considerations

This is a quick and fun way to enjoy nachos. You can prepare the snack in just a few seconds, either by using the oven or microwaving. Following the instructions and tips will result in a delicious plate of crispy nachos. Share it with your buddies? It’s up to you! Your choice!

Make nachos next time. The smoothness of the nachos is amazing!

You Can Check Our Recipes Category For More Recipes 
Click!