Chicken Alfredo
The Ultimate Guide to Perfect Chicken Alfredo: Creamy, Dreamy, and Easy to Make!
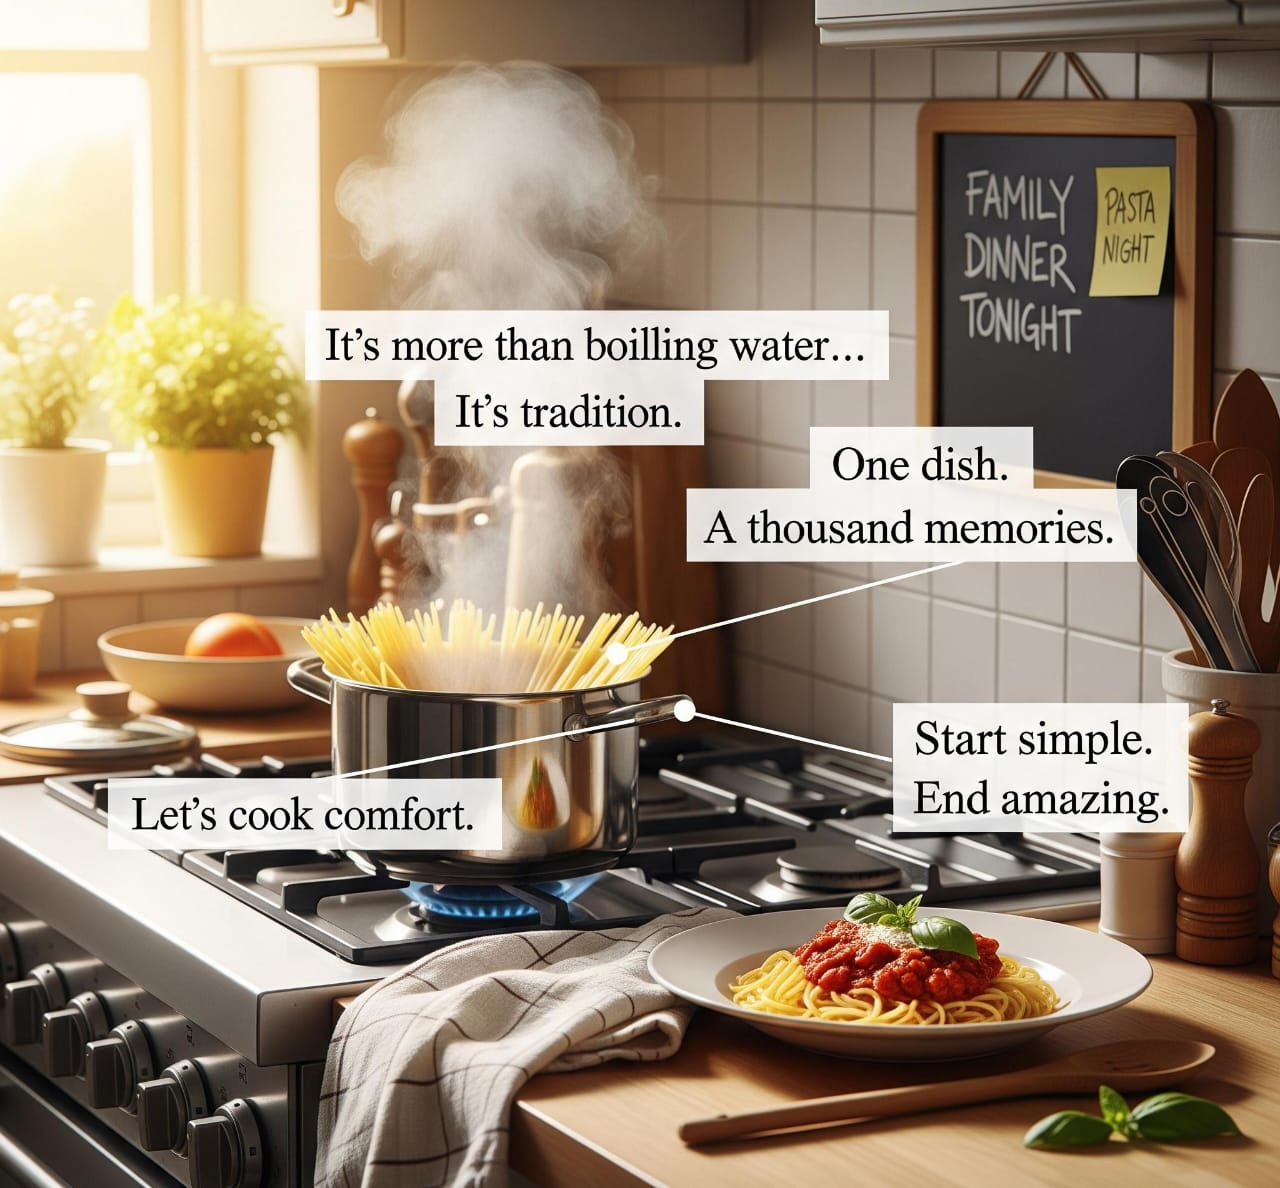
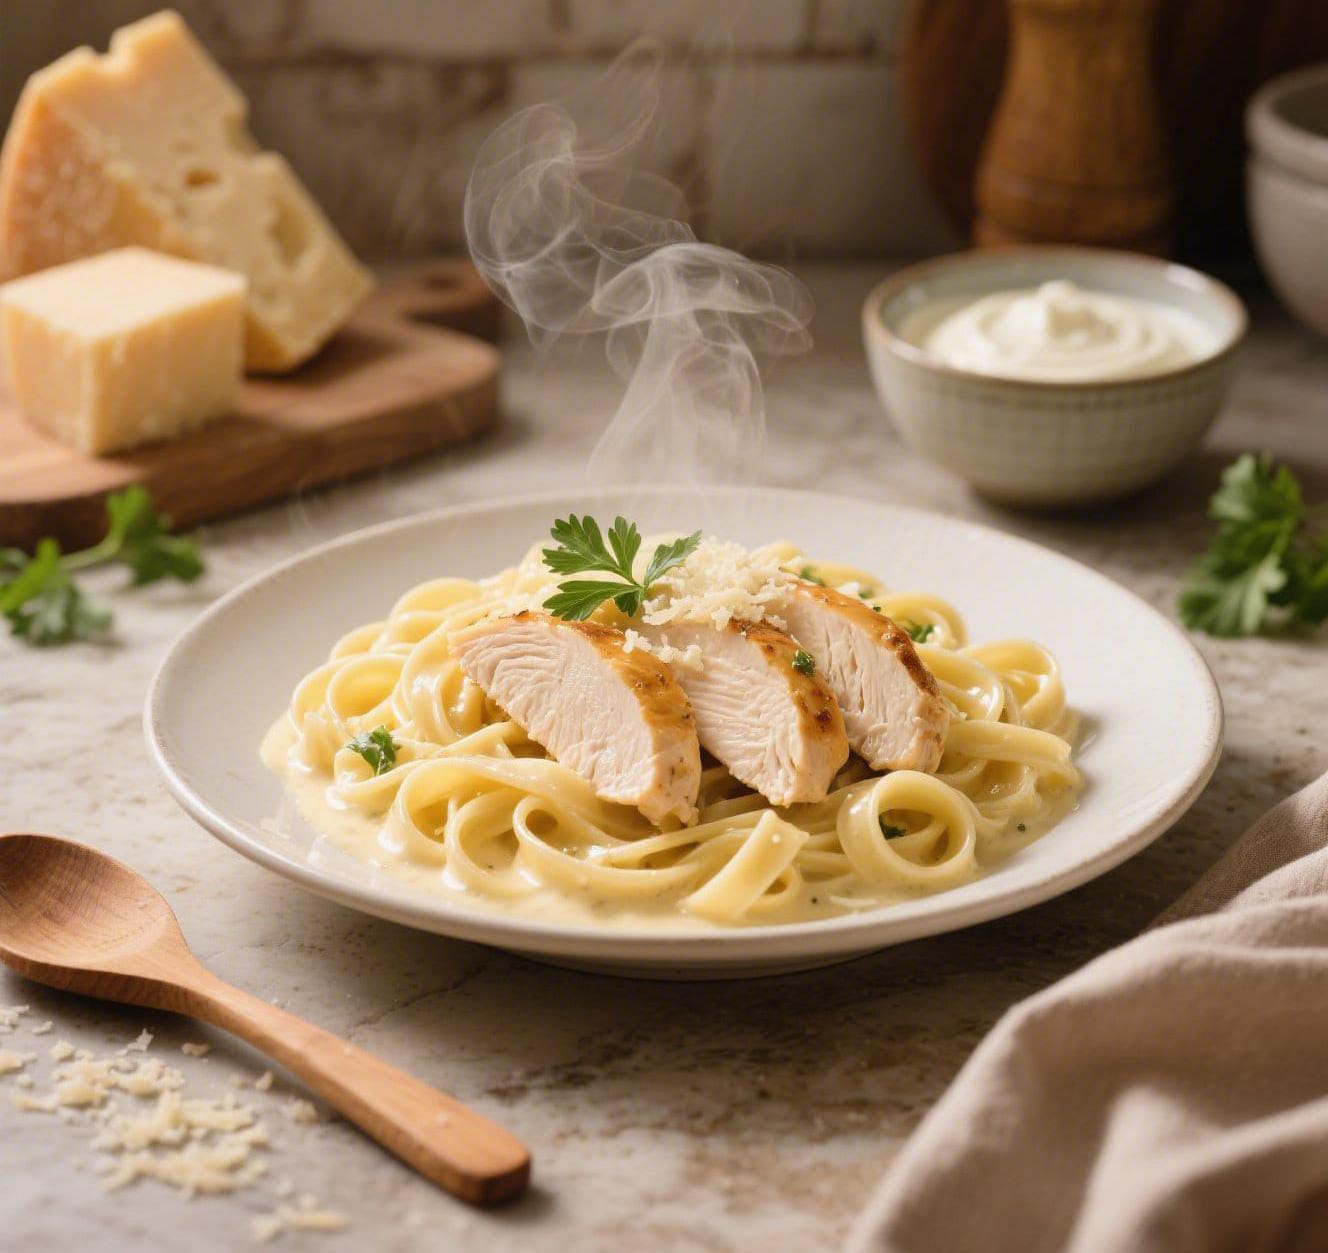
Imagine it. Tender chicken. Long, silky pasta. All coated in a rich, velvety, creamy sauce. Drool-worthy, right? This is Chicken Alfredo. A restaurant favorite. A weeknight winner. A go-to comfort food for so many. All across the USA.
You might think of making something this good? Complicated. Fancy. Chef-level skills? Nope. Not true. Creating truly amazing Chicken Alfredo at home is simpler than you’d believe. Uses simple ingredients. Straightforward steps. The secret? A few tricks. They make all the difference.
In this ultimate guide, we’re going to walk you through exactly how to cook Chicken Alfredo. Start to finish. Every single detail. Each important step. All the little secrets that make this dish so special. We’ll talk ingredients. Perfect chicken. Incredible sauce. Bringing it all together. Get ready. Turn your kitchen into an Italian eatery. Impress everyone. With your creamy, dreamy Chicken Alfredo masterpiece!
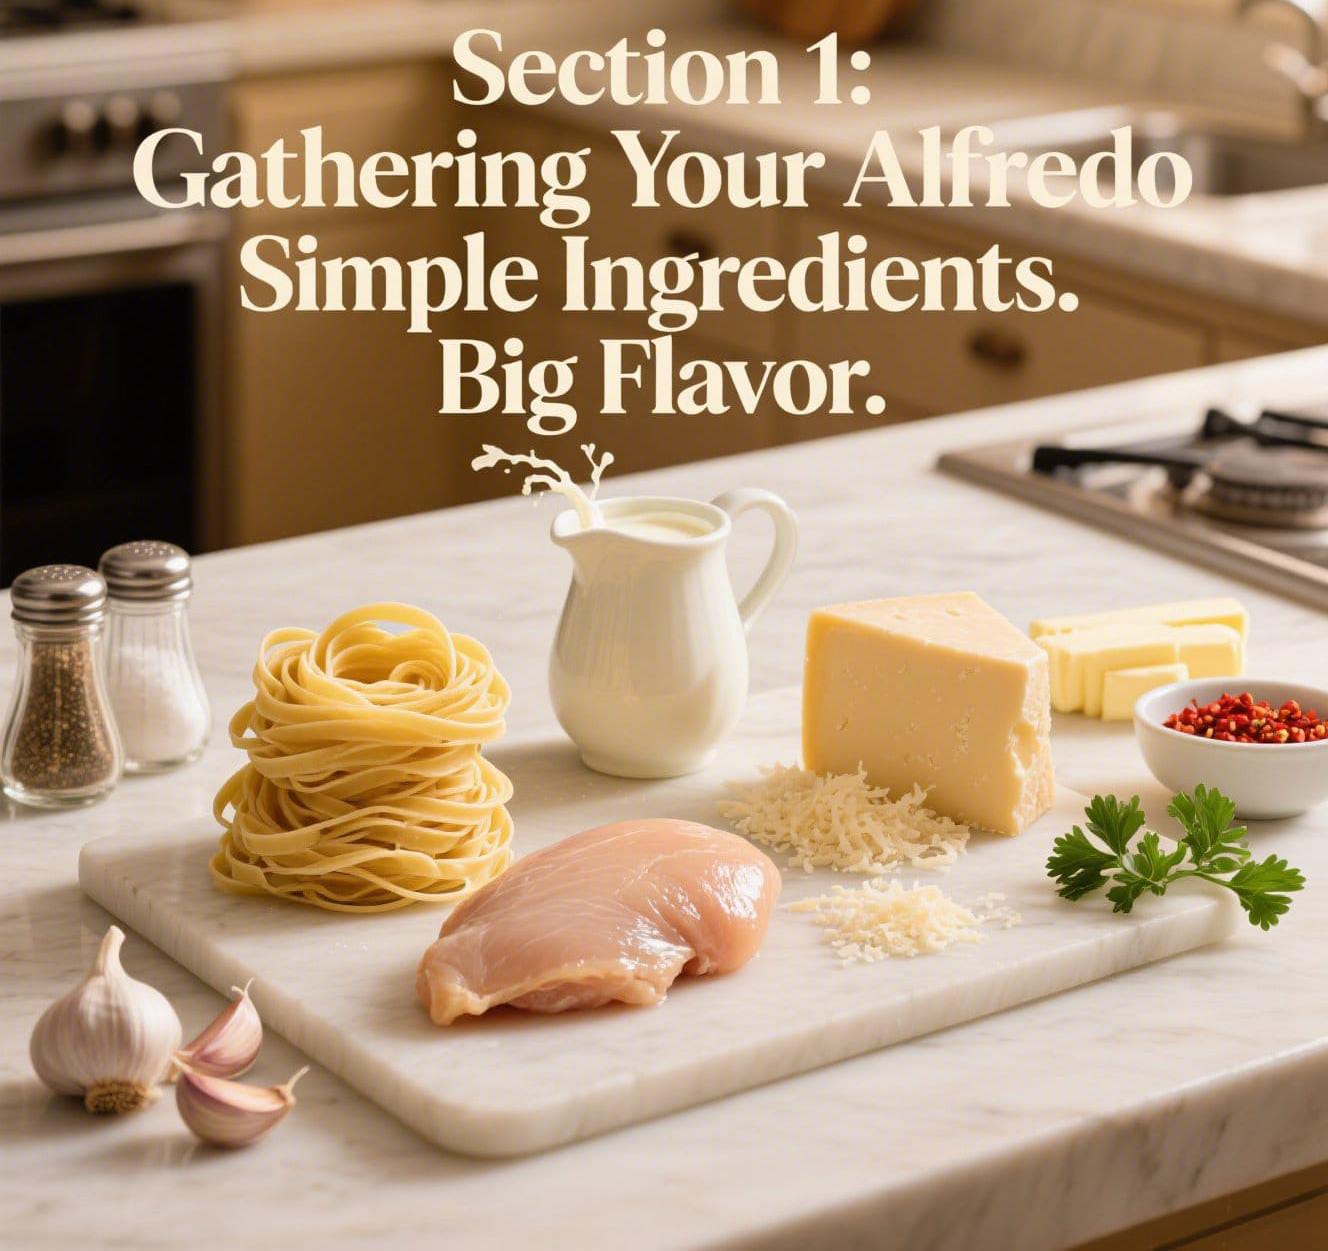
Section 1: Gathering Your Alfredo Arsenal – Ingredients & Tools
Alright, chef-in-training. Before we dive into the creamy goodness, let’s get our “battle gear” ready. Proper preparation. Key. Makes cooking smooth. Even fun.
Your Star Ingredients. The Heroes of Our Dish.
Fantastic Chicken Alfredo. It needs simple things. But high-quality ones.
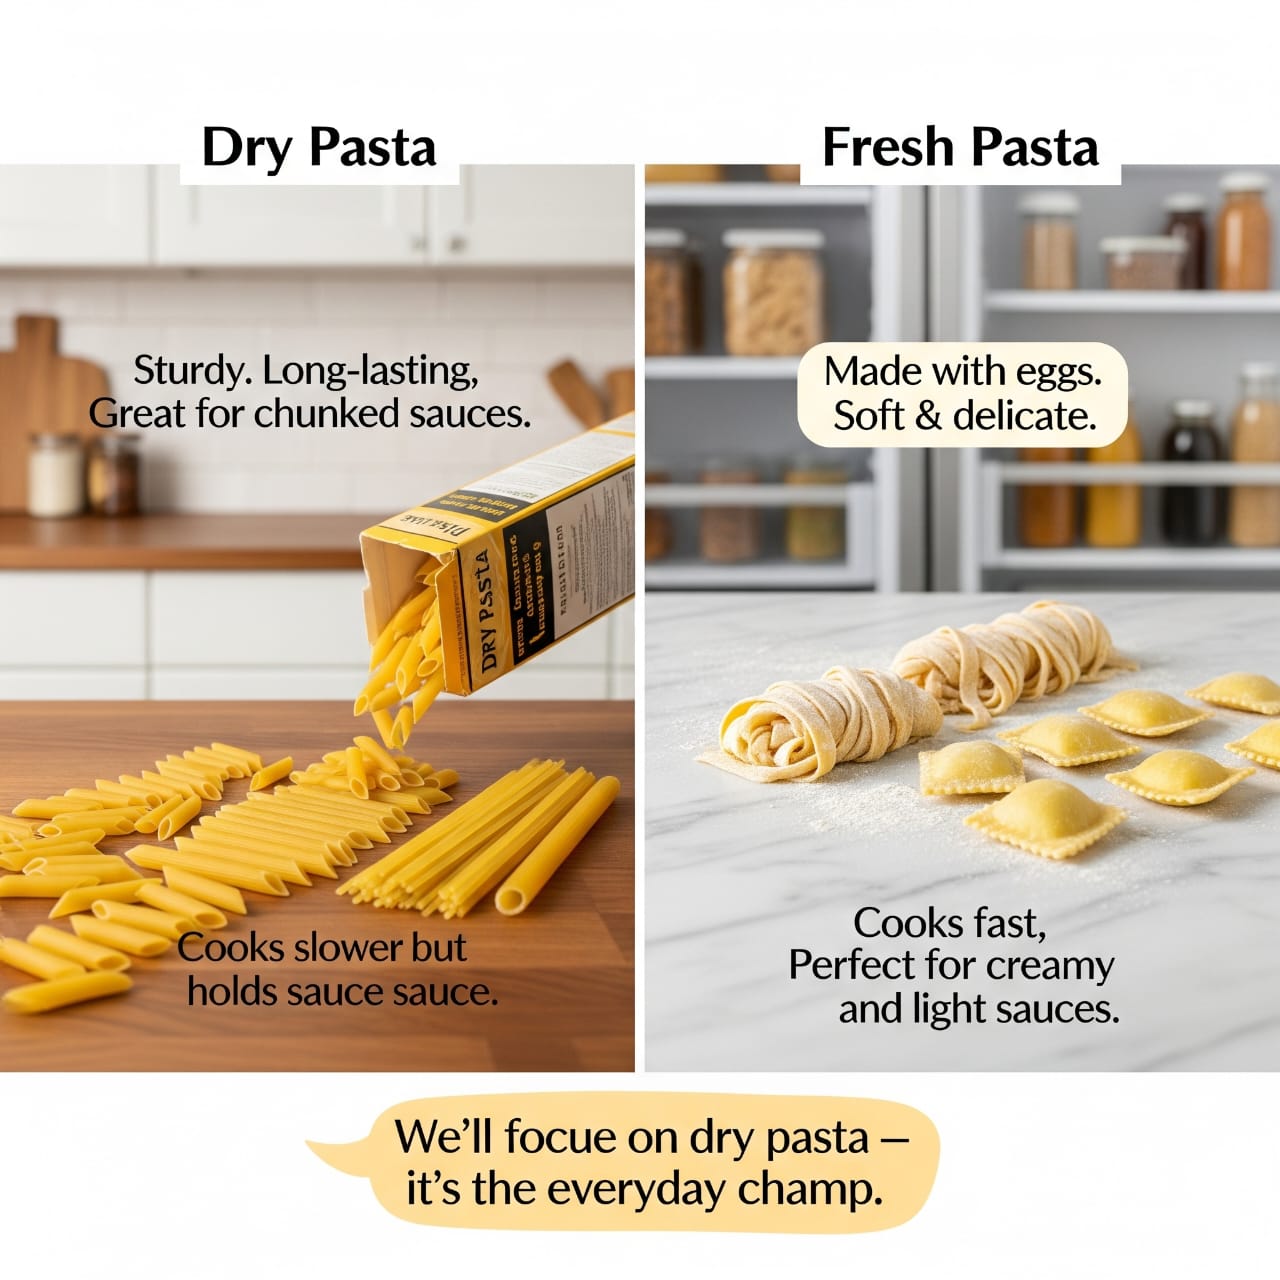
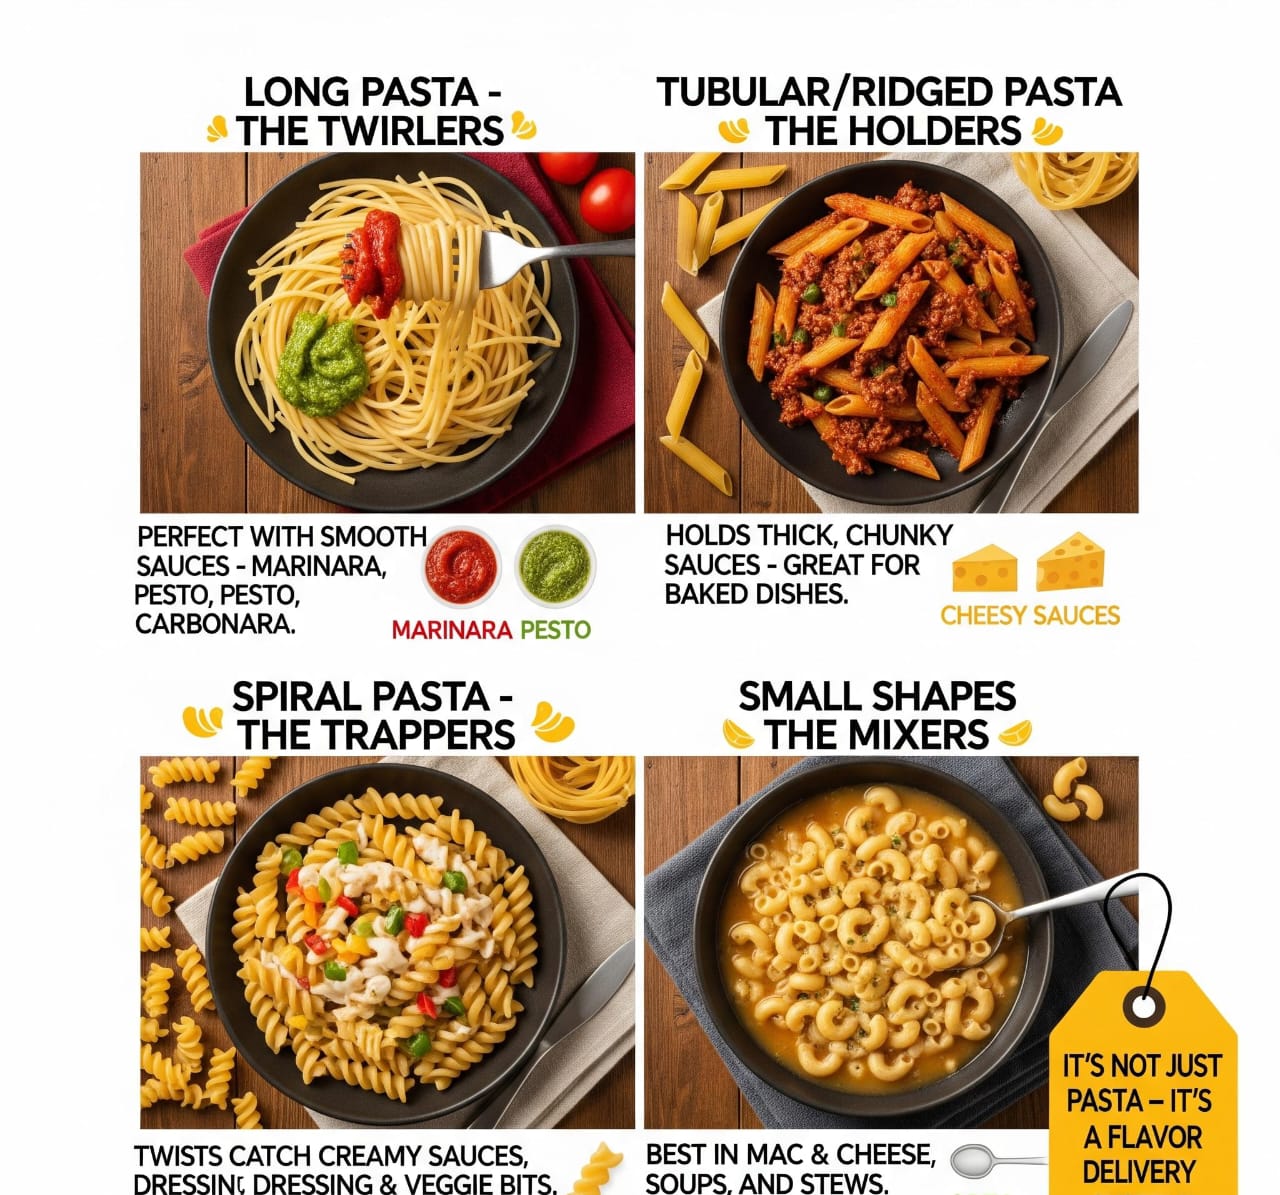
1. Fettuccine Pasta:
The classic choice. Always. Why? Long. Flat. Wide ribbons. Perfect. Holds that thick, rich Alfredo sauce. Clings. Every strand.
Long pasta is fine, like Linguine. Or shorter ones. Penne. Rotini. But fettuccine? King. Hands down.
Get a 1-pound box. Standard.
2. Chicken:
Just try to take Chicken Breasts: Boneless. Skinless. Common choice. Lean. Cooks fast. About 1 to 1.5 pounds. Good.
Chicken Thighs: Some prefer these. Boneless. Skinless. More flavor. Juicier. Either works. Your preference.
3. Heavy Cream. The Creamy Heart.
Non-negotiable. For real, Alfredo. You need heavy cream. Don’t try to use half milk or light cream. They just won’t work. No richness. No thickness. About 1.5 to 2 cups. Precisely.
4. Parmesan Cheese. The Flavor Powerhouse.
Freshly Grated is Best! This is a huge secret. Seriously. Skip the pre-shredded stuff. In a bag? No. It has additives. Doesn’t melt right. Buy a wedge. Parmigiano-Reggiano? Fancy, but worth it. Grate it yourself. Big difference. Taste. Texture. About 1.5 to 2 cups (packed). Once grated.
5. Butter. The Richness Maker.
Unsalted. Better. You control the salt.
About 1/2 cup. One stick.
6. Garlic. The Aromatic Star.
Fresh cloves. Minced. Essential. Classic Alfredo smell. And taste. 3-4 cloves. More if you love garlic. I do.
7. Salt & Black Pepper:
Simple. But important. Bring out all flavors. Freshly ground black pepper? Best.
8. Optional Garnishes:
Fresh parsley. Chopped. Color. Freshness.
Red pepper flakes. A tiny kick. For a little heat.
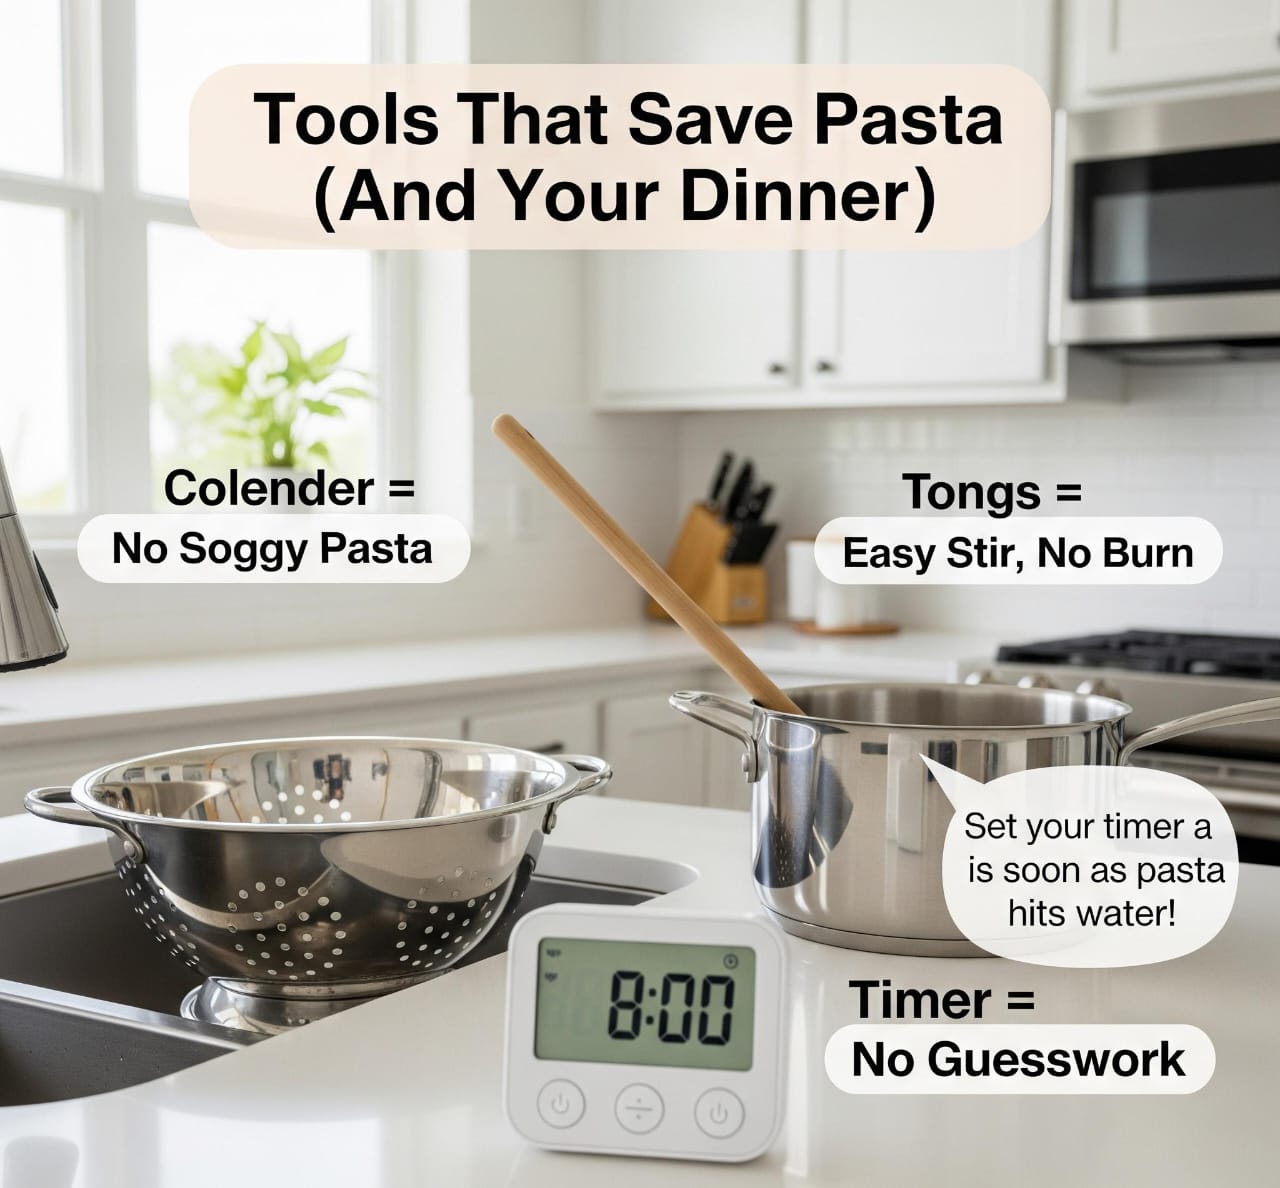
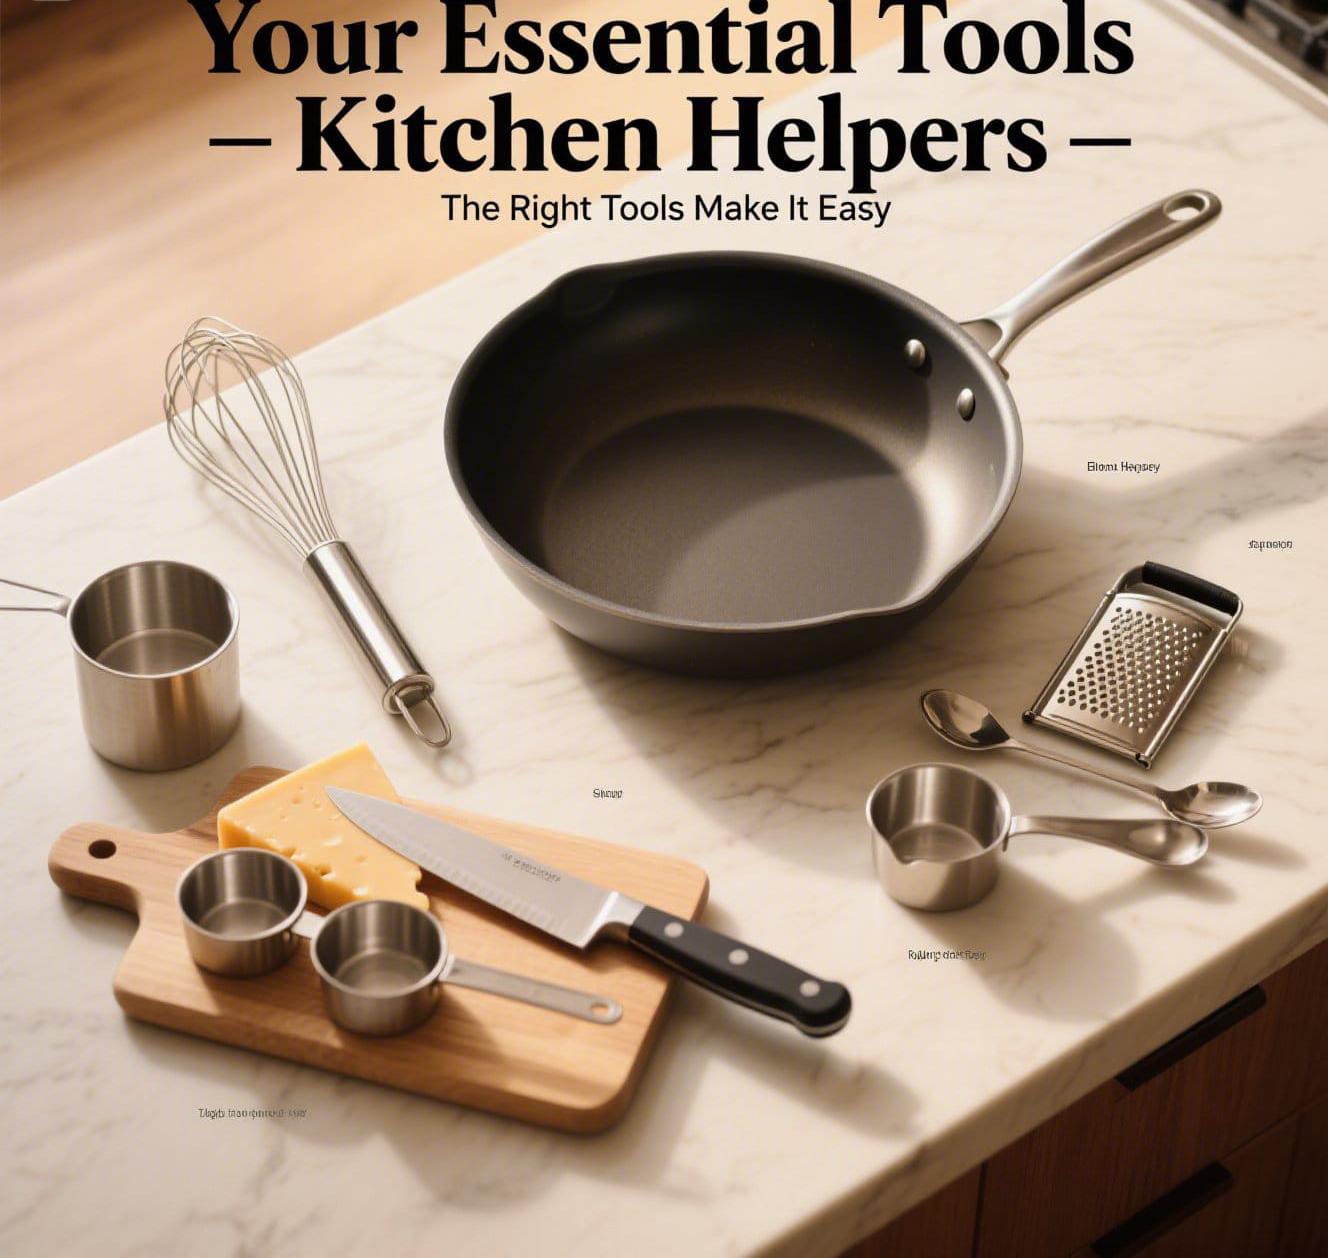
Your Essential Tools. Kitchen Helpers.
- Large Pot: For pasta. Big is good!
- Large Skillet or Sauté Pan: For chicken. For sauce. Deep work.
- Whisk: The Sauce needs it. Smooth. Creamy.
- Tongs Chicken. Pasta. Easy handling.
- Cheese Grater: For your Parmesan. If using a block.
- Cutting Board & Sharp Knife: Chicken. Garlic. Standard.
- Measuring Cups & Spoons: Accuracy is good.
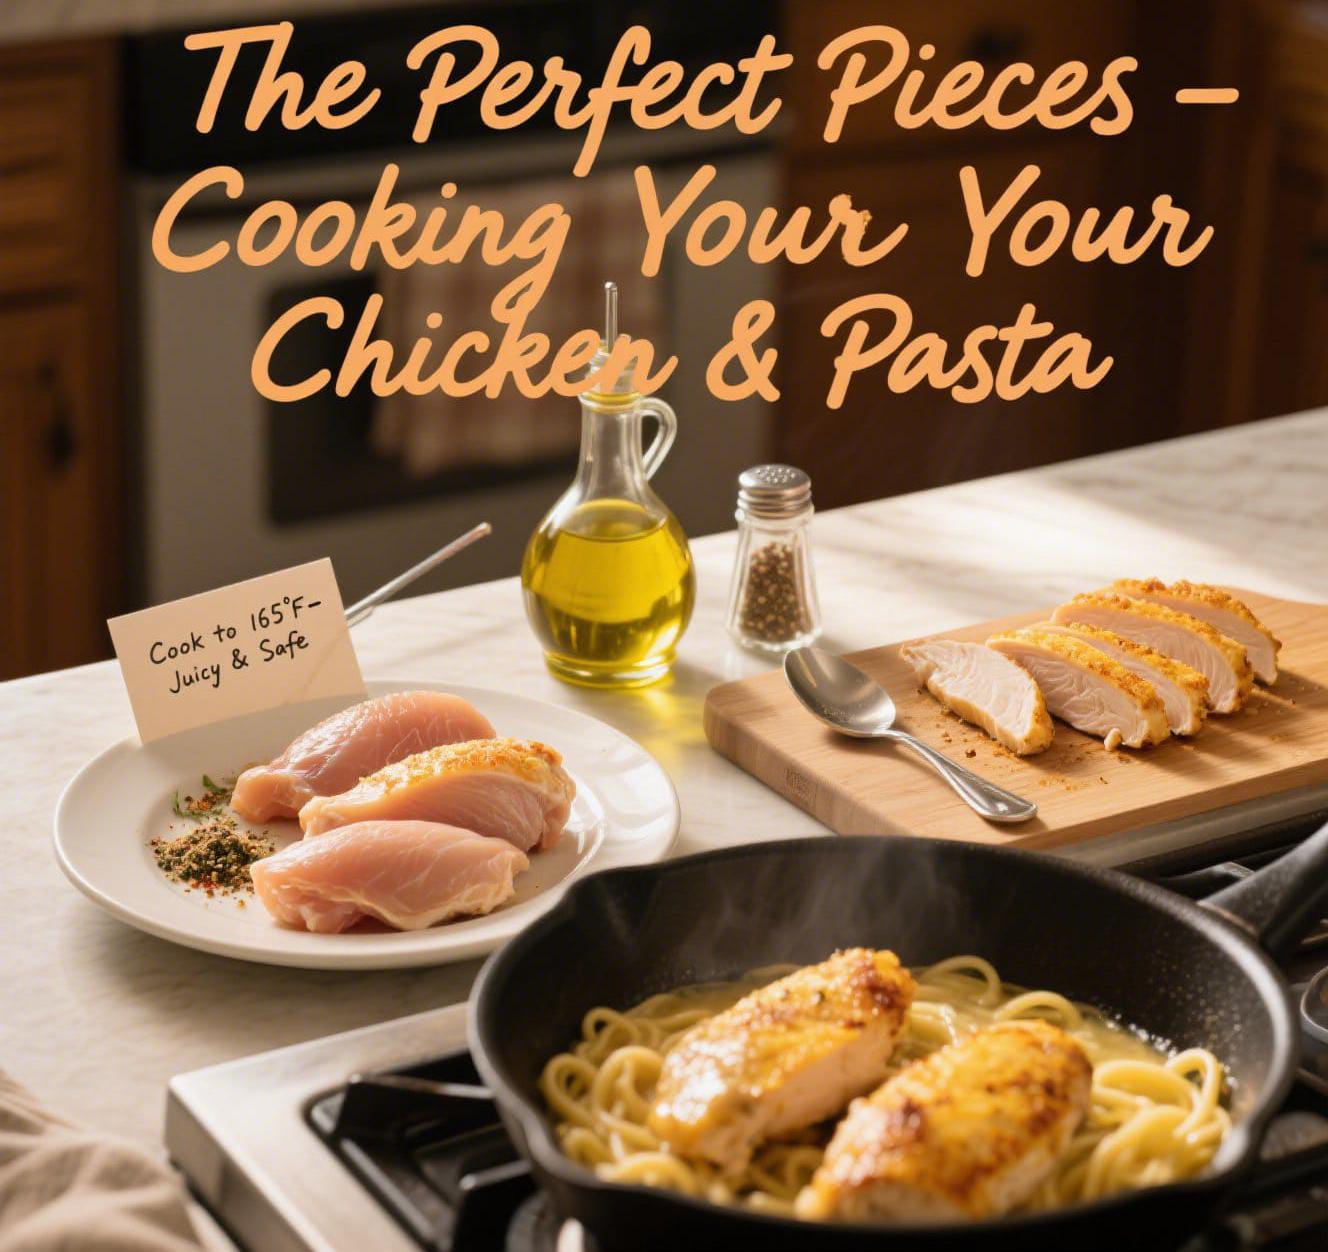
Section 2: The Perfect Pieces – Cooking Your Chicken & Pasta
Before the creamy sauce. Chicken. Pasta. Ready. Each part. Just right.
Pillar 1: Cooking the Chicken. Tender. Flavorful.
This sets the stage. Juicy chicken. Well-cooked.
1. Prep the Chicken: Pat dry. Paper towel. Helps browning. Cook whole. Or cut into pieces. Thin cutlets. Faster cooking. Your call.
2. Season the Chicken: Salt. Black pepper. Both sides. Generously. Don’t be shy.
3. Heat the Pan: Skillet on. Medium-high heat. Add olive oil. Or butter. A tablespoon or two.
4. Cook the Chicken: Oil shimmers. Hot. Not smoking. Add chicken. Carefully. Don’t overcrowd. Batch cook if needed.
5-7 minutes per side for whole breasts. 3-5 for smaller pieces. Until golden brown. Cooked through. Done? Cut into the thickest part. White inside. No pink. Meat thermometer? 165°F (74°C). Perfect.
5. Rest and Slice: Remove chicken. Cutting board. Let it rest. 5 minutes. Vital. Keeps it juicy. Then slice. Or dice. Bite-sized pieces. Set aside.
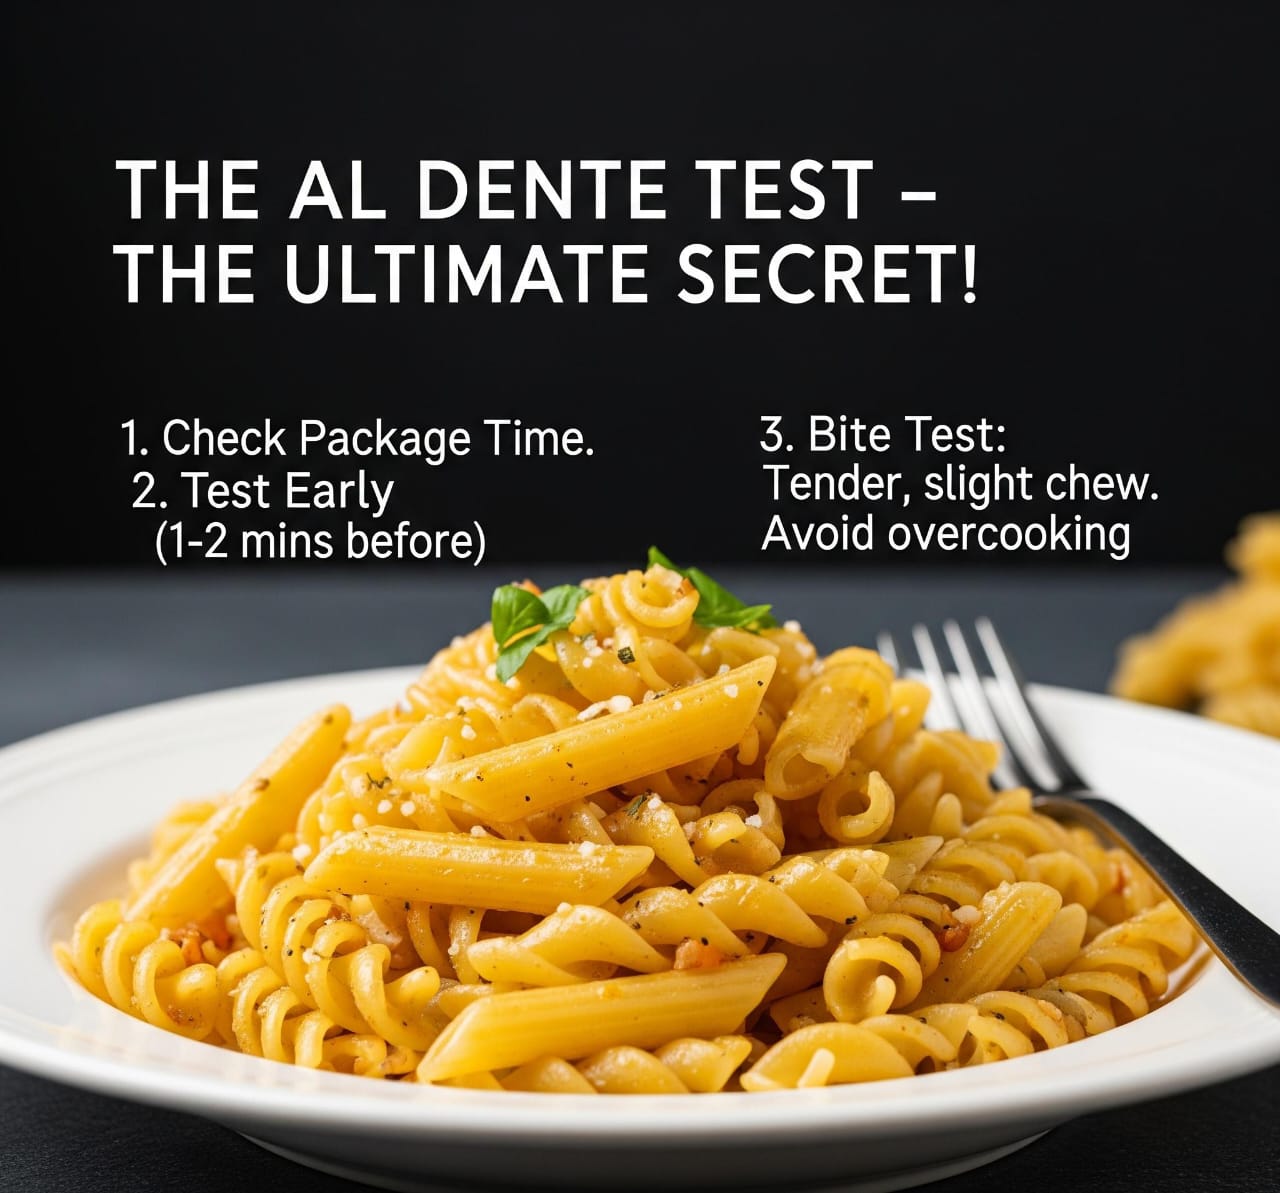
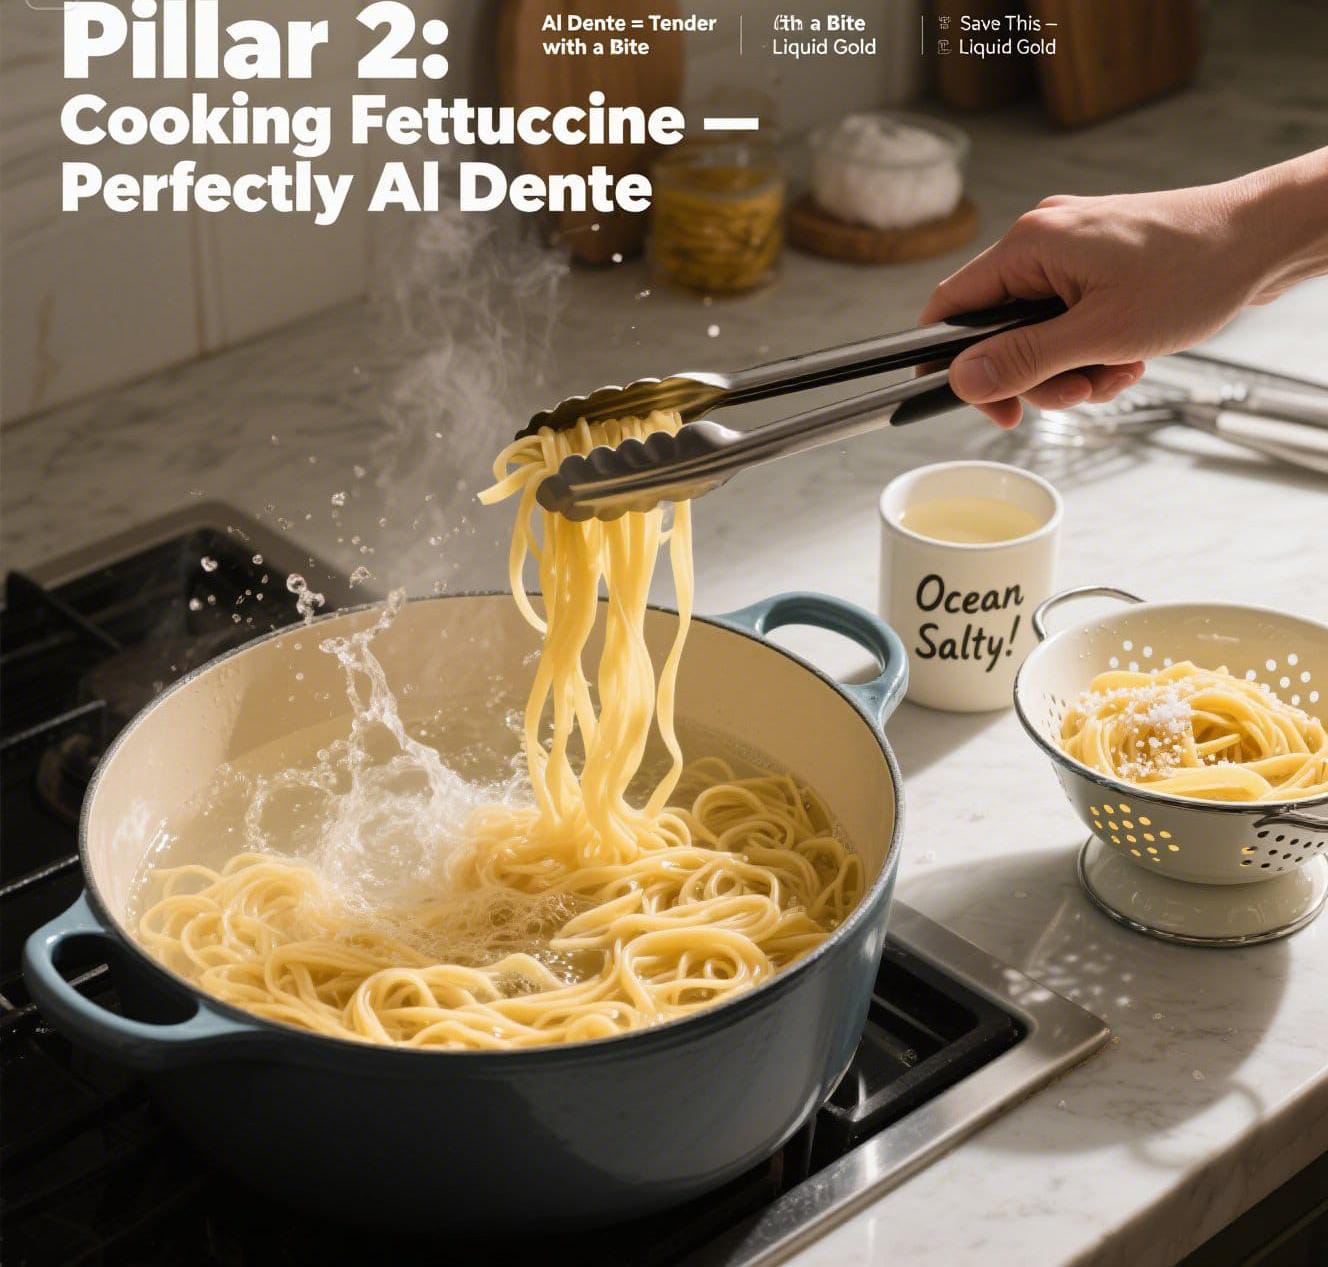
Pillar 2: Cooking the Fettuccine. Perfectly Al Dente.
Pasta needs to be perfect. Holds that sauce.
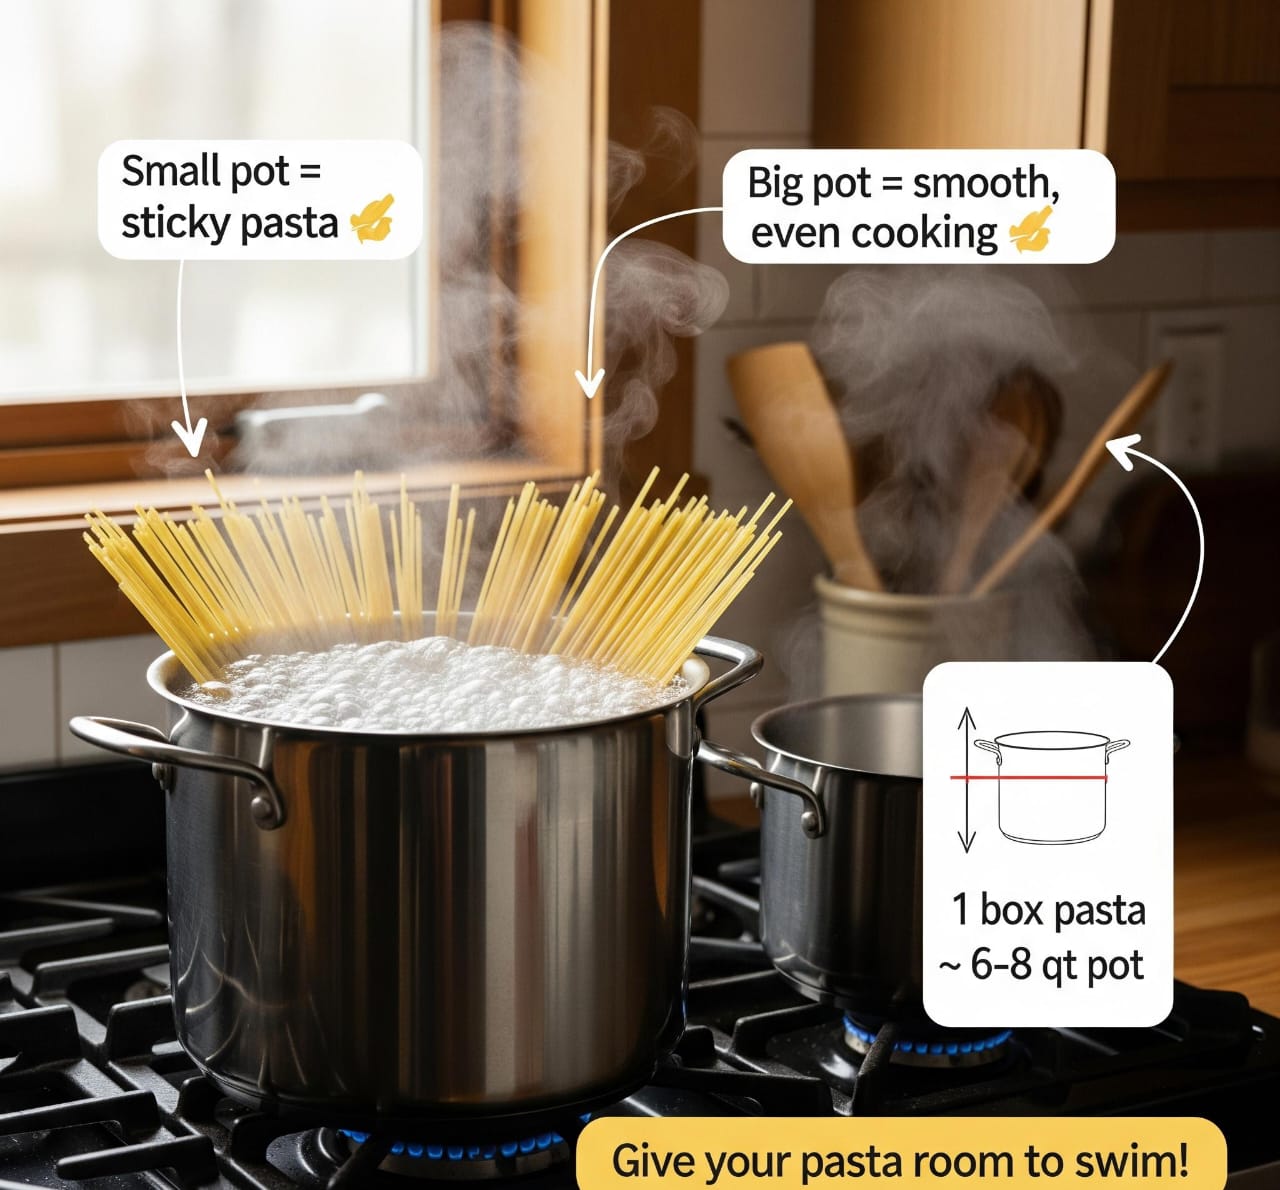
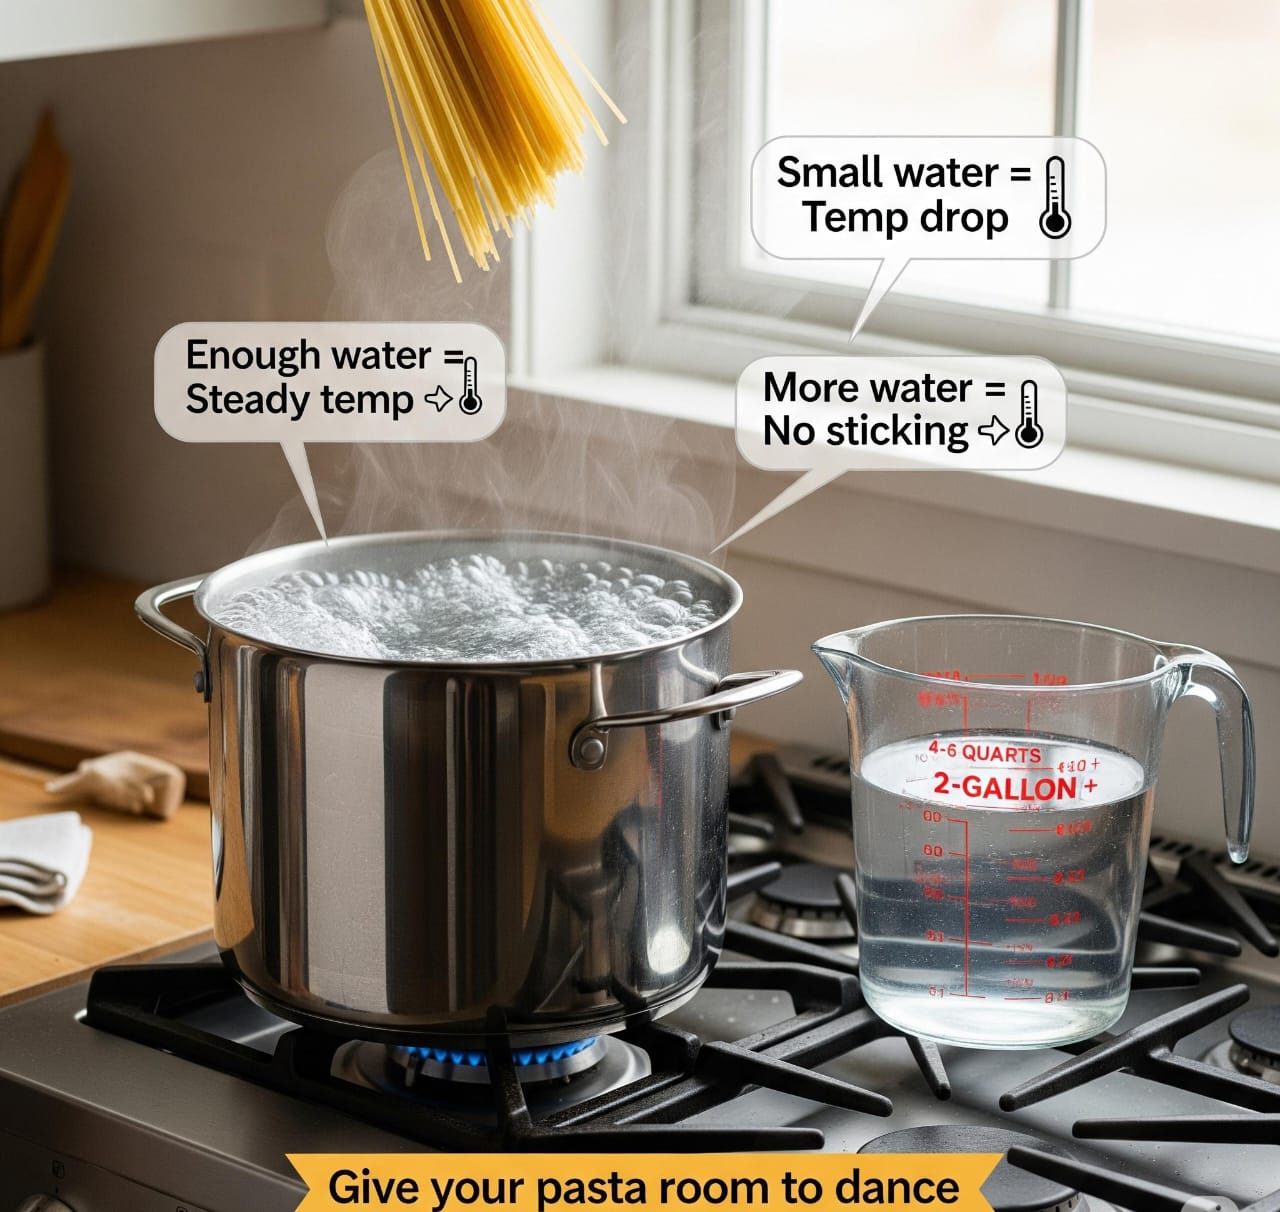
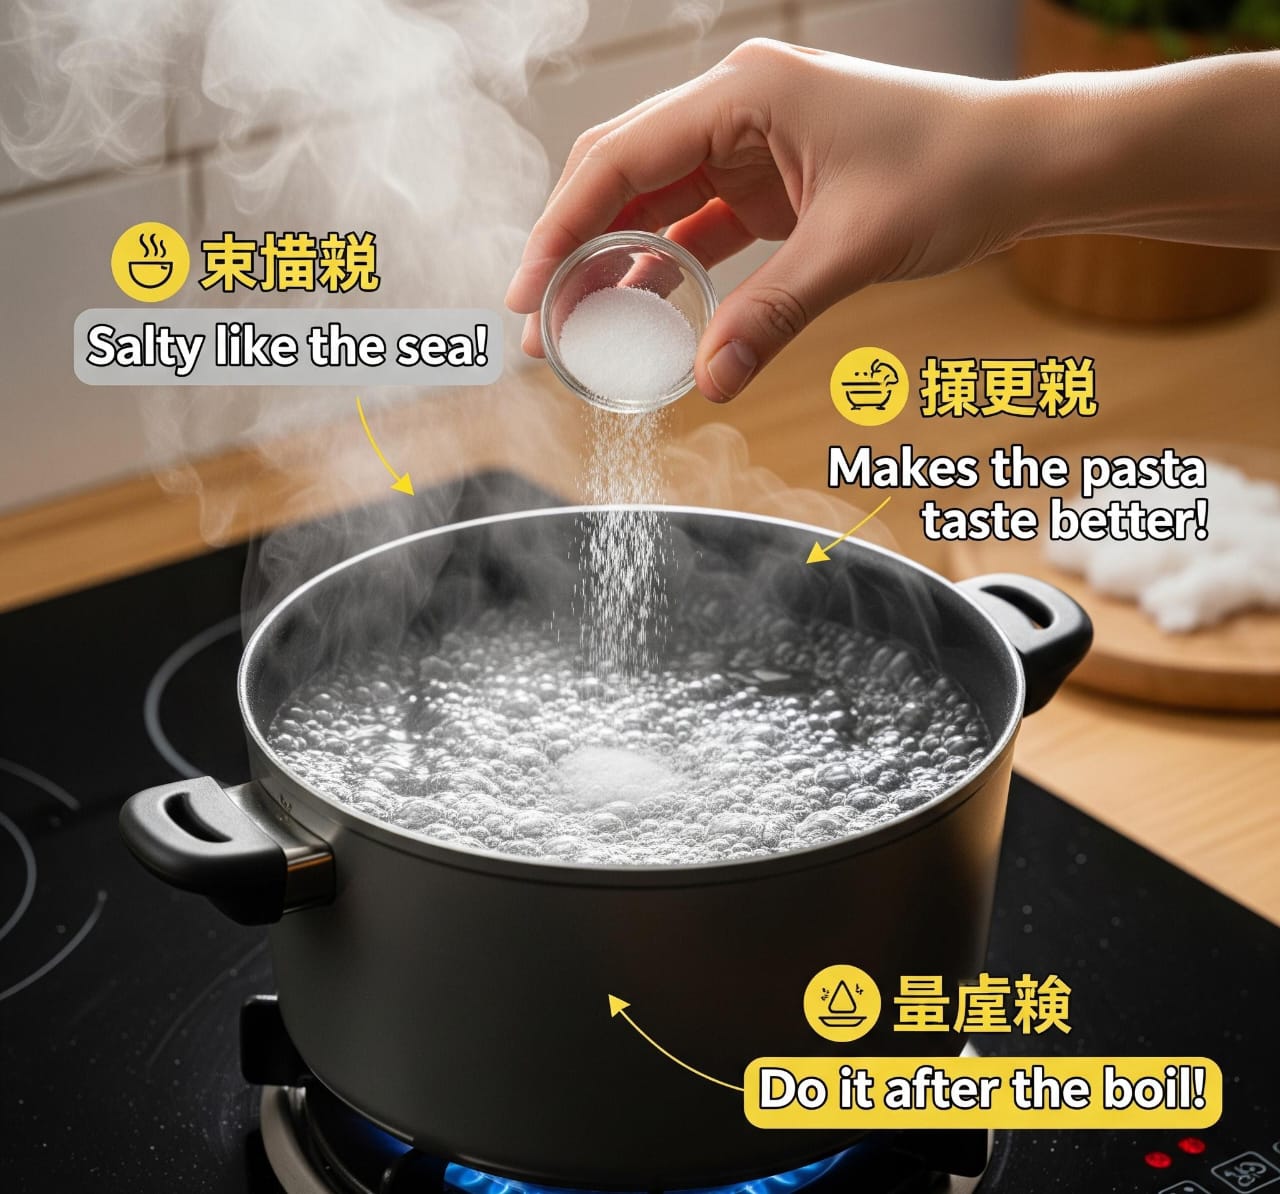
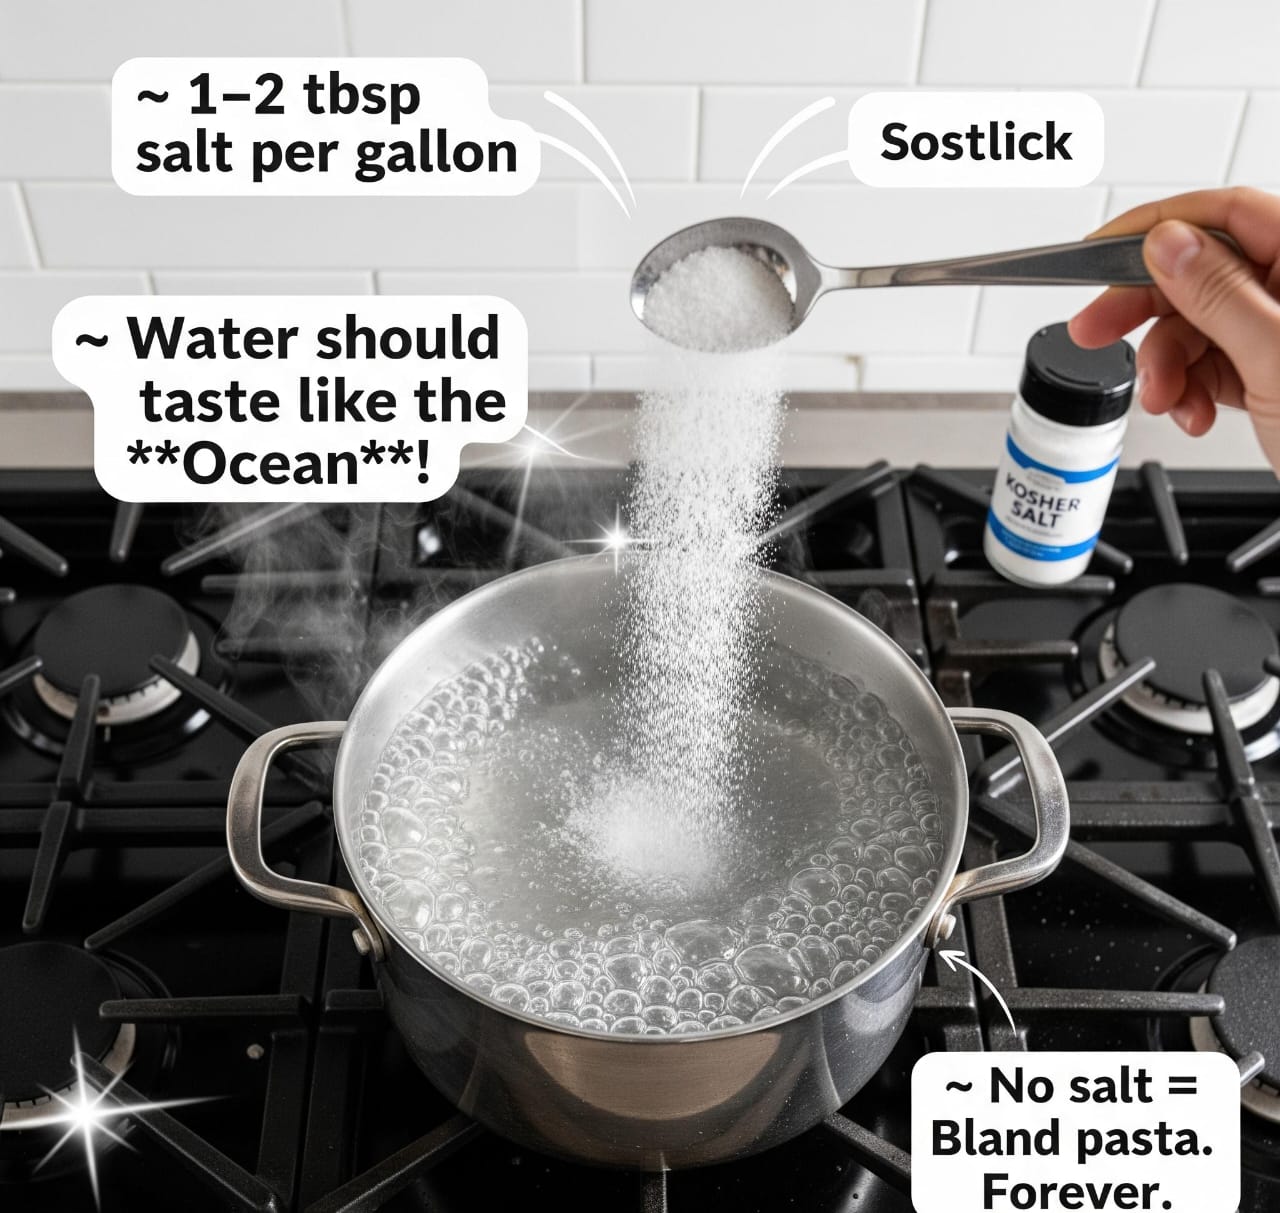
1. Boil Water: Big pot. Plenty of water. Rolling boil. High heat.
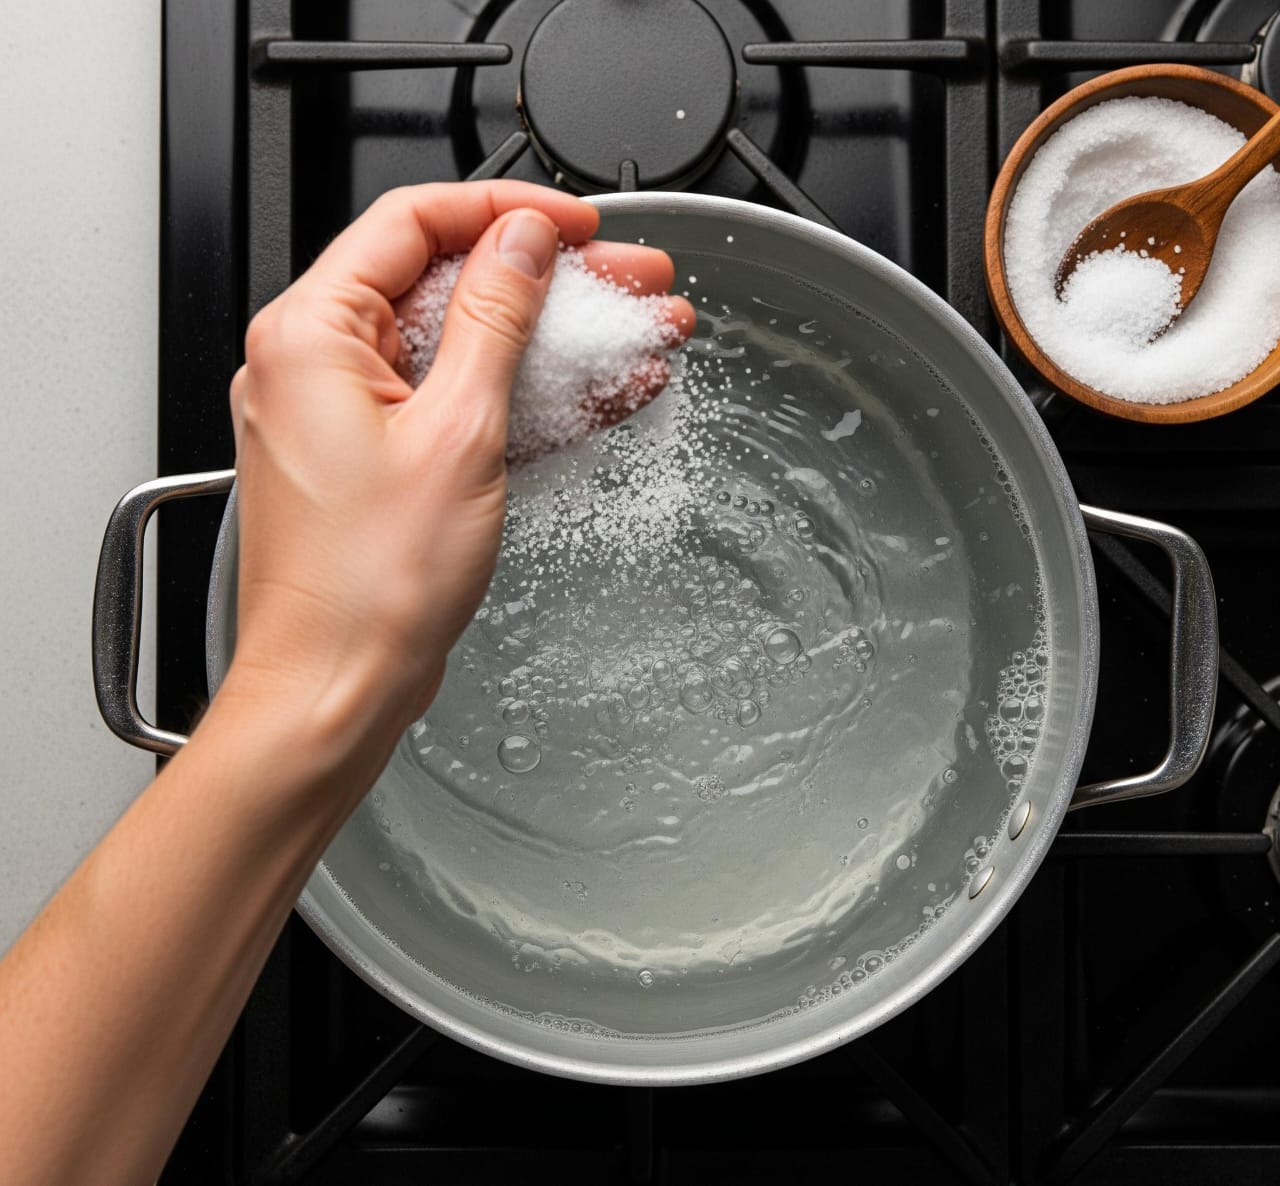
2. Add Salt: Boiling? Add salt. Generously. Ocean salty. Flavor the pasta.
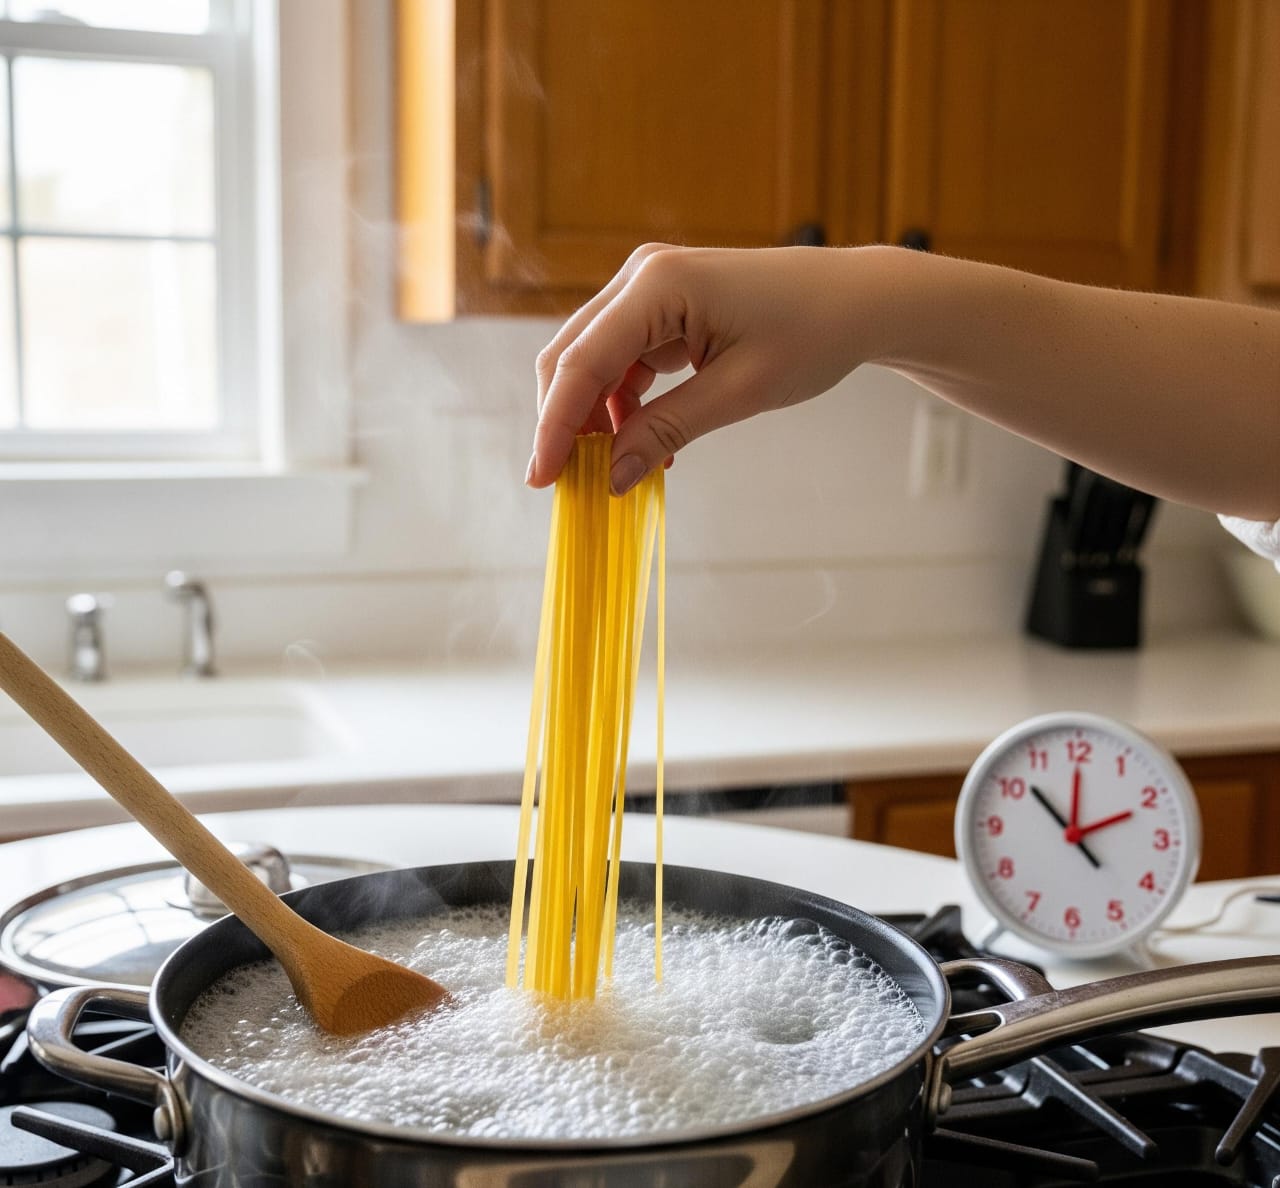
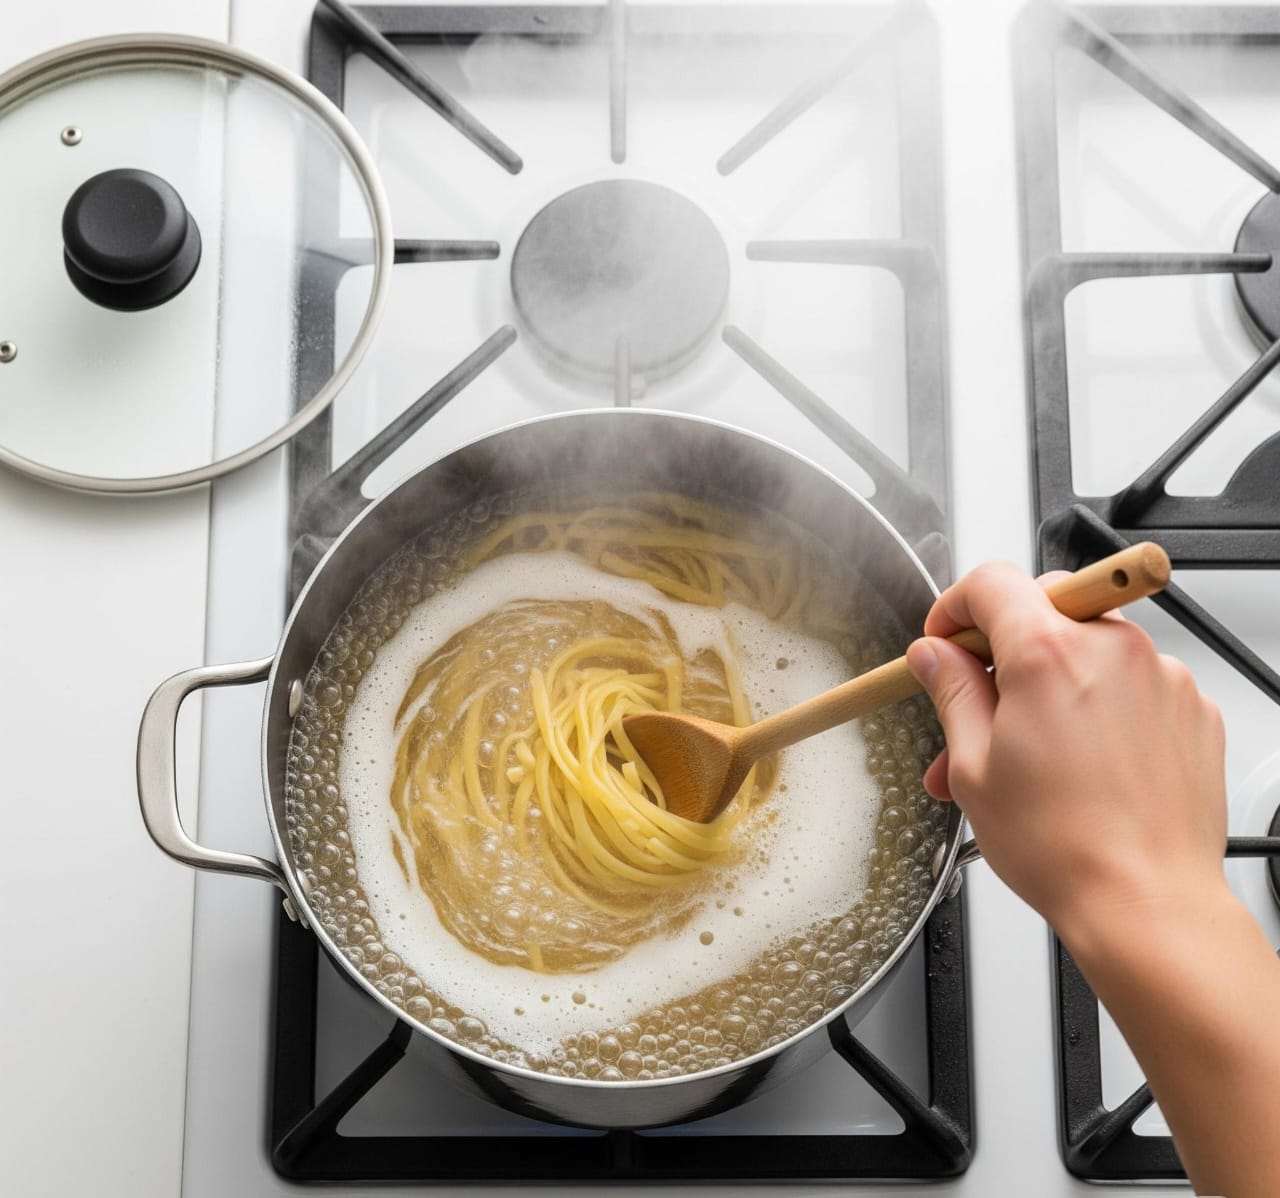
3. Cook Pasta: Fettuccine in. Stir immediately. Stops sticking. Cook per package. Al Dente! Start testing a minute or two before the time. Tender. Firm to bite. Slight chew. Not mushy.
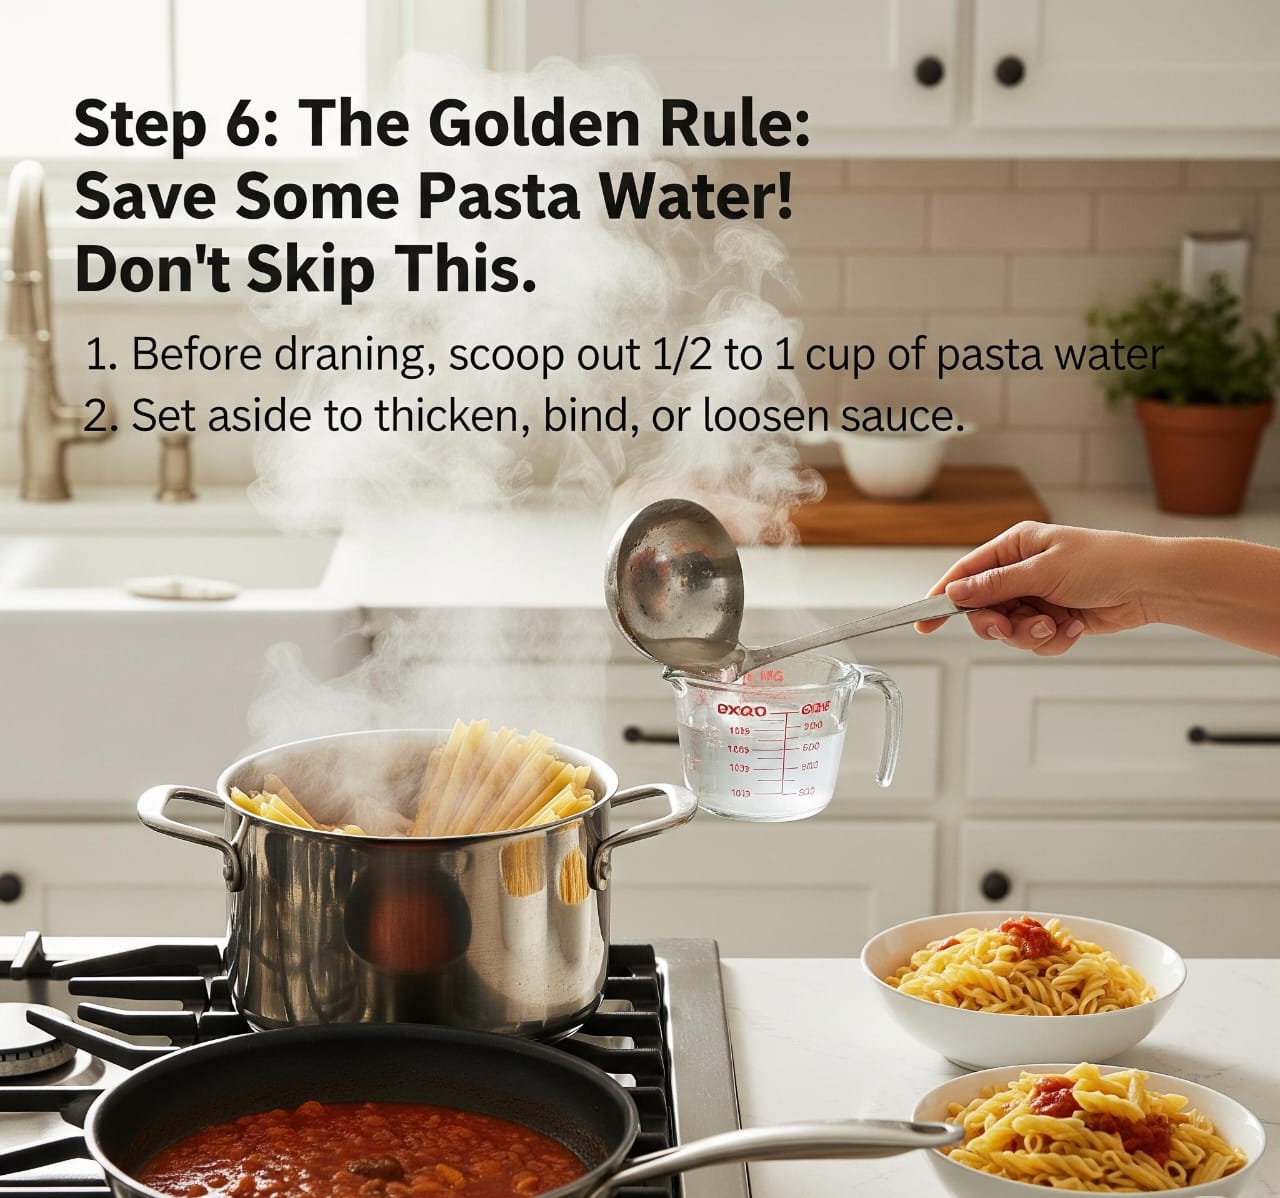
4. Save Pasta Water: Crucial for Alfredo. Scoop out 1 to 1.5 cups. Starchy water. Set aside. Liquid gold.
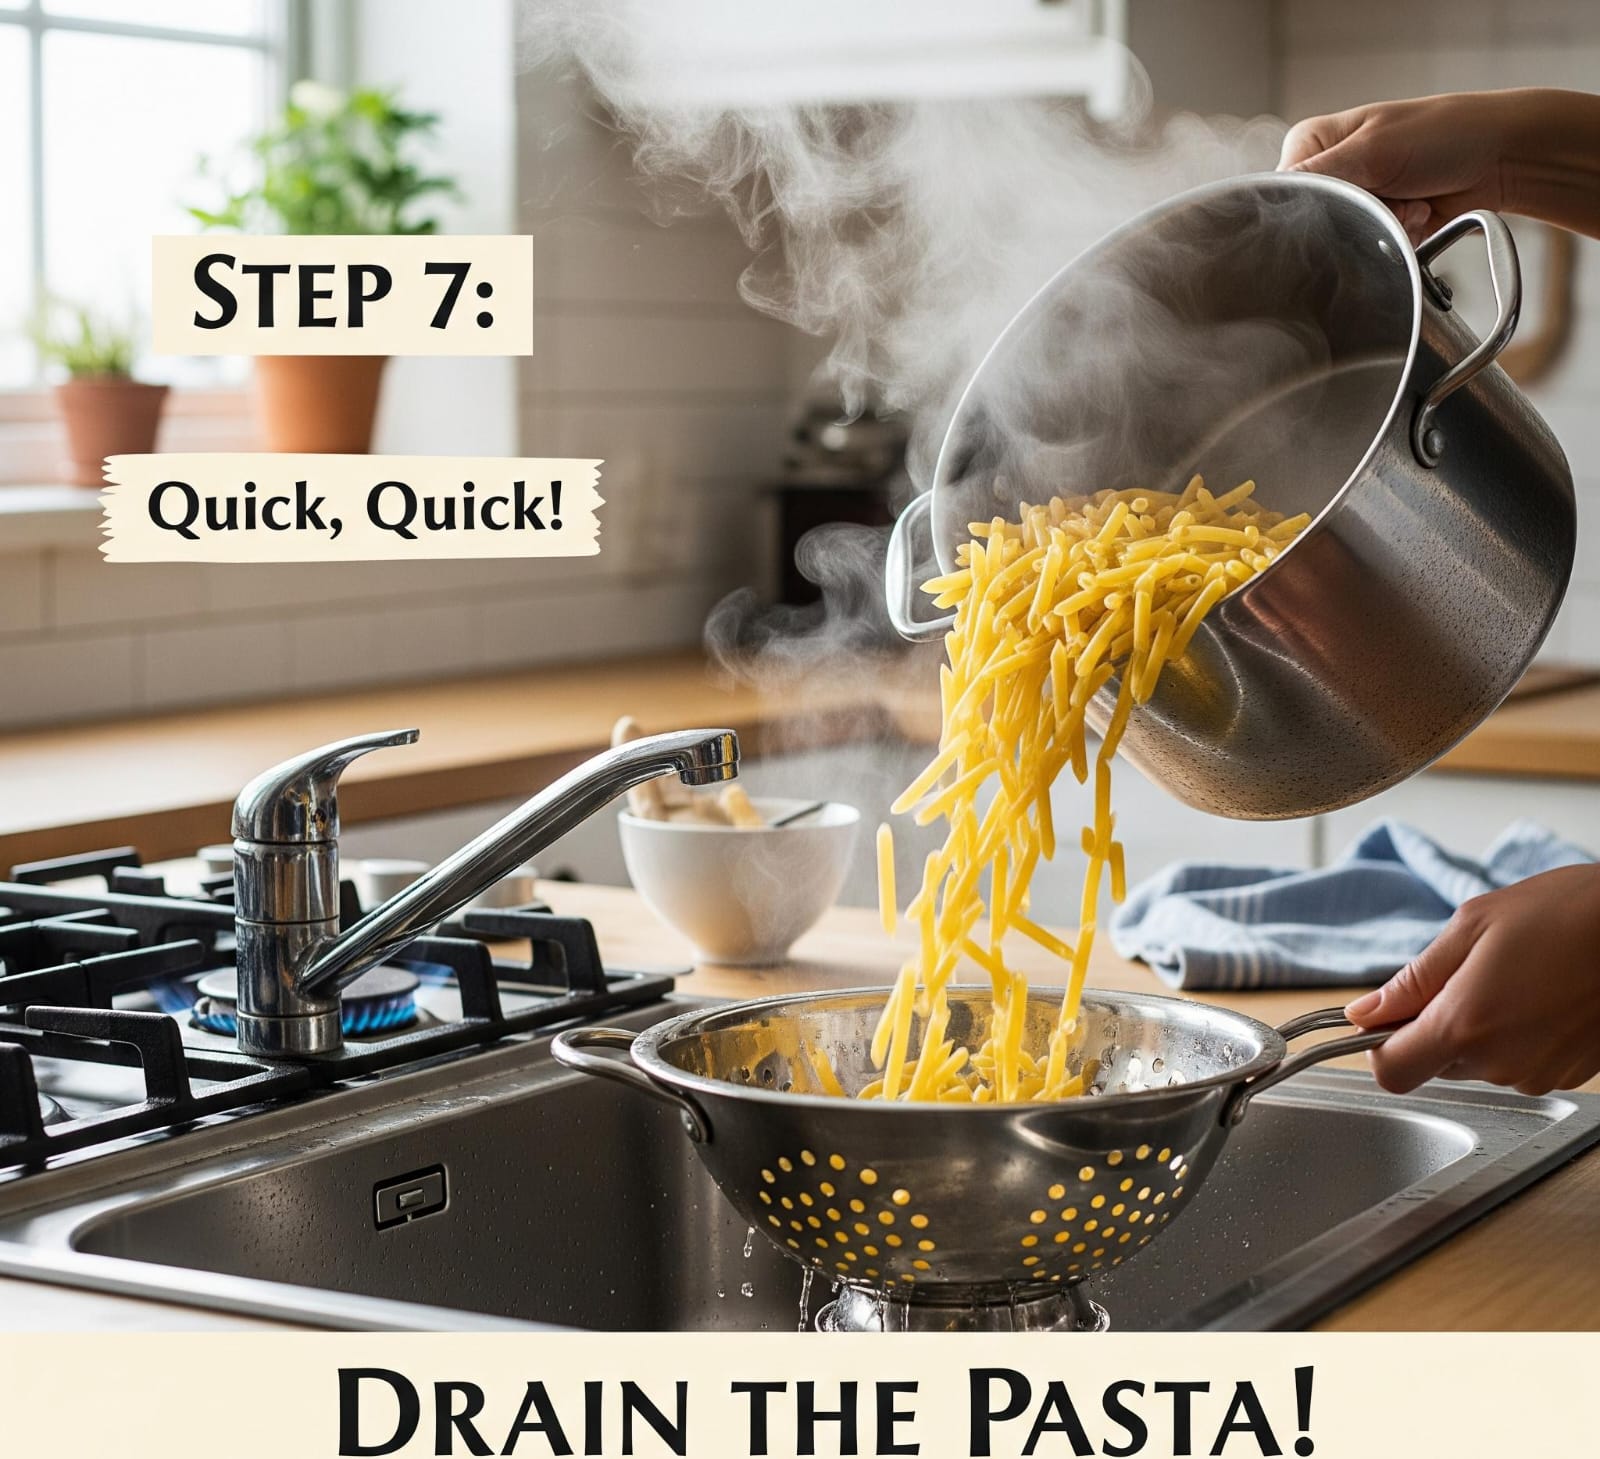
5. Drain Pasta: Colander. Drain. Do Not rinse! Starch helps sauce cling. Important.
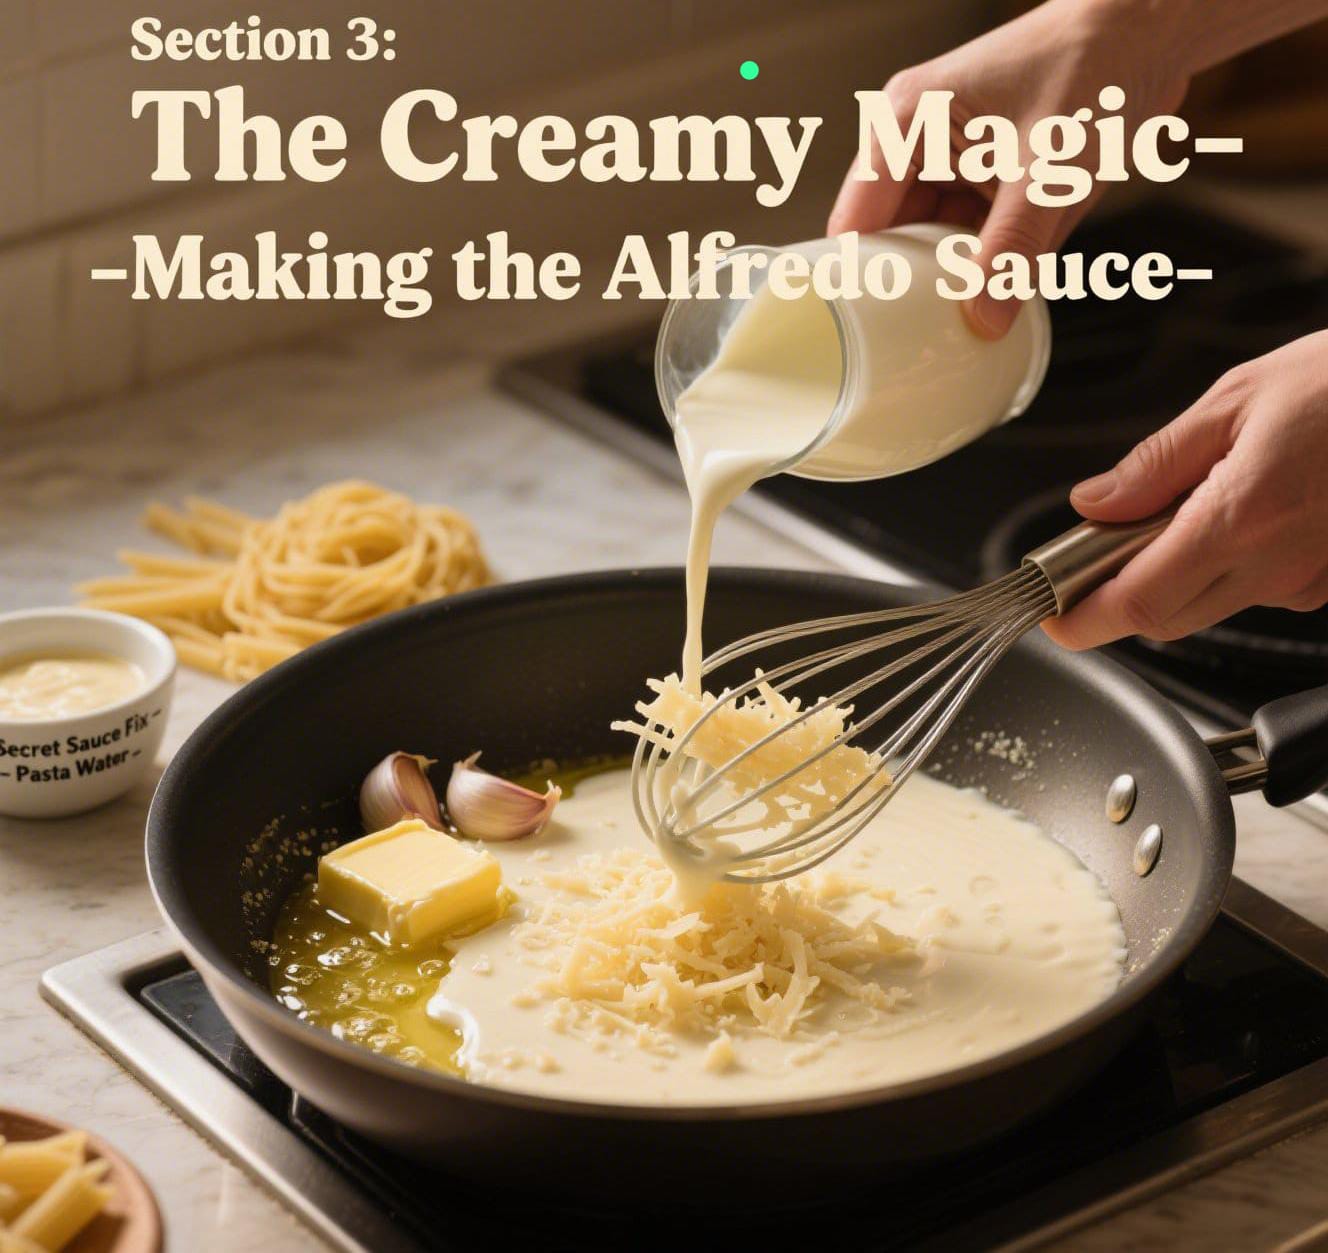
Section 3: The Creamy Magic – Making the Alfredo Sauce
Here it is. Chicken Alfredo comes to life. Sauce. Surprisingly simple.
1. Melt Butter & Sauté Garlic:
- Try to use the same skillet. Don’t clean it. Those chicken bits? Flavor!
- Let the butter melt on Medium-low heat.
- Add minced garlic. 1 minute only. Smell it. Don’t brown. Don’t burn. Bitter otherwise.
2. Add Heavy Cream:
- Pour in cream. Stir gently.
- Let it heat up to medium. Bring to a gentle simmer. Tiny bubbles. Don’t boil hard! Just warm. Stir often.
- Simmer 2-3 minutes. Thickens slightly.
3. Whisk in Parmesan Cheese:
- Skillet off the heat. Important! Hot liquid clumps cheese.
- Parmesan should be added gradually in shredded form. Handful at a time. Whisk. Constantly.
- Whisk until melted. Smooth. Creamy. Thickens as you go.
- Secret Tip (The Pasta Water!): Sauce too thick? Or too heavy? Add a splash. Tablespoon or two. Of that reserved starchy pasta water. Whisk. Super silky. Clings beautifully. Magic.
4. Season the Sauce:
- Taste it. Salt. Black pepper. To your liking. Parmesan is salty. Add salt slowly. Balanced flavor.
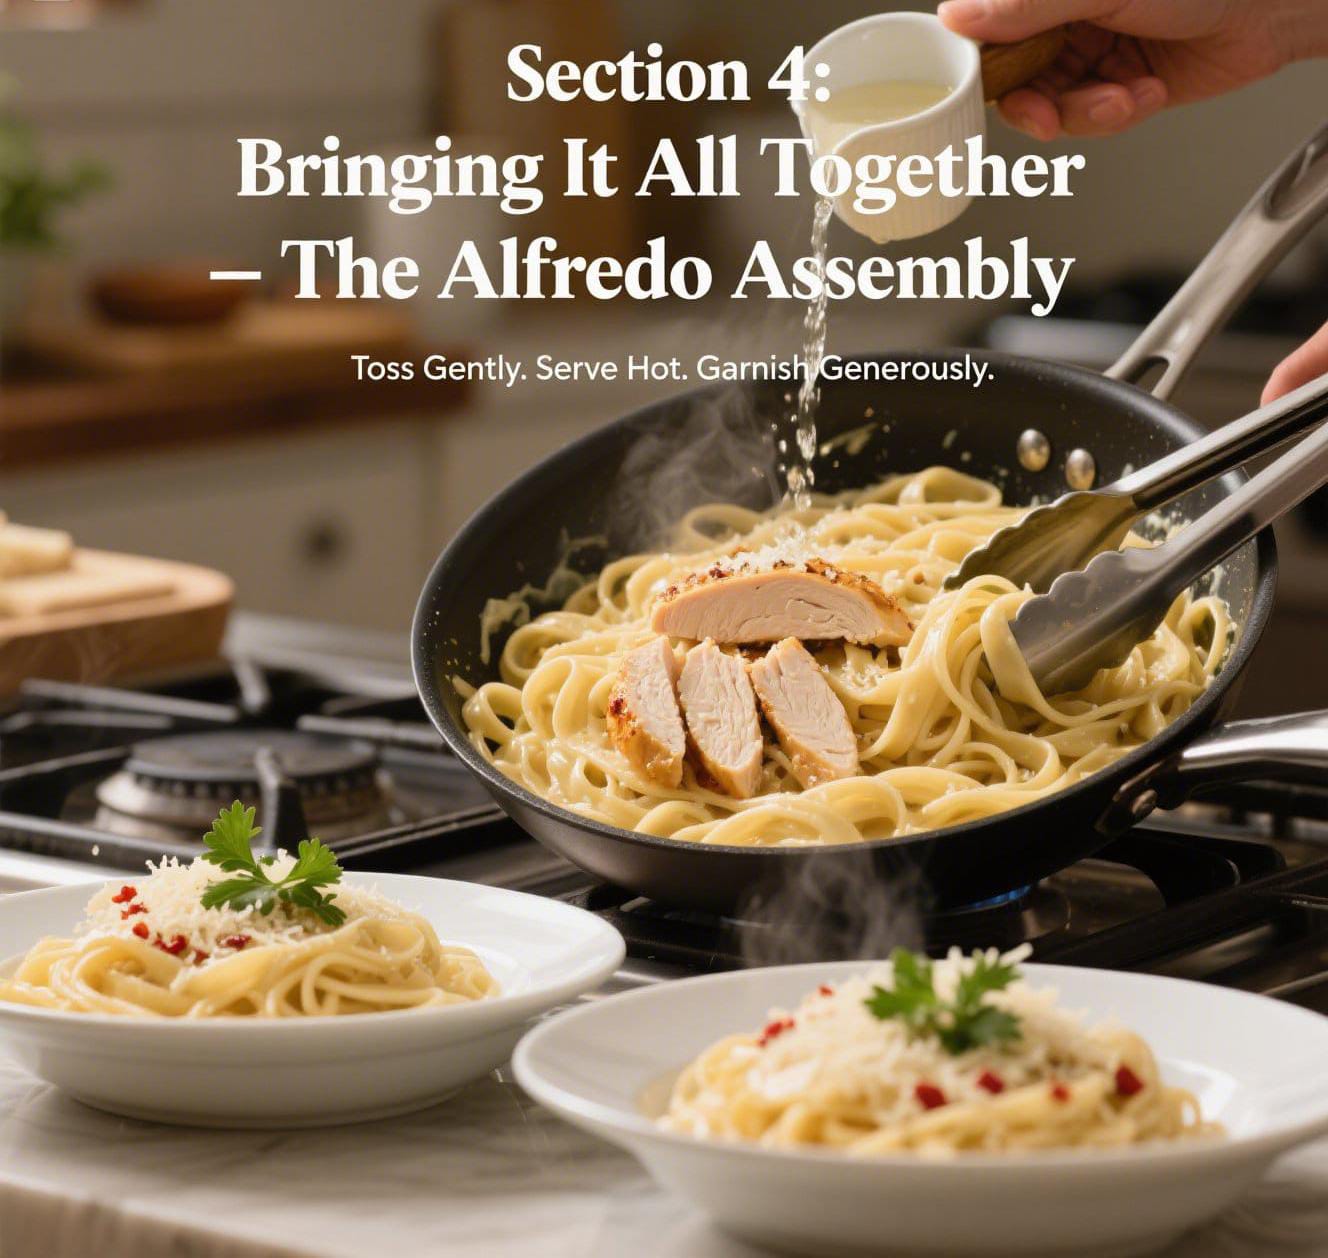
Section 4: Bringing It All Together – The Alfredo Assembly
Grand finale! Combining everything. Into one harmonious dish.
1. Add Pasta to the Sauce:
- Drained fettuccine. Into the skillet. With sauce.
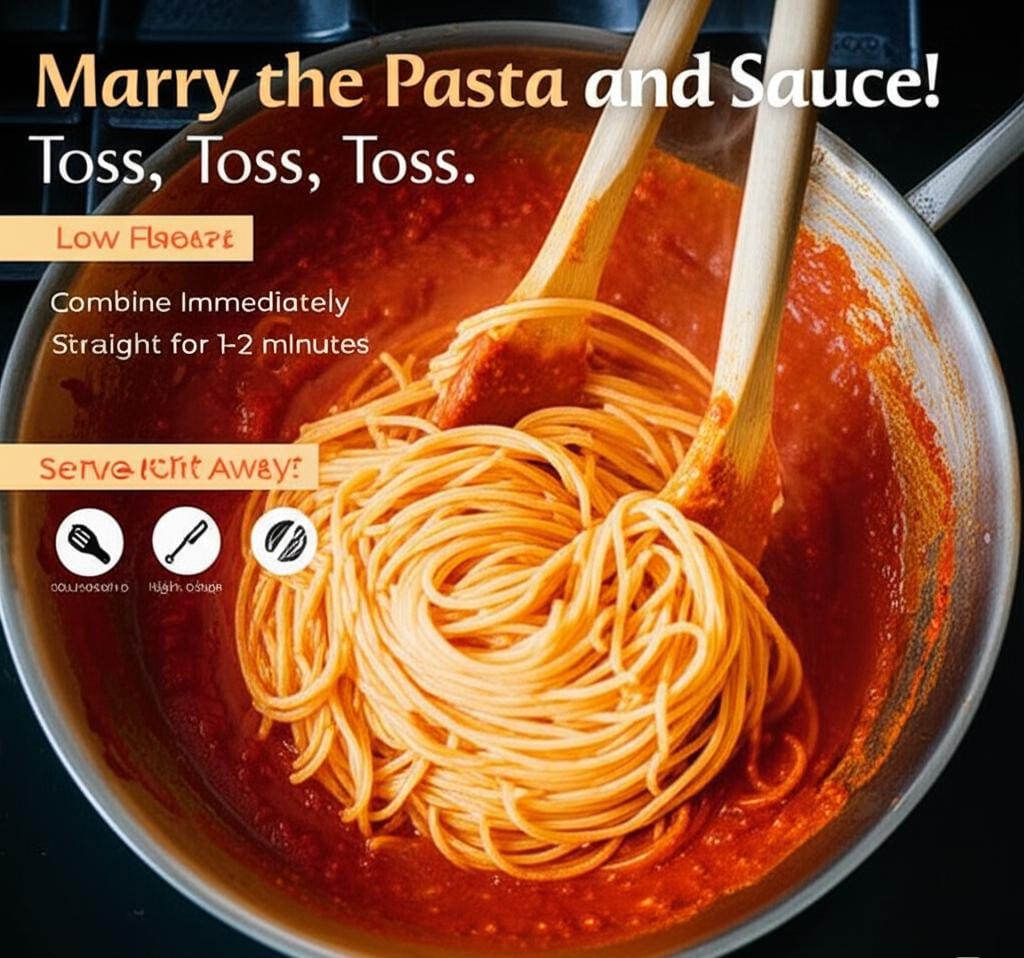
- Tongs. Gently toss. Coat every strand. Rich. Creamy. Gently. Thoroughly.
- Another splash of pasta water. Seriously helps.
2. Add Chicken:
- Cooked chicken. Sliced. Diced. Into the skillet. With pasta.
- Toss again. Gently. Combine. Warm the chicken.
3. Serve Immediately!
- Chicken Alfredo is best hot. Right away. The sauce is creamiest. Pasta perfect.
- Serve generously. Shallow bowls.
- Garnish: Extra Parmesan. Chopped fresh parsley. Color. Freshness. Pinch of red pepper flakes? If you like heat.
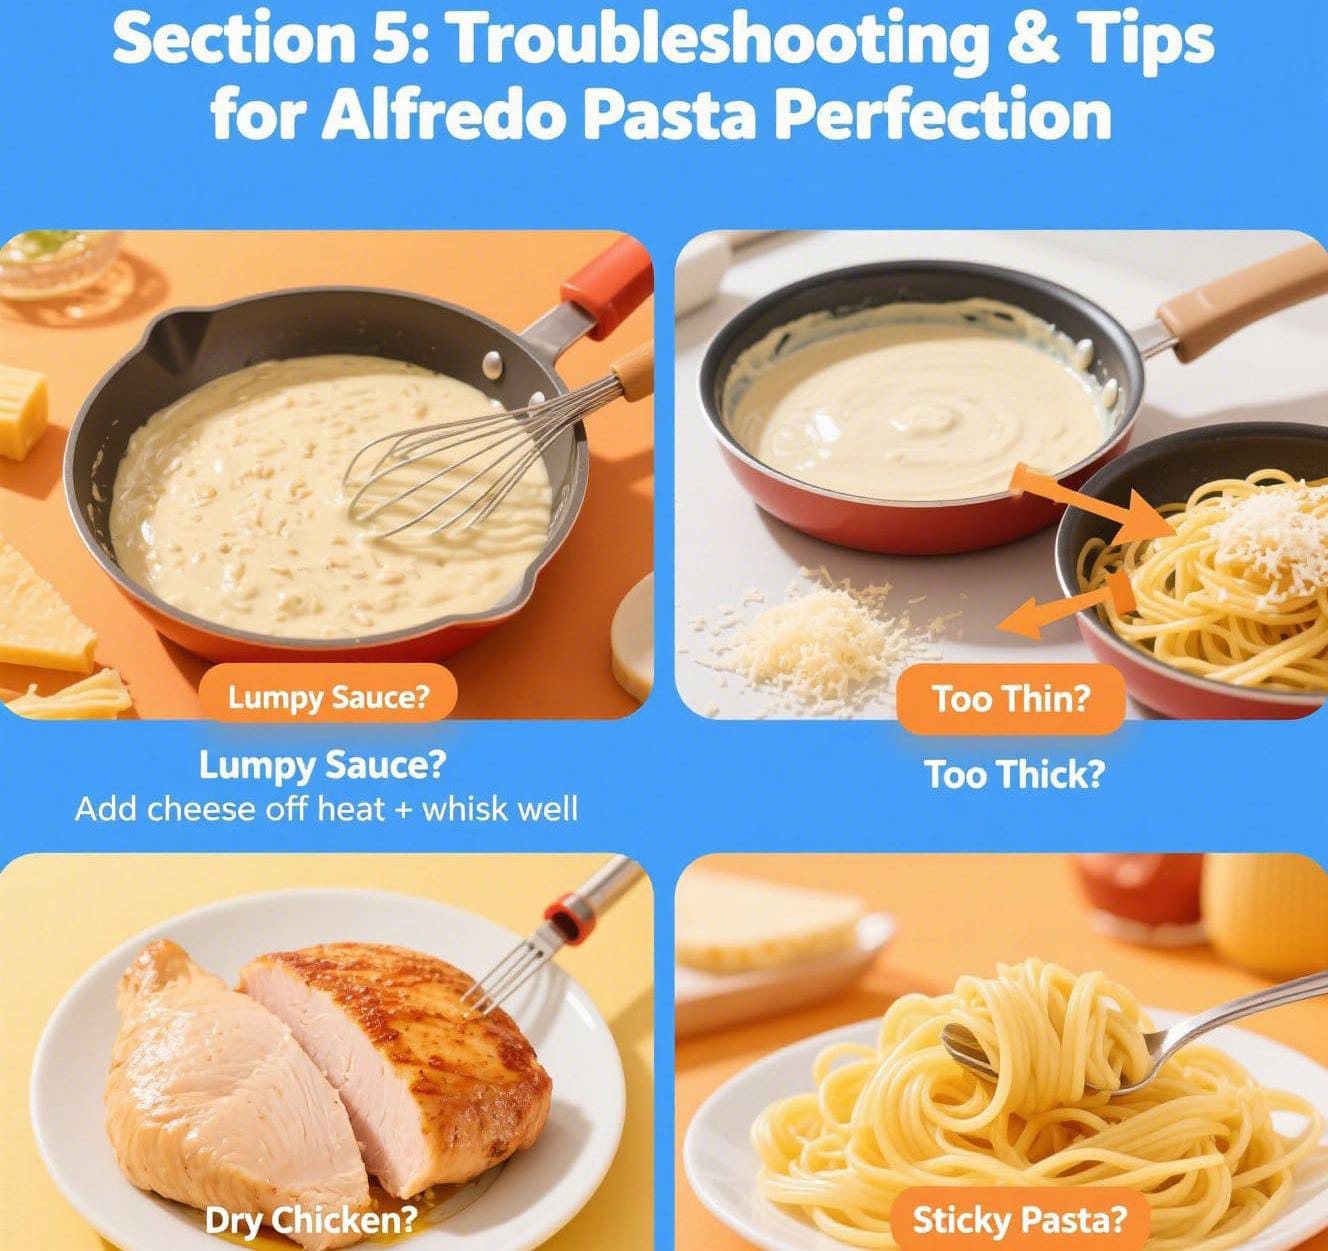
Section 5: Troubleshooting & Tips for Alfredo Perfection
Even pros have questions. Here are solutions. And next-level tips.
Problem: My Alfredo Sauce is Lumpy/Grainy!*
Causes: Cheese to hot liquid. Pre-shredded cheese. Not enough whisking.
Solutions: Take it off the heat when adding Parmesan. Freshly grated. Whisk. Hard. Continuously. Warm pasta water can help.
Problem: My Sauce is Too Thin/Too Thick!
Too Thin: Didn’t simmer enough. Too much pasta water. Shred some more Parmesan (off heat!).
Too Thick: Reserved pasta water. Your best friend. Tablespoon at a time. Whisk. Until creamy.
Problem: My Chicken is Dry!
Causes: Overcooked.
Solutions: Don’t cook past 165°F (74°C). Thin, even pieces. Rest it. 5 minutes.
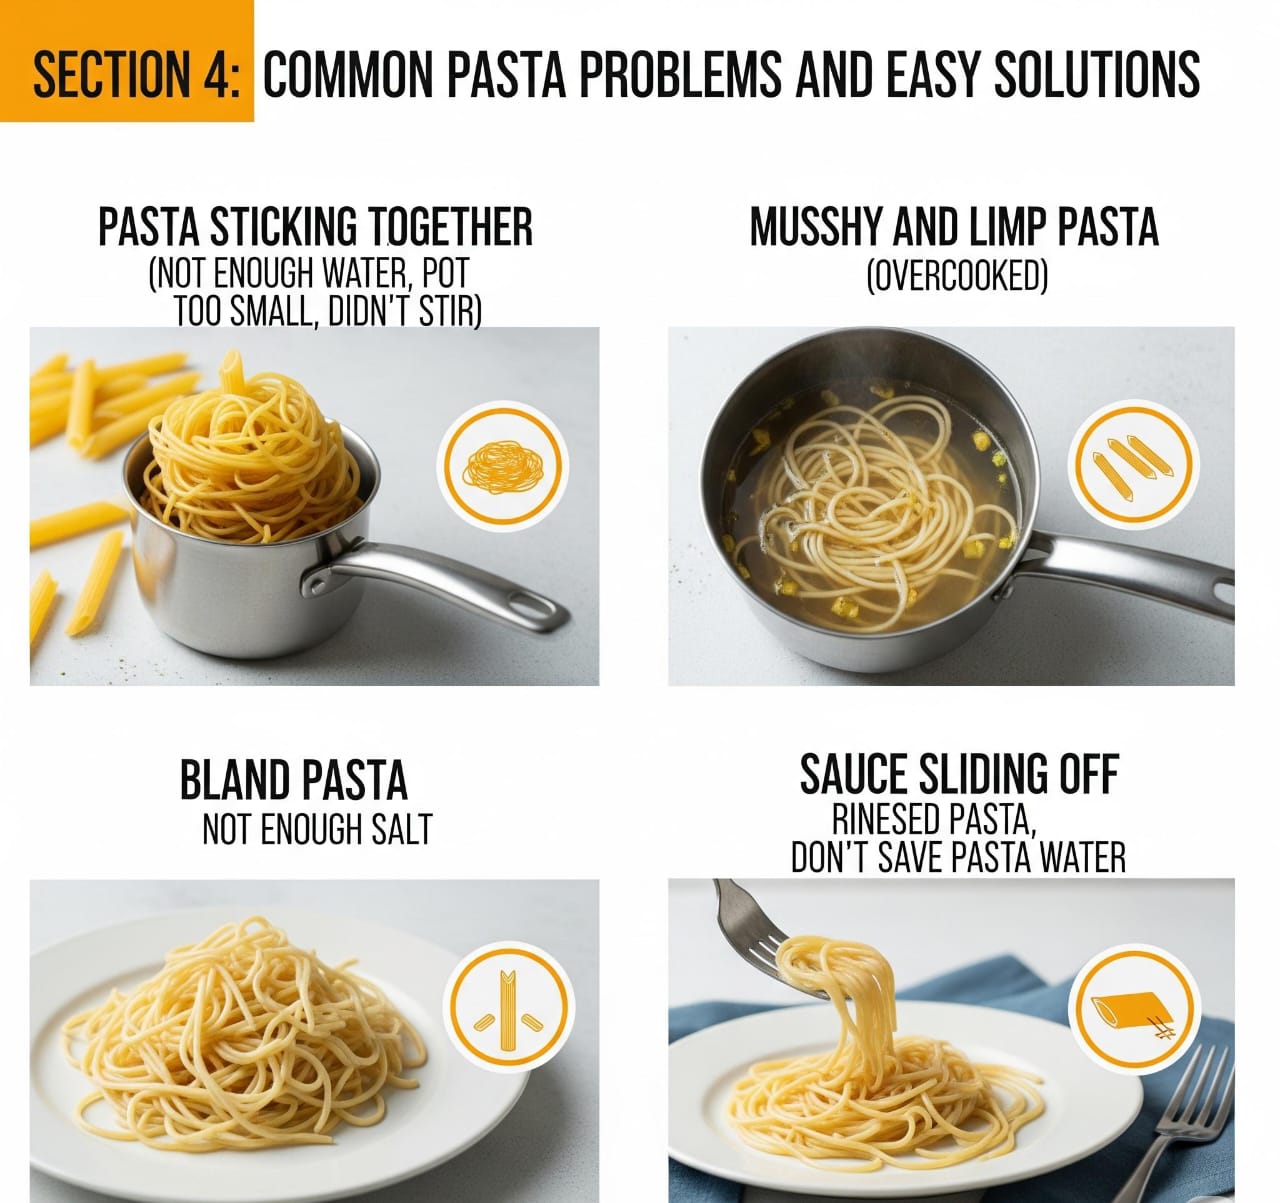
Problem: My Pasta is Sticky/Mushy!
Causes: Water is less water. Not enough salt. Overcooked.
Solutions: Big pot. Salty water. Al dente. No rinsing!
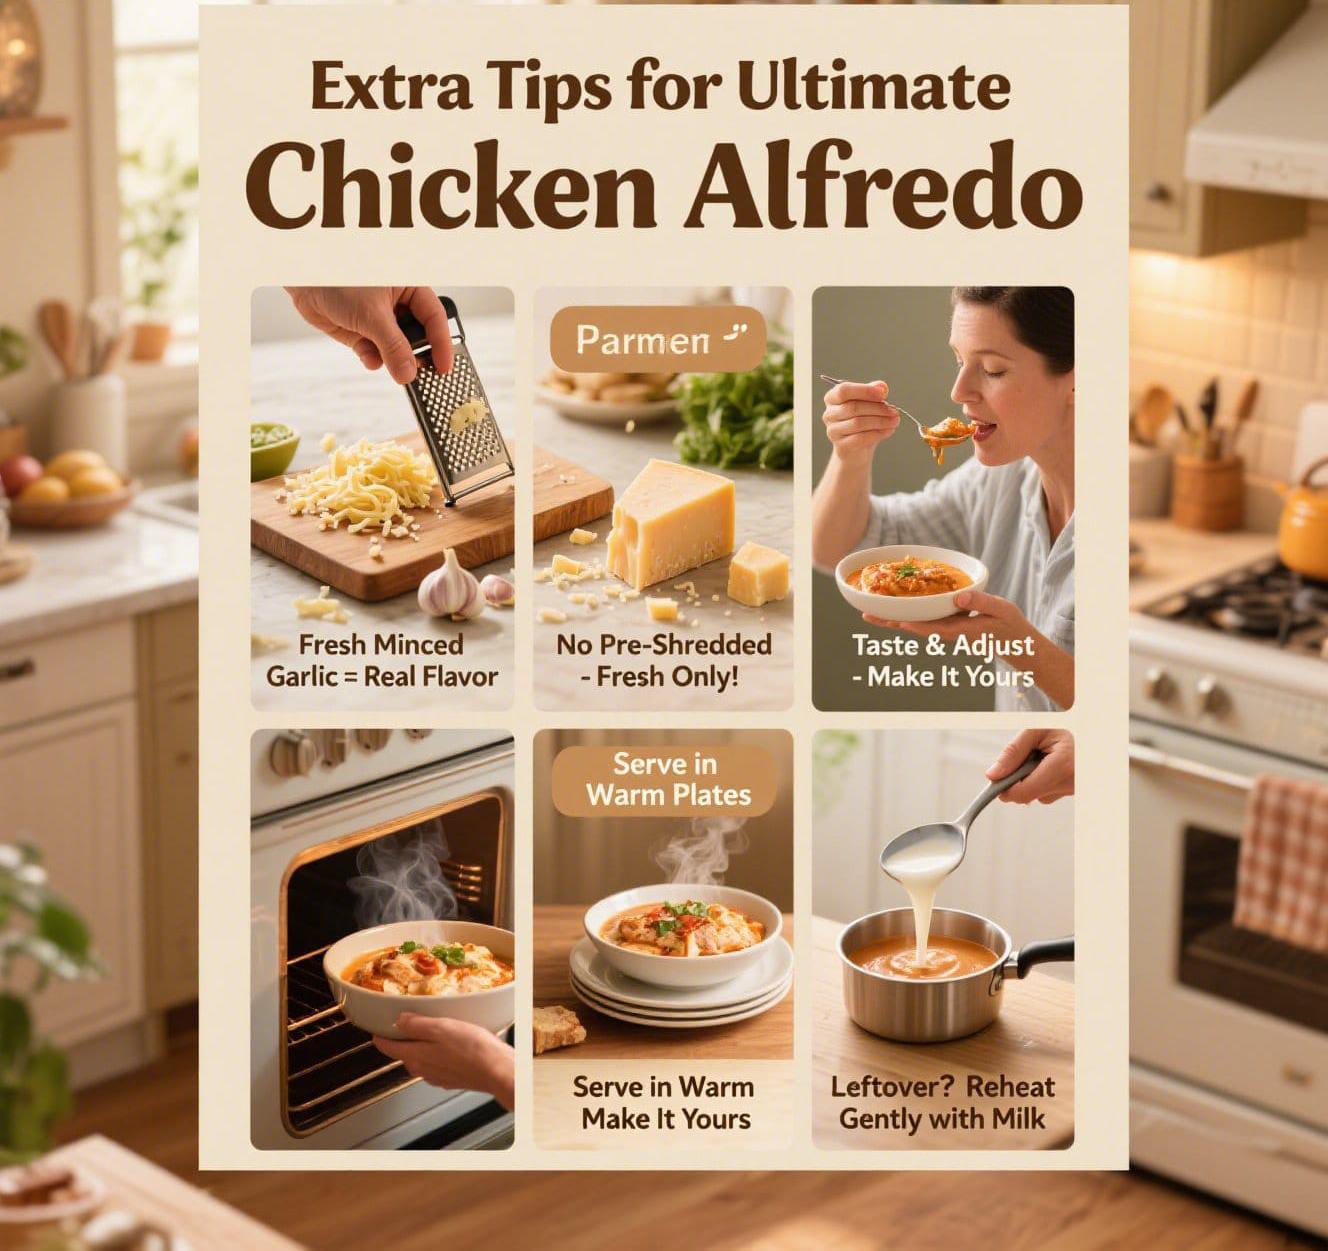
Extra Tips for Ultimate Chicken Alfredo:
- Fresh Garlic is Gold: Powder? No. Fresh. Minced. Authentic flavor.
- Don’t Skimp on Parmesan: Seriously. Freshly grated Parmesan. The star. Worth the effort.
- Taste and Adjust: Always. Before tossing. More salt? Pepper? Garlic powder for zing? Adjust. To your liking.
- Warm Plates: Fancy touch. Warm bowls. Low oven. Keeps Alfredo warm. Longer.
- Leftovers (Careful!): Alfredo thickens in the fridge. To reheat? Low heat. Pan. Splash of milk or broth. Whisk. Until creamy again.
Conclusion: Your Delicious Chicken Alfredo Awaits!
You’ve done it. You now know exactly how to cook Chicken Alfredo. Like a true pro. Looks impressive? Yes. But it’s forgiving. Follow these steps. Simple, Rich sauce. Tender chicken. Perfectly cooked pasta. Symphony. Of flavors. And textures.
Key? Quality ingredients. Attention to detail. Fresh Parmesan. Saving pasta water. These are your secrets. So, get cooking. Put on some Italian music. Create a meal. Bring smiles. Happy sighs. To your table. Enjoy. Every creamy, dreamy bite.