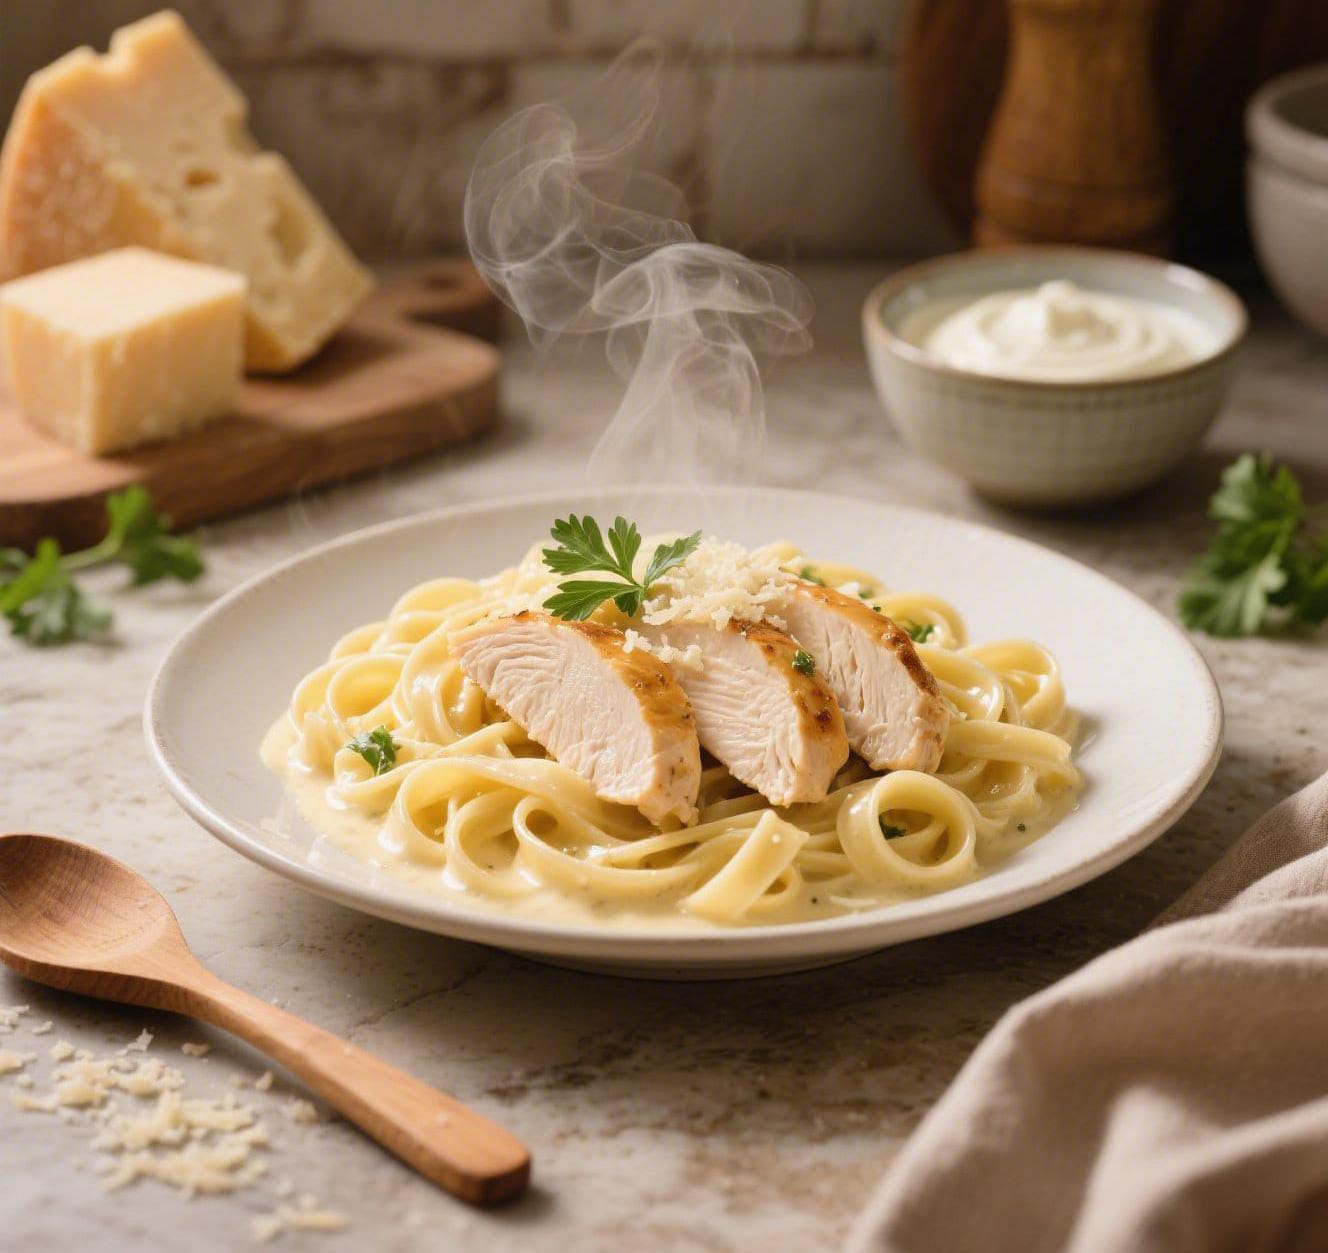
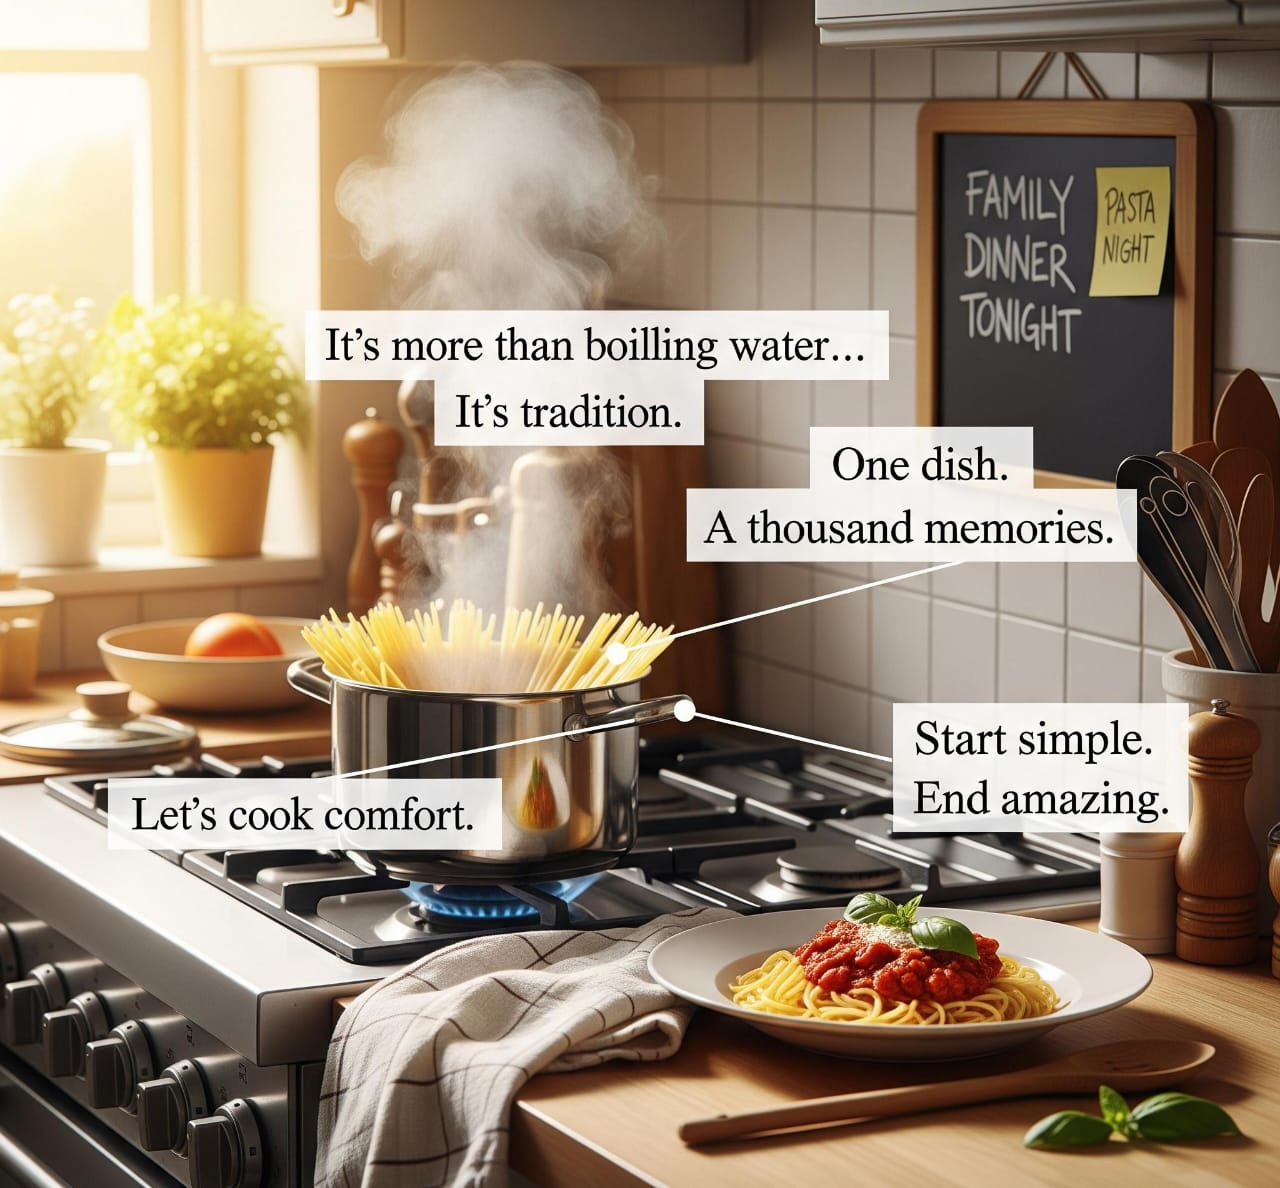
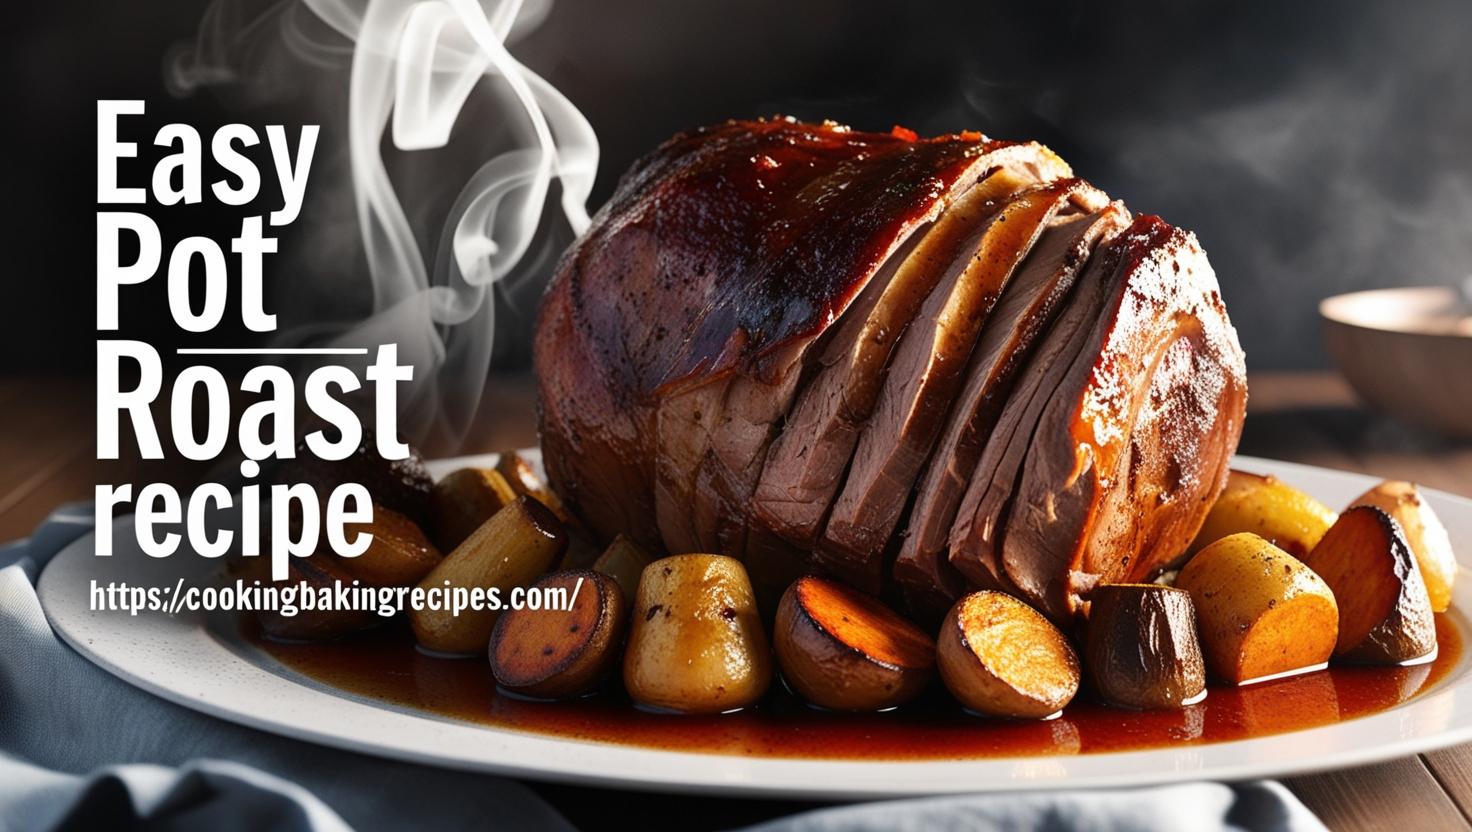
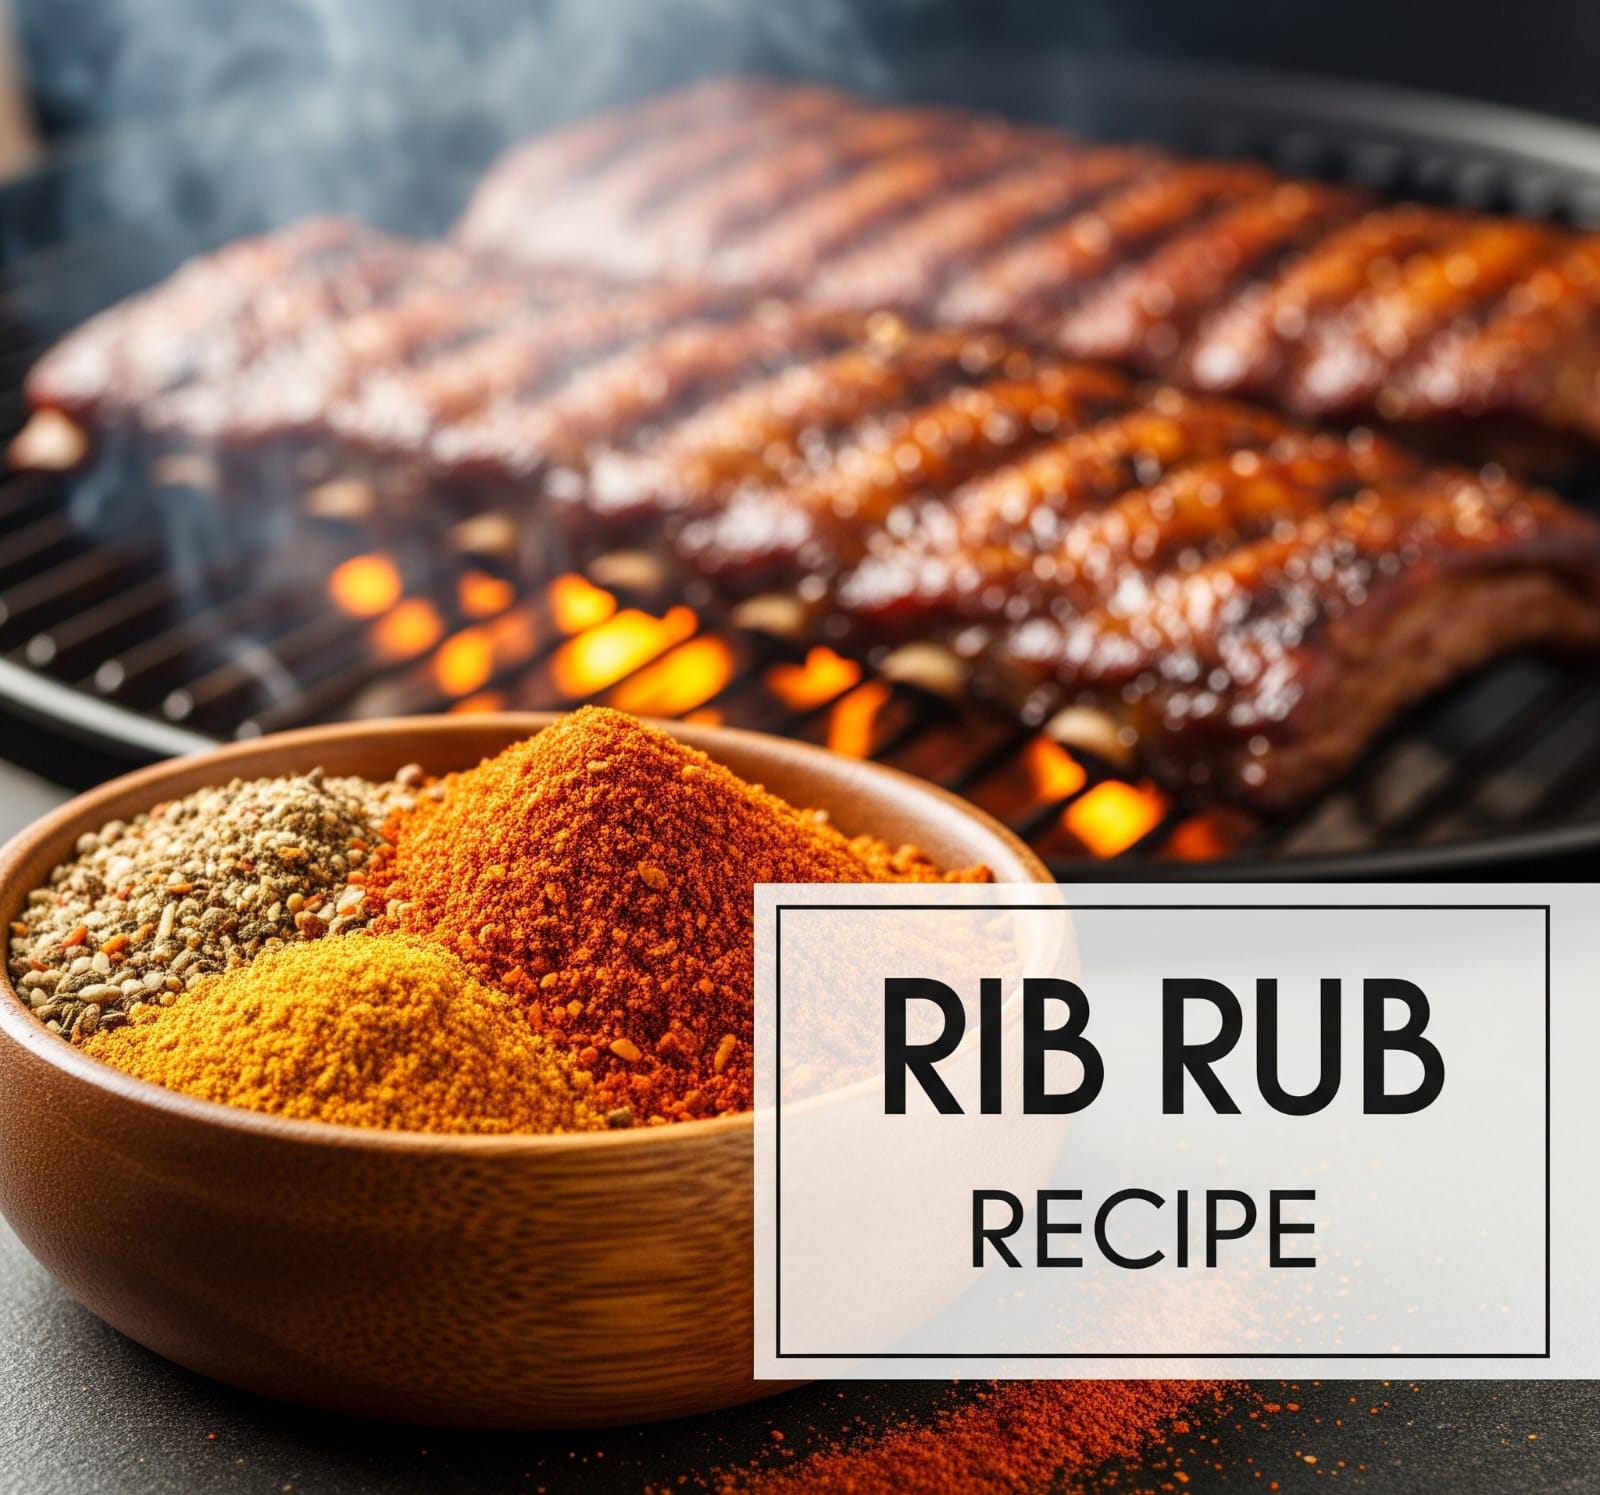
Birria tacos recipe slow cooker
WOAH! What’s That Yummy Smell?
Hey, future taco master! Get ready to make the most delicious, dippable birria tacos ever, using a super easy birria tacos recipe slow cooker! It’s like a flavor party in your mouth, and you’re the chef!

Hey Taco Explorer! Get Ready for the BEST Birria Tacos Ever!
What are Birria Tacos? Imagine the Yummiest, Dippiest, Most Flavorful Taco!
Okay, picture this: super soft meat, full of warm, happy flavors, all tucked into a little tortilla. But wait, there’s more! These aren’t just any tacos; they’re birria tacos! They are special because the meat is cooked for a long, long time with yummy spices until it’s incredibly tender.
The coolest part? You get a special, warm, soupy sauce called “consommé” (say: con-so-MAY) on the side. This isn’t just any sauce; it’s the super flavorful juice that the meat cooked in!You dip your taco right into it before you take a bite! How cool is that?!

This dipping makes the taco extra juicy and even more flavorful.Birria itself is like a yummy stew, and when you put the meat from the stew into a taco and then dip it back into the stew’s broth, you get the best of both worlds!
Why Our “Birria Tacos Recipe Slow Cooker” is a Game Changer!
Guess what? Making these amazing tacos can be super, super easy! How? With our new best friend: the slow cooker!
This birria tacos recipe slow cooker means we let the magic pot do most of the work. It cooks the meat slowly, slowly, slowly, making the meat so soft it practically melts in your mouth, and it soaks up all those wonderful spices.No need to stand by the stove for hours! The slow cooker makes it simple.
Your Epic Food Adventure Starts NOW!
Are you ready to become a birria taco hero? This guide will show you how to use a slow cooker and follow a super simple birria tacos recipe slow cooker to make a meal that will make your whole family say “WOW!” So grab an apron, ask a grown-up to be your kitchen buddy, and let’s get cooking!
The Secret Story of Birria Tacos! (A Mini History Trip)
Where Did These Amazing Tacos Come From? (A Quick, Fun Story from Mexico!)
These amazing tacos come from Mexico, specifically from a part called Jalisco.

A long time ago, people in Mexico were introduced to goats. Goat meat was a bit tough, so clever cooks marinated it in spices and cooked it for a very long time until it was soft and delicious. That was the start of birria! Later, in a town called Tijuana, people started making birria with beef and putting it into tacos. And the amazing, dippable birria taco was born!
Why Everyone’s Talking About Birria!
You might see birria tacos everywhere online! People love them because they are SO TASTY! The rich, tender meat, warm spices, melty cheese(if you make quesabirria – birria with cheese!), and that incredible dipping broth… it’s a flavor party! Plus, making them with a birria tacos recipe slow cooker is easy to try at home.
Awesome Taco Fact!
Did you know that in Mexico, birria (the stew itself) is often a special food eaten at big celebrations like weddings and parties? So when you make these birria tacos, you’re making something truly festive!
Meet Your Kitchen Superhero: The Slow Cooker!
What IS a Slow Cooker Anyway? (Like a Magic Pot That Cooks While You Play!)
A slow cooker is an electric pot that cooks food very slowly with gentle heat.

It has a big ceramic pot inside for ingredients, an outer part with heating coils, and a lid to keep heat and moisture in. You just put your ingredients in, choose a setting (usually “LOW” or “HIGH”), put the lid on, and let it do its thing!
The Slow Cooker’s Superpower: Making Food Taste INCREDIBLE!
How does this magic pot make food so yummy for our birria tacos recipe slow cooker?
- Super Soft Meat: It cooks for a long time at a low temperature, making tough meat incredibly tender.
- Flavor Explosion: The tight lid keeps all the yummy juices and flavors from the spices trapped inside, making the food taste extra delicious.
- Moisture Magic: Steam can’t escape, so it drips back onto the food, keeping everything nice and moist.
Slow Cooker Safety Squad! (Always with a Grown-Up Buddy!)
Slow cookers are generally safe, but always follow these rules:
- Grown-Up Power: Always have a grown-up help you, especially with plugging it in and taking off the hot lid.
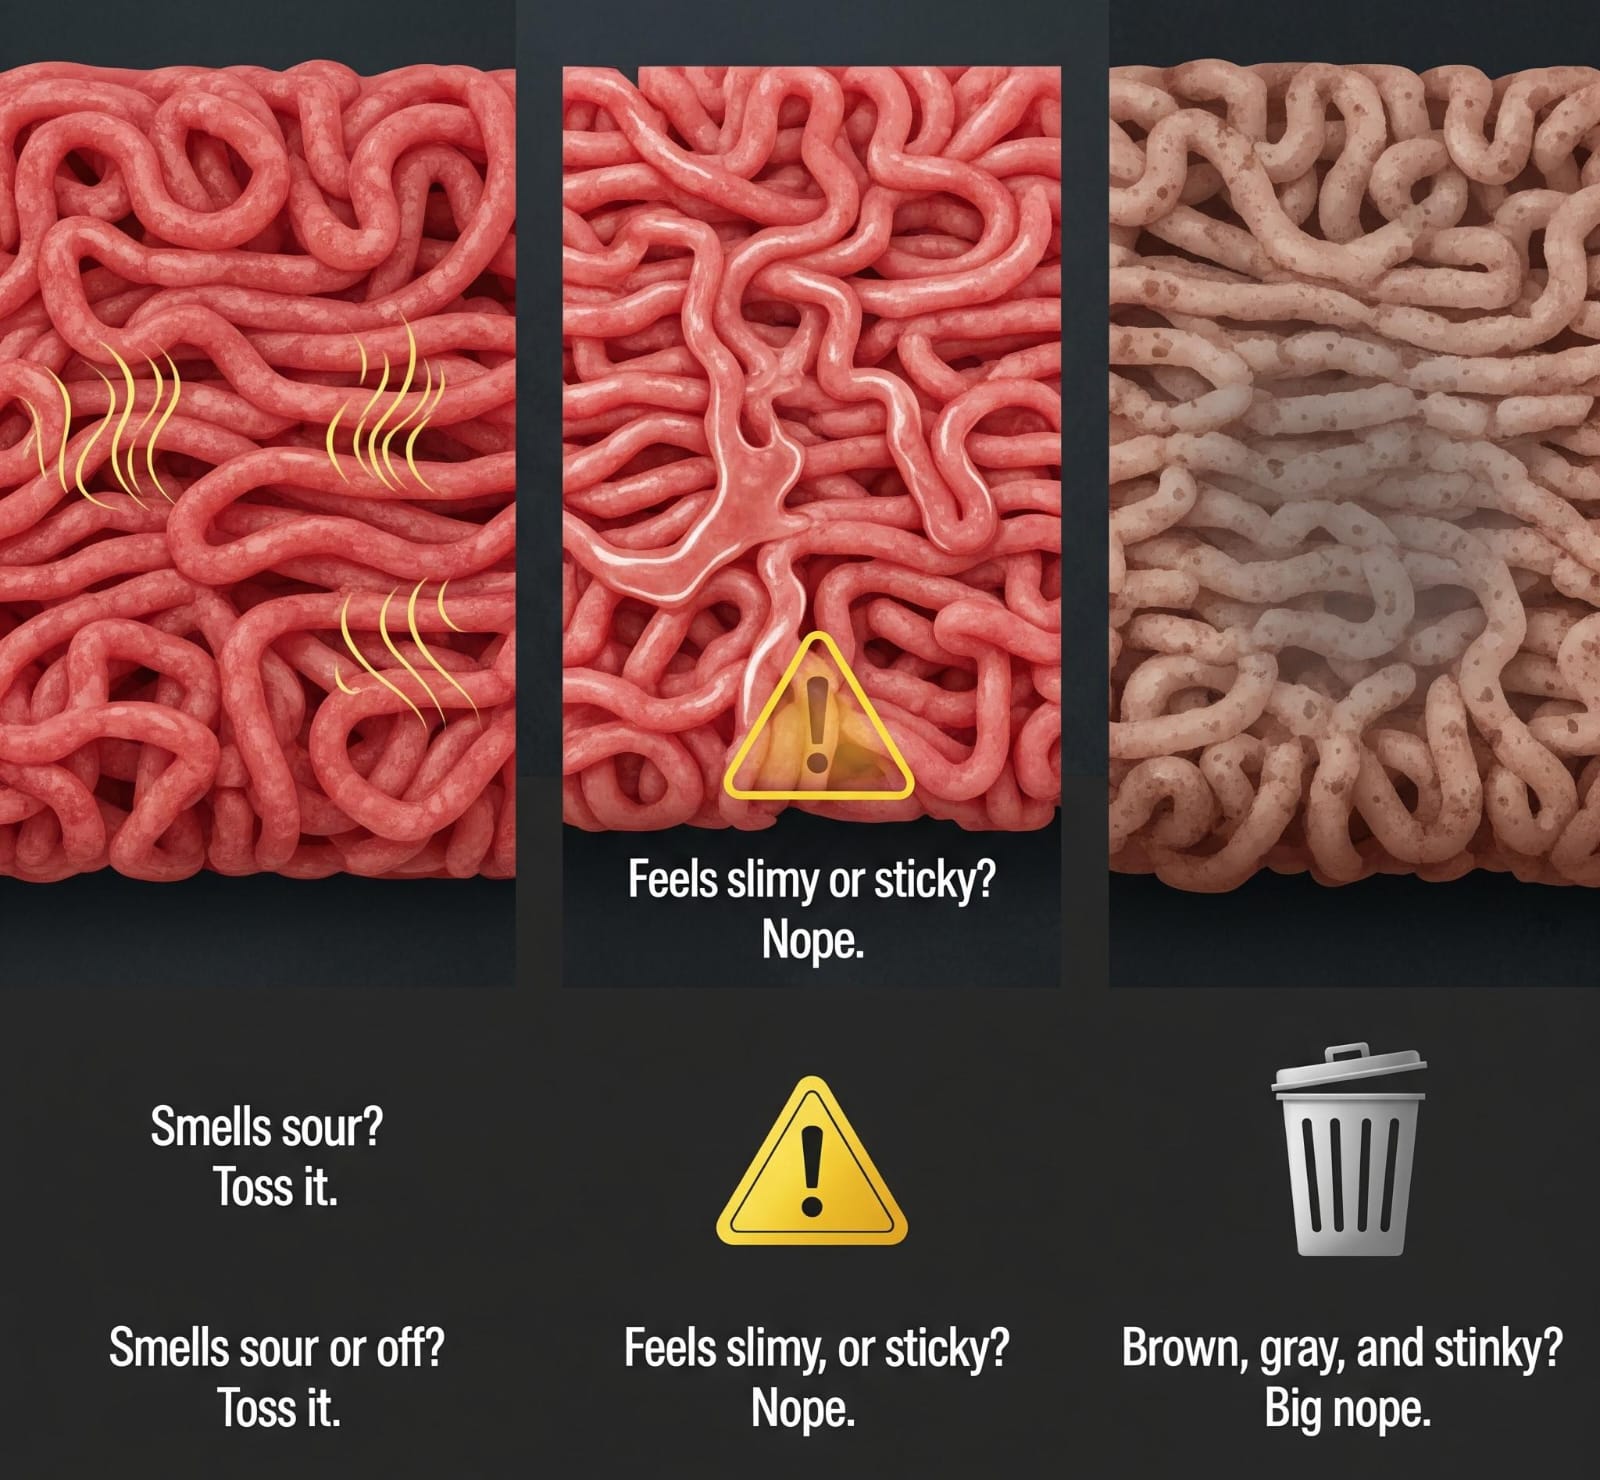
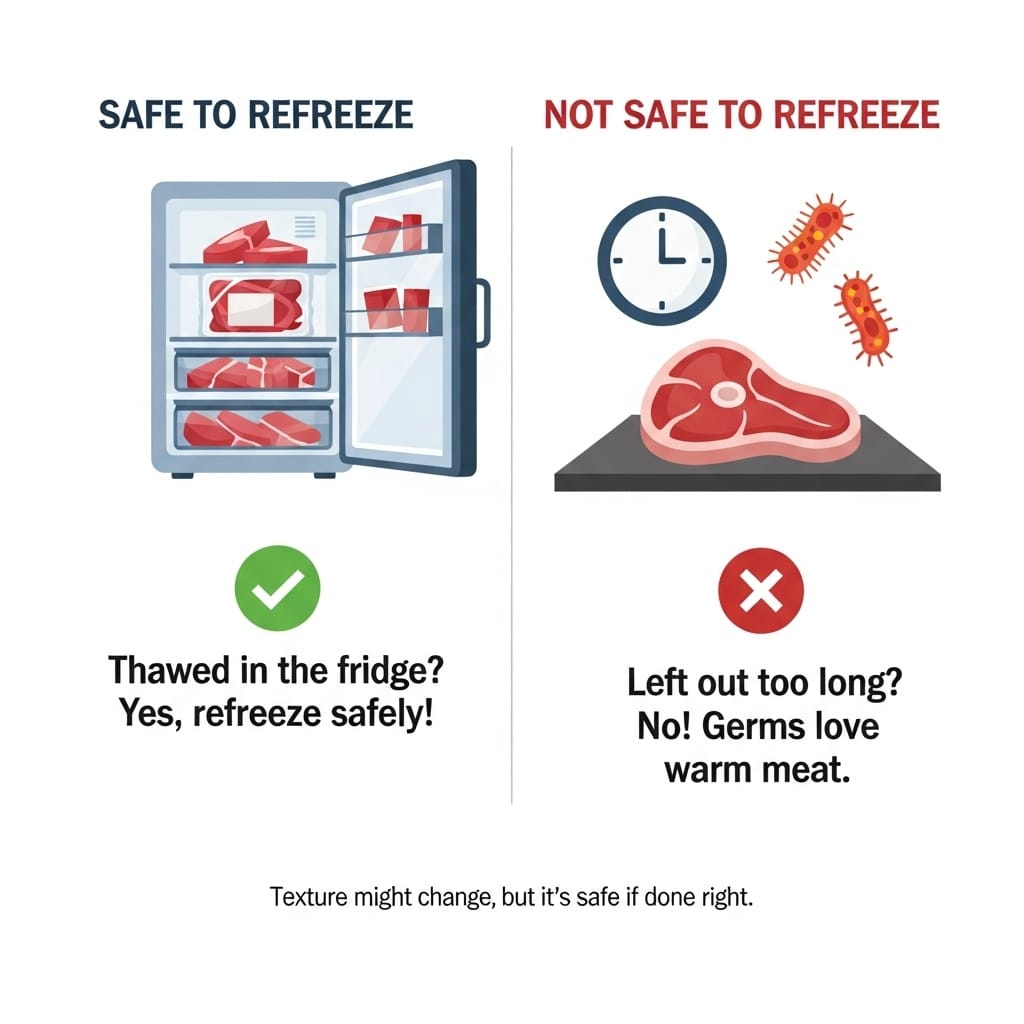
- No Frozen Friends: Meat must be thawed (un-frozen) in the fridge first.
- Handle With Care: The outside can get hot. Let a grown-up move it if needed. Tilt the lid away from your face when opening.
- Not Too Full! Don’t fill the pot more than two-thirds full.
- Keep it Dry: The main base with the cord should NEVER get wet.
- Unplug When Done: Ask a grown-up to unplug it when it’s cooled down.
![Generate a visually compelling, realistic image with a 16:9 aspect ratio for a WordPress blog post. The theme must be black, ensuring bold contrast and readability. The design should immediately capture attention, stopping users in their tracks and enhancing engagement. Key Parameters: Keyword: [Birria tacos recipe slow cooker ] Core Idea: [ Slow Cooker Safety Squad! (Always with a Grown-Up Buddy!) Slow cookers are generally safe, but always follow these rules: Grown-Up Power: Always have a grown-up help you, especially with plugging it in and taking off the hot lid. No Frozen Friends: Meat must be thawed (un-frozen) in the fridge first. Handle With Care: The outside can get hot. Let a grown-up move it if needed. Tilt the lid away from your face when opening. Not Too Full! Don’t fill the pot more than two-thirds full. Keep it Dry: The main base with the cord should NEVER get wet. Unplug When Done: Ask a grown-up to unplug it when it](https://bing.com/th/id/BCO.6cc1a3dc-bcb9-4c2b-858e-85726ff50caa.png)
Your “Birria Tacos Recipe Slow Cooker” Mission: Gather Your Gear! (Ingredients)
Time to get your tasty treasures for our birria tacos recipe slow cooker!

The Star of the Show: The Beef!
- About 2 to 3 pounds of beef chuck roast. It gets super tender and juicy when slow-cooked.
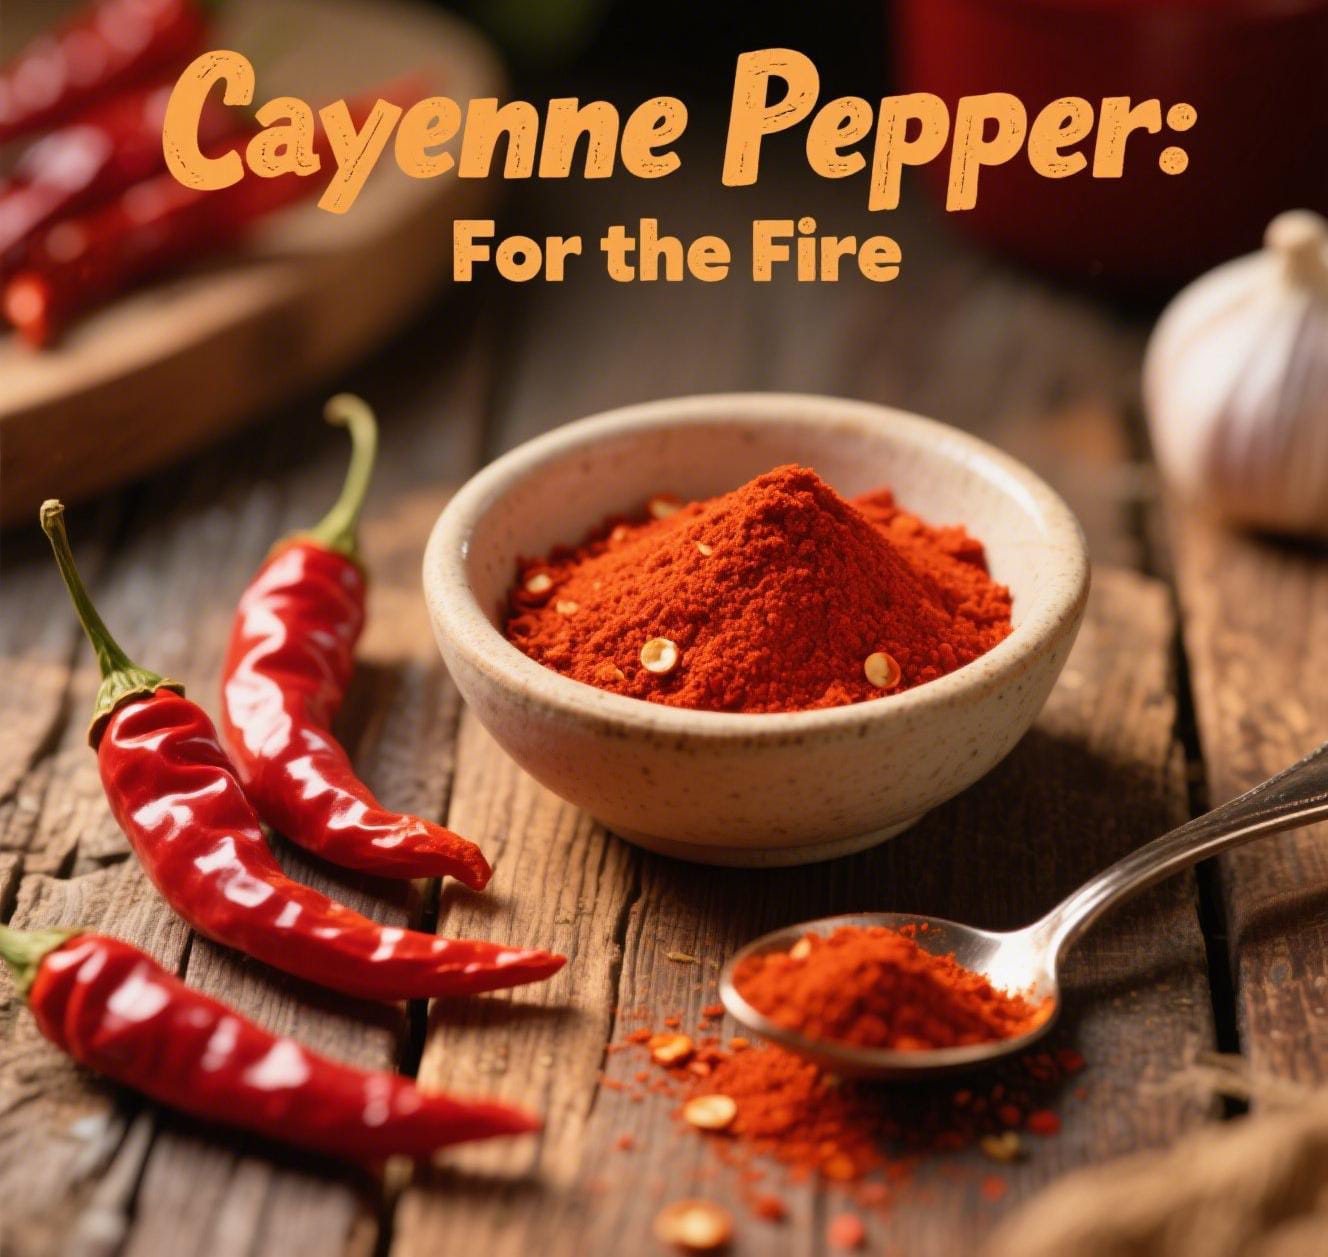
Secret Flavor Weapons: The Chiles! (Not too spicy!)
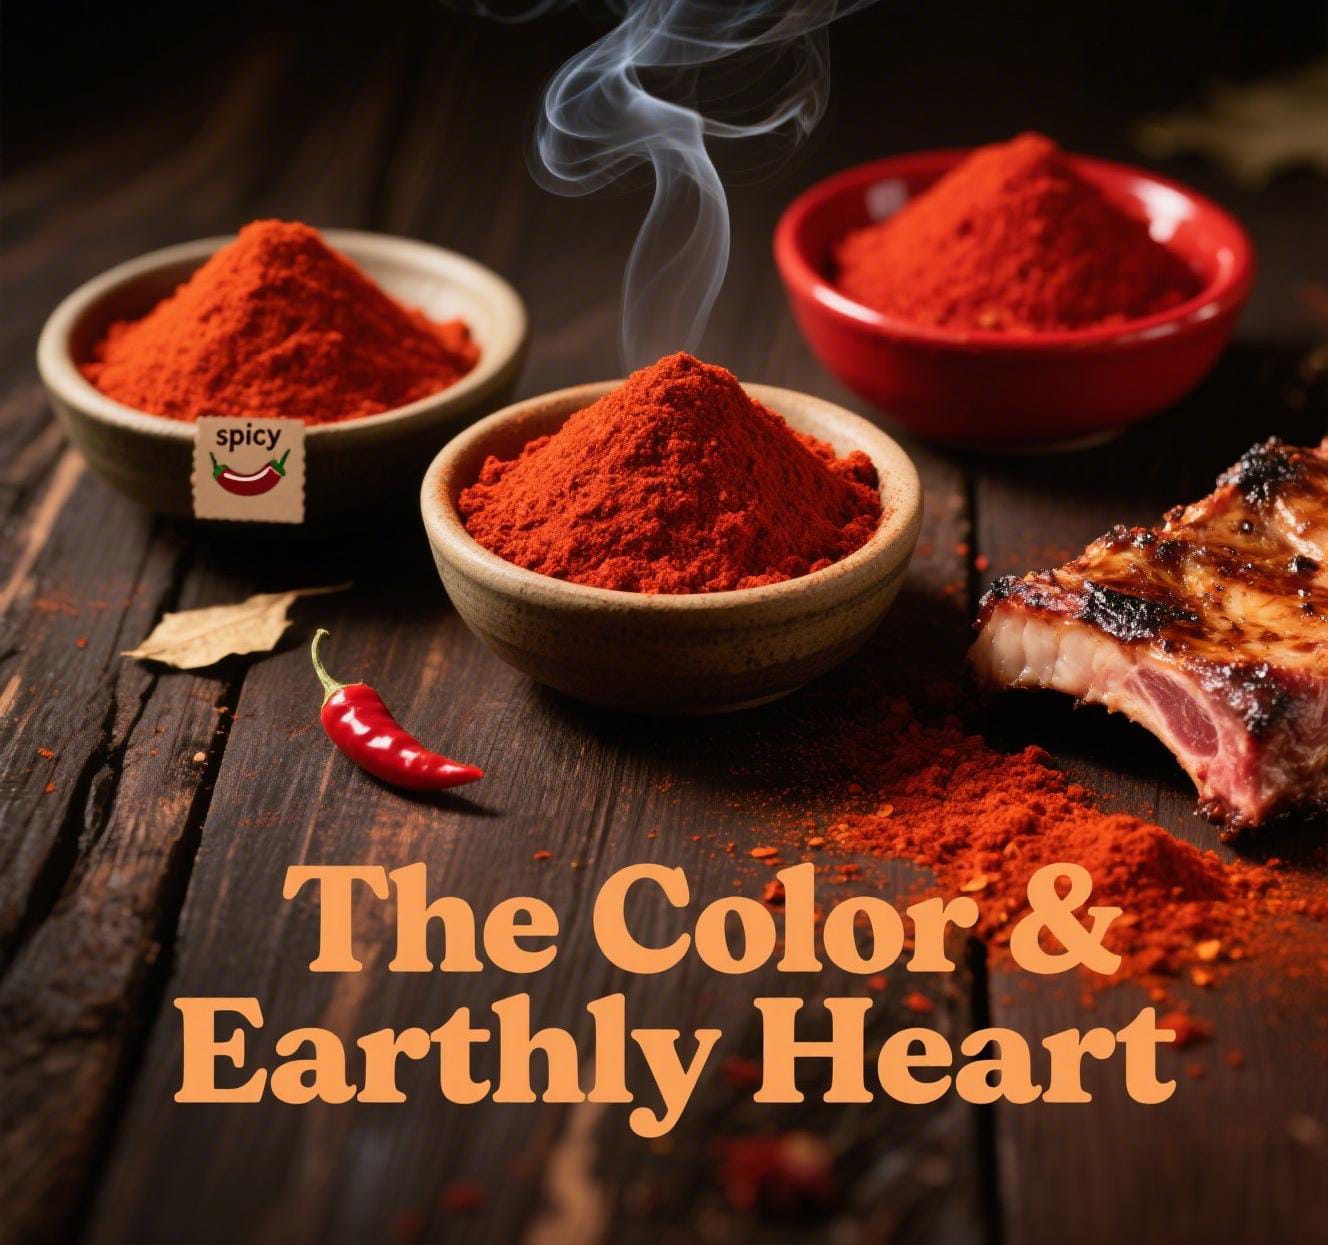
These give our birria its beautiful red color and yummy, smoky flavor.
- Guajillo chiles: 3 or 4. Mild and a bit sweet.
- Ancho chiles: Rich and slightly fruity.
- Super Tip for Mild Flavor: Ask a grown-up to help remove the seeds and veins inside the chiles to control the heat.
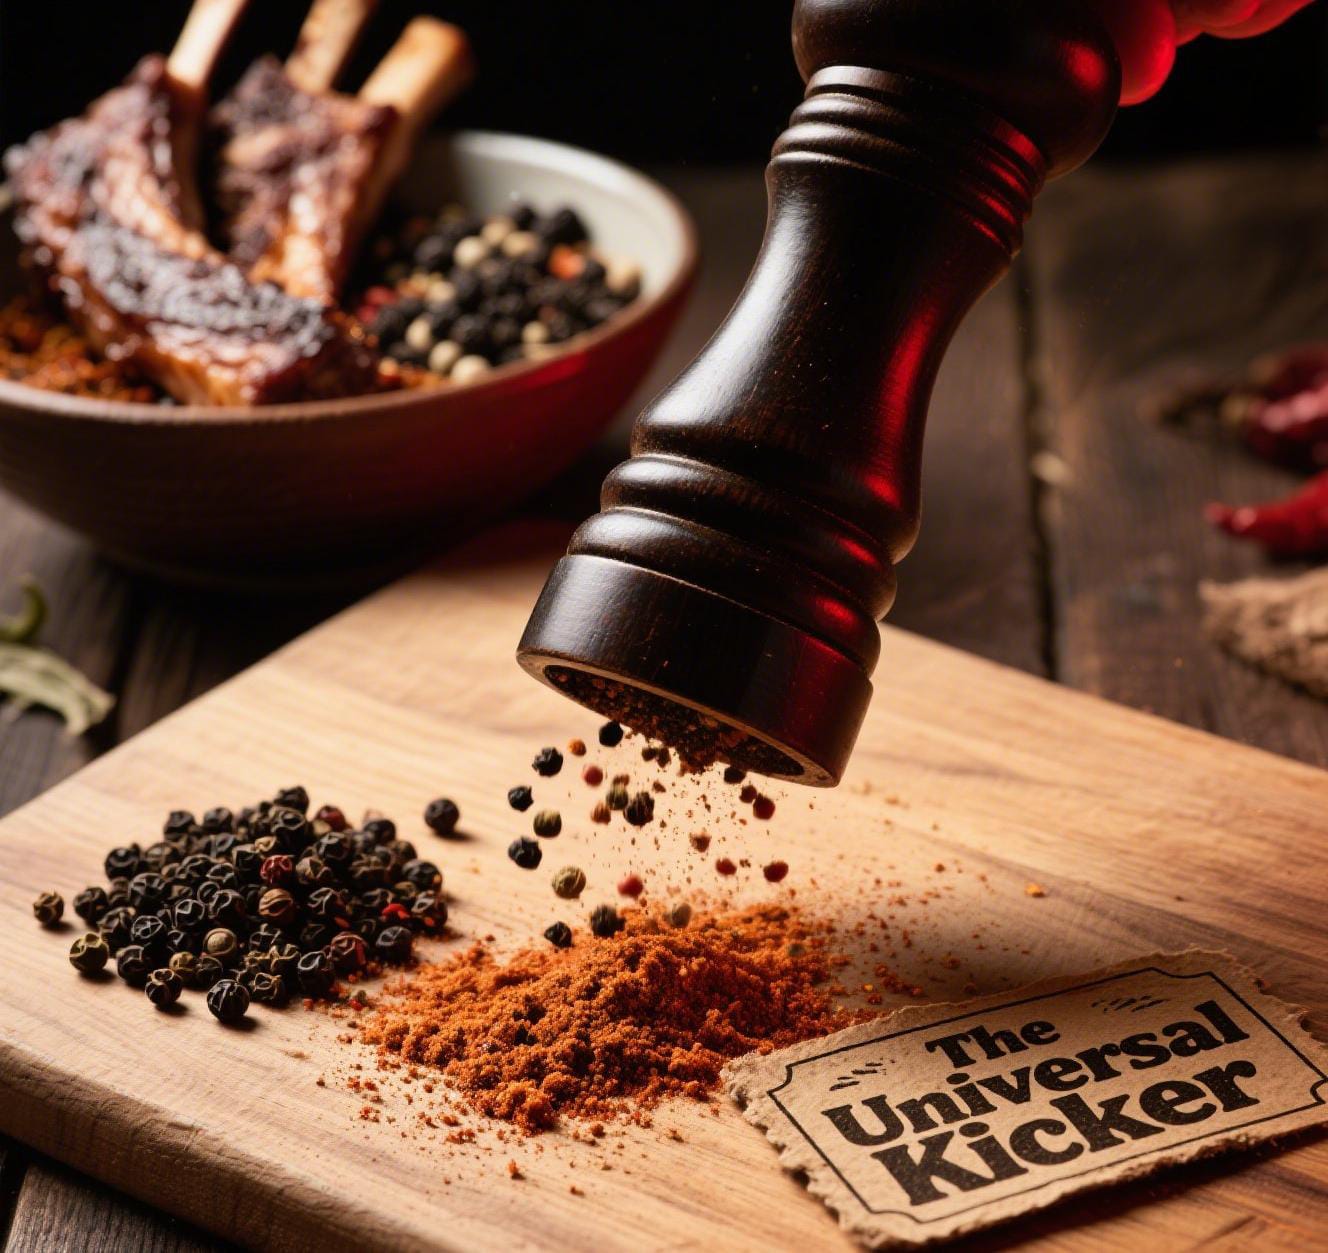
Spice Power!
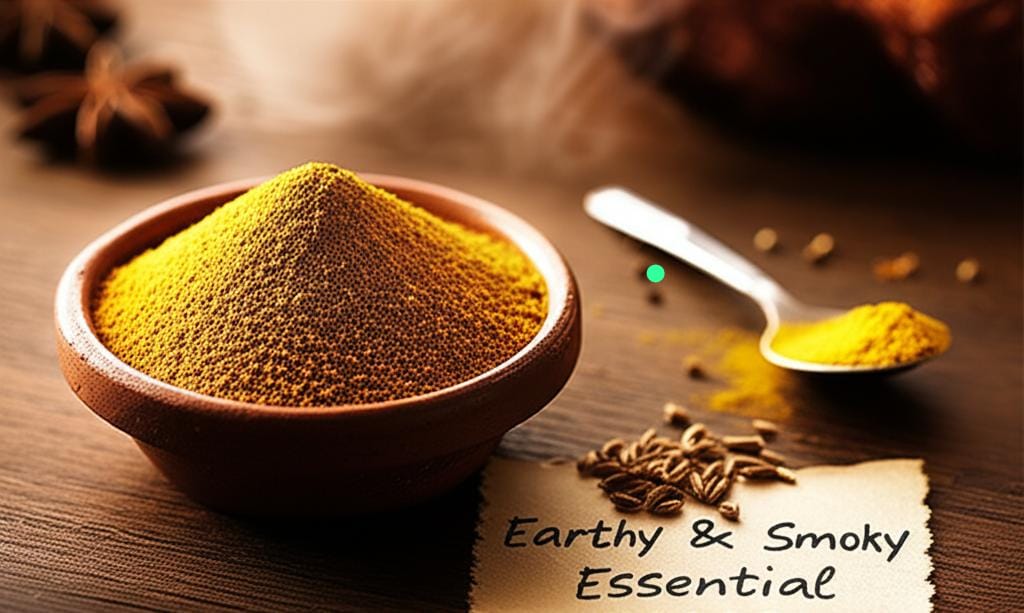
- Cumin: 1 teaspoon. Warm and earthy.
- Dried Oregano: 1 teaspoon (Mexican oregano is great!).
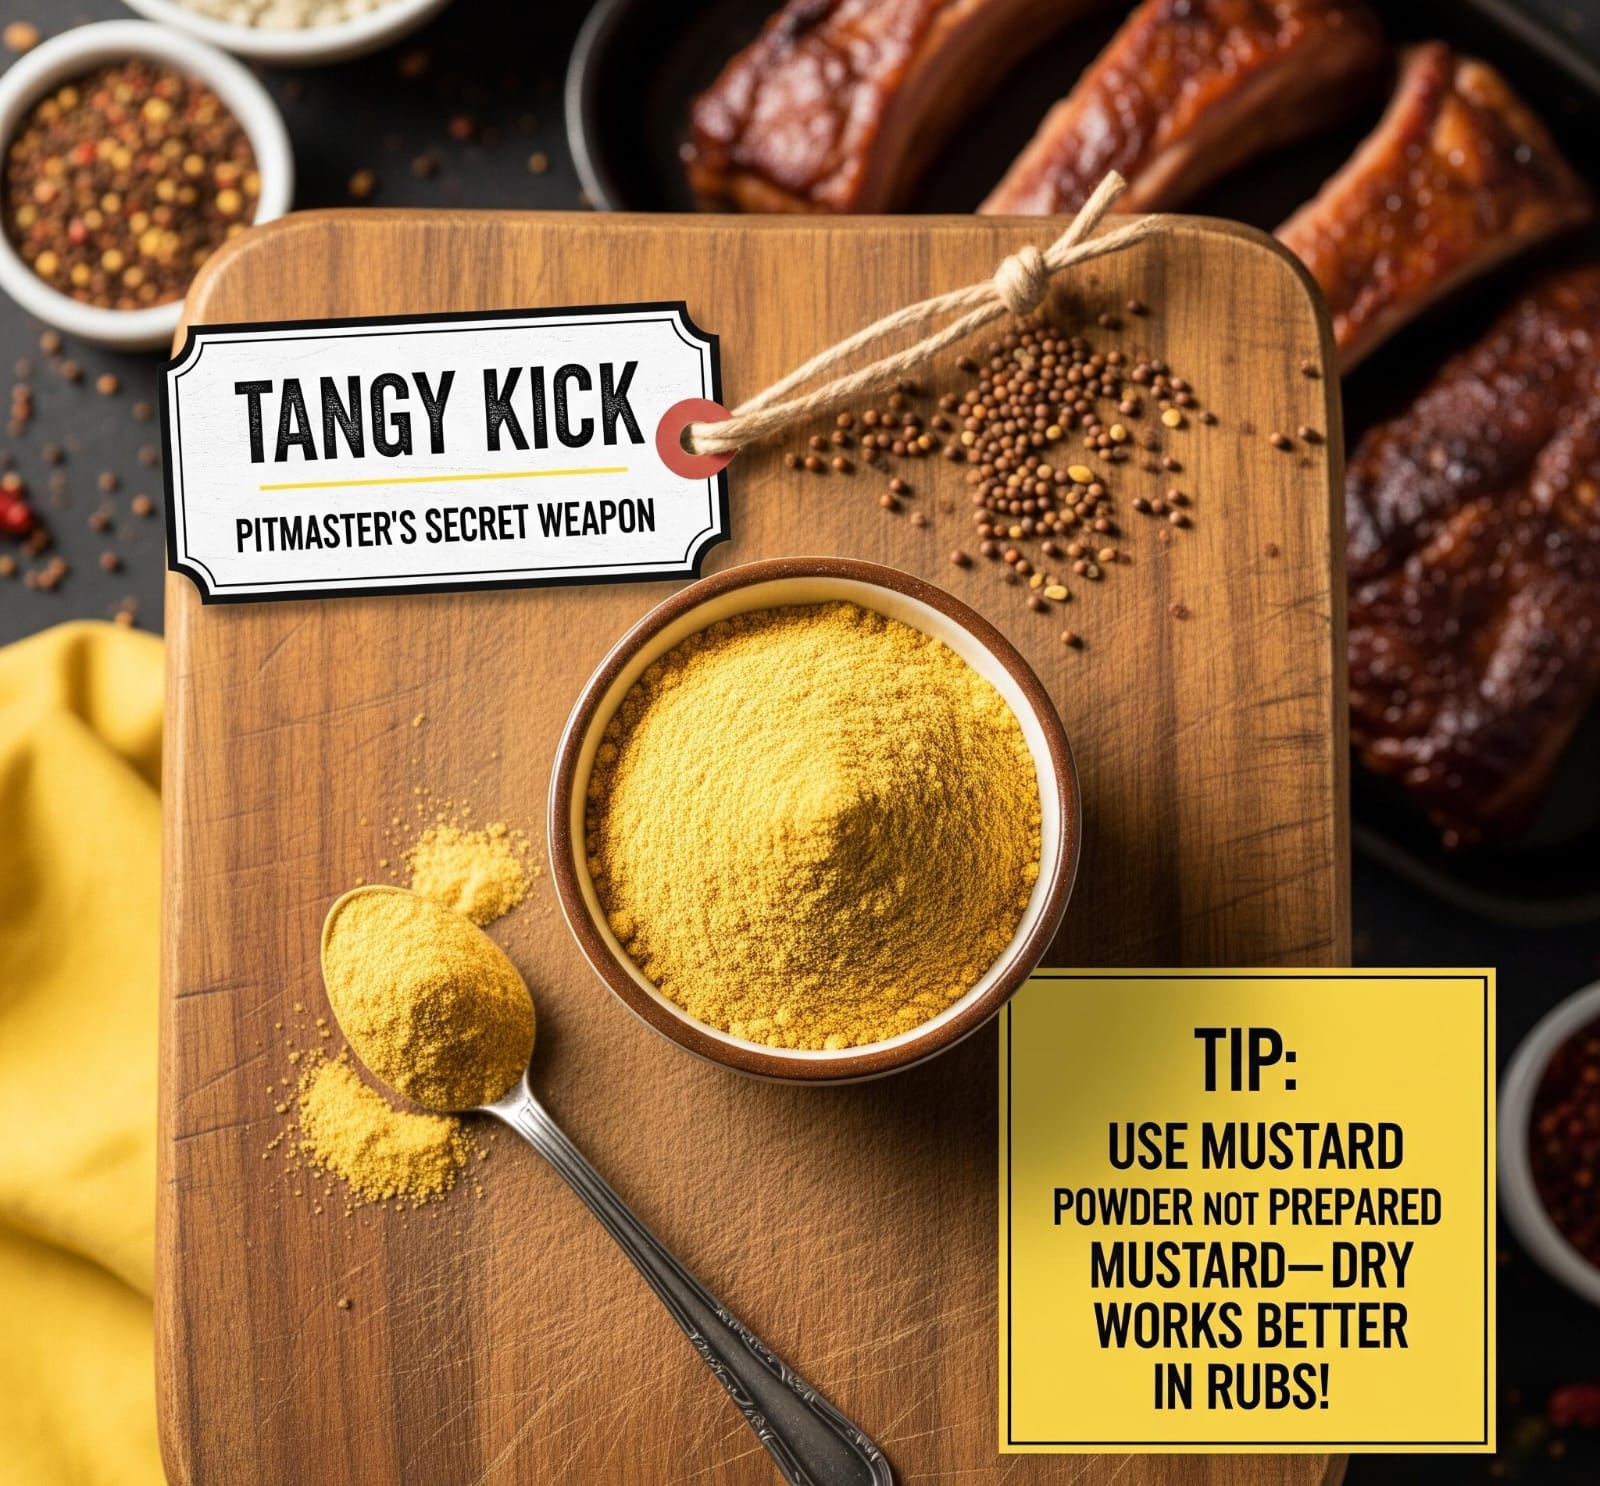
- Smoked Paprika: 1 teaspoon. Smoky taste, not hot.
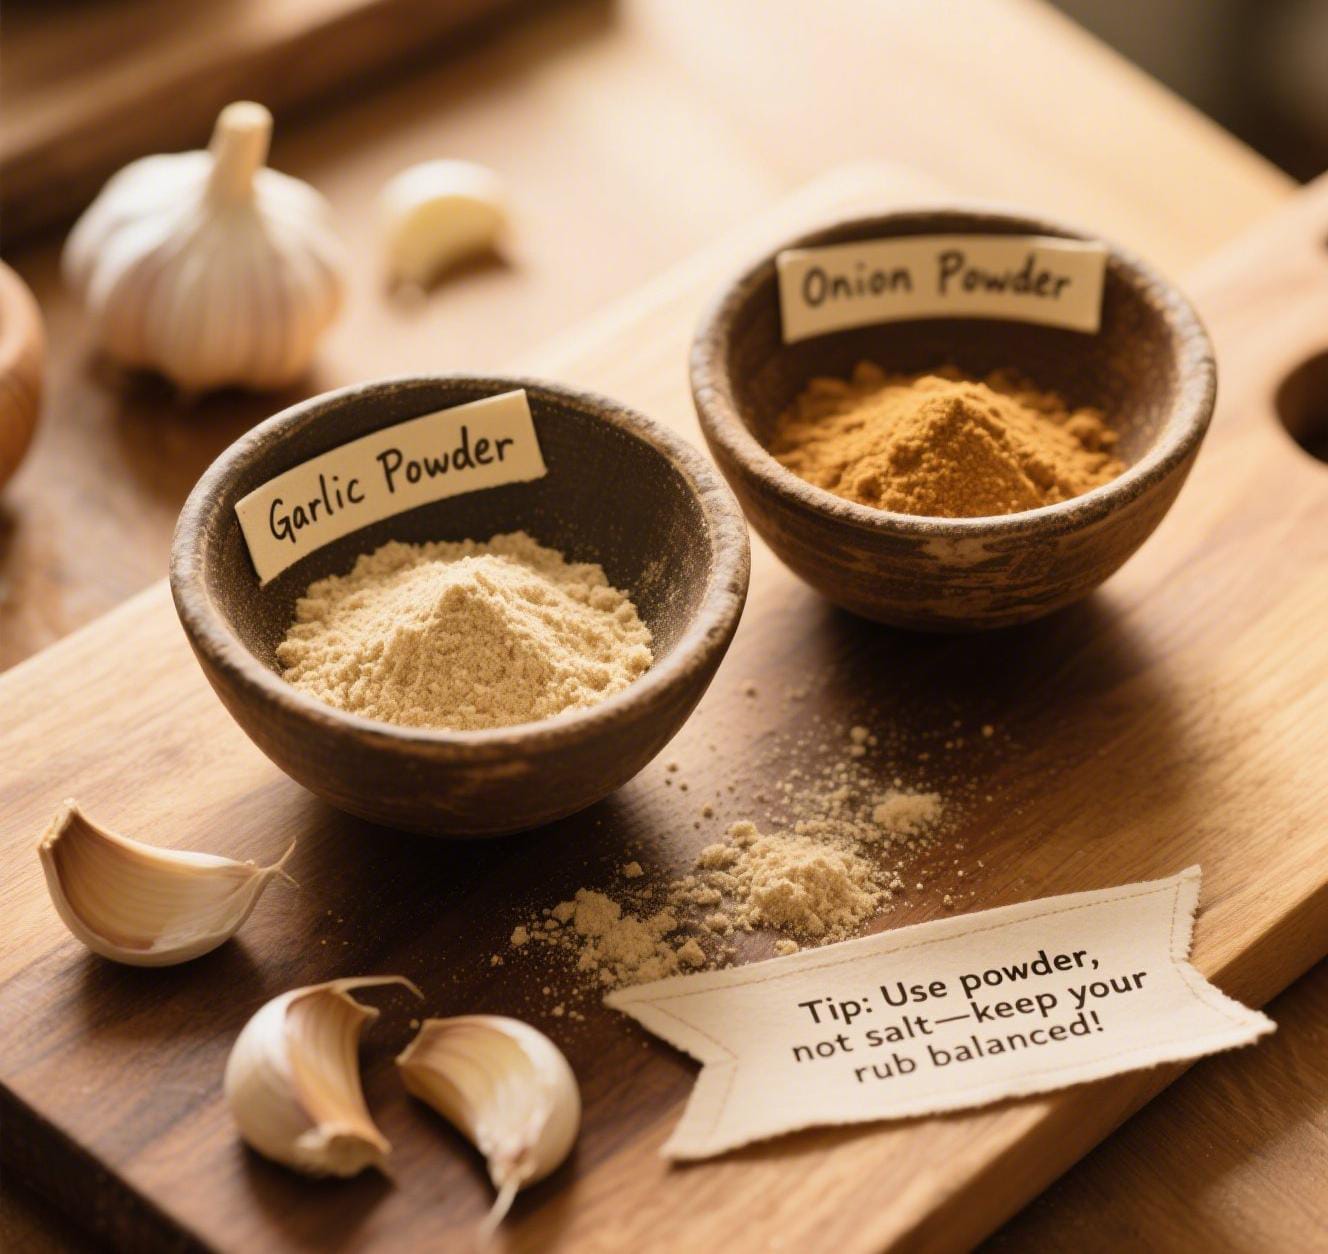
- Garlic Powder & Onion Powder: 1 teaspoon each. Easy flavor!
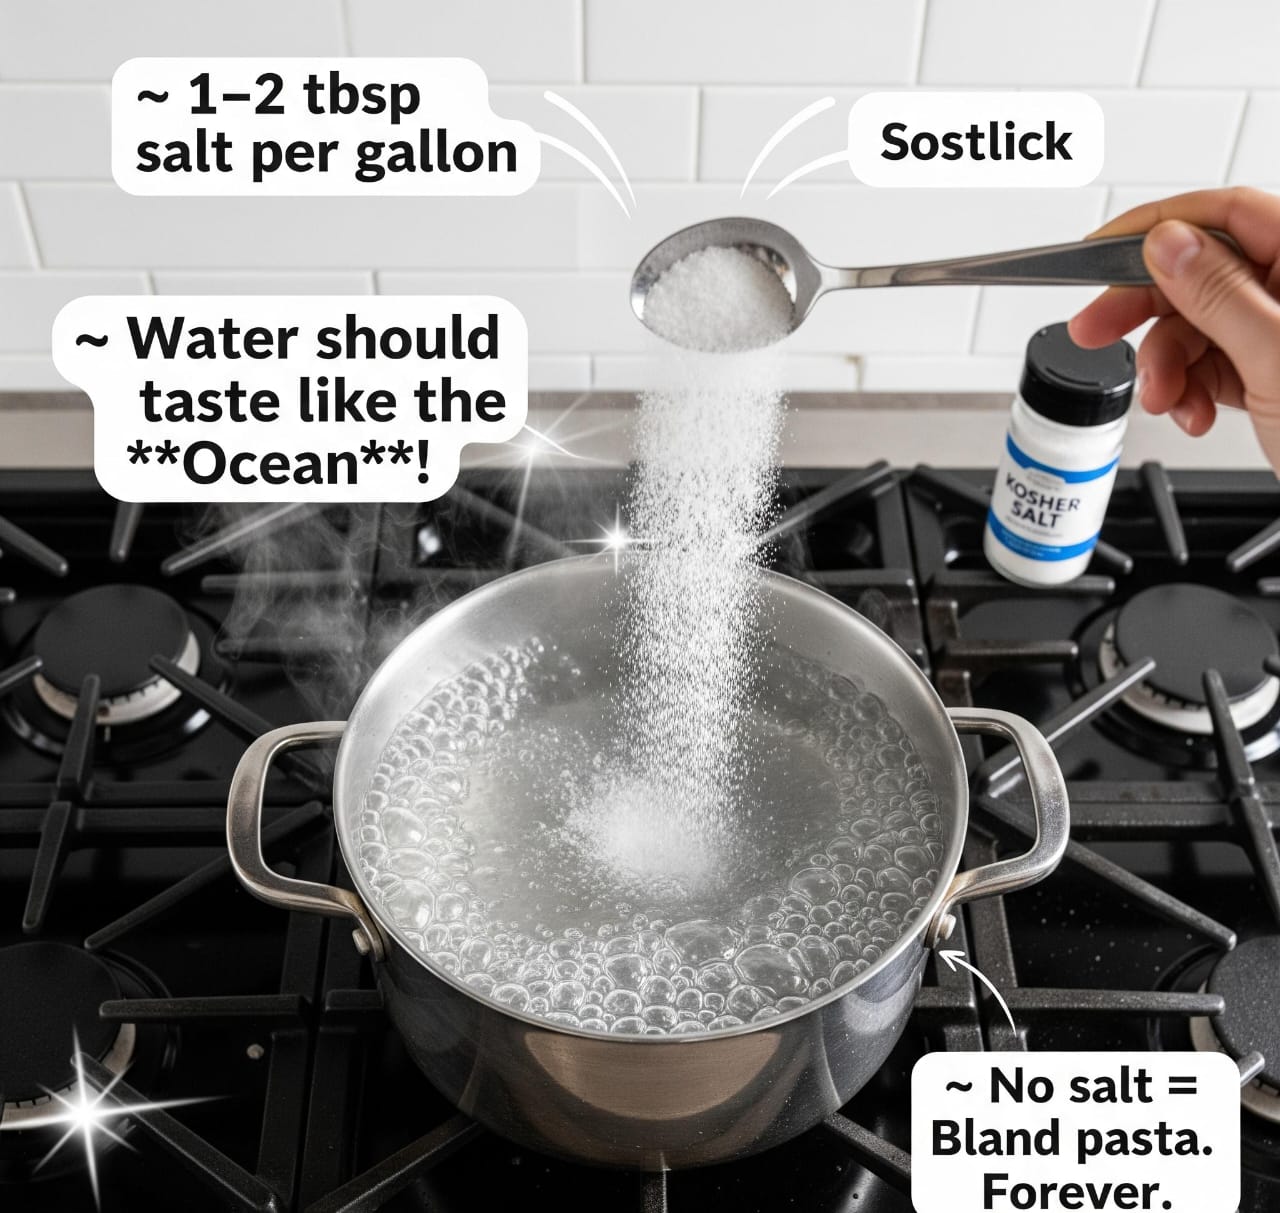
- Salt and Pepper: To taste.
The Rest of the Team!
- An Onion: 1 medium, chopped by a grown-up.
- Garlic Cloves: 3 to 5 fresh, minced or crushed by a grown-up.
- Beef Broth: 2 to 3 cups. For our yummy dipping consommé!
- A Little Vinegar: 1/4 cup white or apple cider vinegar. Helps make meat tender!
- A Bay Leaf: Just one! Adds secret flavor.
Taco Shells & Cheeeeese!
- Corn Tortillas: Small “street taco” size, about 12-18.
- Cheese: 1 to 2 cups shredded melty cheese (Monterey Jack, mild Cheddar, or Oaxaca).
Toppings Time!
- Chopped Onion: Fresh white or red, finely chopped.
- Chopped Cilantro: Fresh and green.
- Lime Wedges: Super important for a zesty finish!
Table: Your Birria Taco Mission Checklist!
| Ingredient Group | Item | Amount/Quantity | Quick Note (Why it’s cool!) |
| For the Beef! | Beef Chuck Roast | 2-3 pounds | Gets super tender! |
| Secret Flavor Weapons! | Dried Guajillo Chiles | 3-4 chiles | For red color & mild smoky flavor! |
| Dried Ancho Chiles | 2 chiles | For rich, fruity flavor! | |
| Spice Power! | Ground Cumin | 1 teaspoon | Warm and earthy! |
| Dried Oregano | 1 teaspoon | Herby and yummy! | |
| Smoked Paprika | 1 teaspoon | Nice smoky taste! | |
| Garlic Powder & Onion Powder | 1 teaspoon each | Easy flavor! | |
| Salt & Pepper | To taste | Makes flavors pop! | |
| The Rest of the Team! | Medium Onion, chopped | 1 | Sweet flavor for sauce. |
| Fresh Garlic Cloves, minced | 3-5 cloves | Super aromatic! | |
| Beef Broth | 2-3 cups | For delicious consommé! | |
| Vinegar | 1/4 cup | Helps tenderize meat! | |
| Bay Leaf | 1 | Secret flavor helper! | |
| Taco Shells & Cheese! | Small Corn Tortillas | 12-18 | Perfect taco boats! |
| Shredded Melty Cheese | 1-2 cups | For gooey QUESA-birria tacos! | |
| Toppings Time! | Fresh Onion, chopped | To taste | Crunch and zing! |
| Fresh Cilantro, chopped | To taste | Bright and herby! | |
| Lime Wedges | Plenty! | Wakes up flavors! |
Let’s Cook! Your Super Fun “Birria Tacos Recipe Slow Cooker” Steps!
Get ready, Chef! Ask your grown-up kitchen buddy for help with tricky parts.

Waking Up the Chiles!
- Grown-up helper: Remove stems and seeds from dried Guajillo and Ancho chiles. This gives amazing flavor and color without too much spice.
- Soak cleaned chiles in a bowl of hot water for 15-20 minutes until soft.
- What is “Simmering”? Simmering is cooking gently in liquid with tiny bubbles. Soaking works great here!
Making the Amazing Red Sauce!
- Grown-up: Put soft chiles into a blender with chopped onion, fresh garlic, spices (cumin, oregano, smoked paprika), salt, vinegar, and about 1 cup of the chile soaking water (or beef broth).
- Blend until smooth. This is the flavor base for our birria tacos recipe slow cooker!
Beef’s Spa Day in the Slow Cooker!
- Place beef chuck roast chunks into the slow cooker pot.
- Pour the red sauce over the beef. Add beef broth and the bay leaf.
The Slow Cooker’s Cozy Nap!
- Put the lid on the slow cooker tightly.
- Turn to “LOW” and cook for 6 to 8 hours.
- Your house will start smelling SO GOOD! That’s the birria magic!
Is it Ready? The Tender Test!
- Grown-up: Carefully remove the lid (steam is hot!).
- Use two forks to gently pull at the beef. If it comes apart super easily, it’s ready!
Shred-fest!
- Grown-up: Carefully take cooked beef out and put it on a plate.
- Use two forks to pull the warm beef into shreds. This is your birria meat!
- What is “Shredding” Meat? Pulling cooked meat into small, stringy pieces.

The Golden Dipping Juice: Consommé!
The liquid left in the slow cooker is our “consommé” – the rich dipping sauce!
- Grown-up: Carefully pour the liquid through a strainer into a bowl to catch any bits and the bay leaf.
- What is “Straining”? Using a kitchen net to separate solids from liquid.
- What is “Skimming Fat”? You might see reddish-orange oil (fat) on top. Grown-up: Gently scoop this off with a spoon into a small bowl. This fat is great for frying tacos!
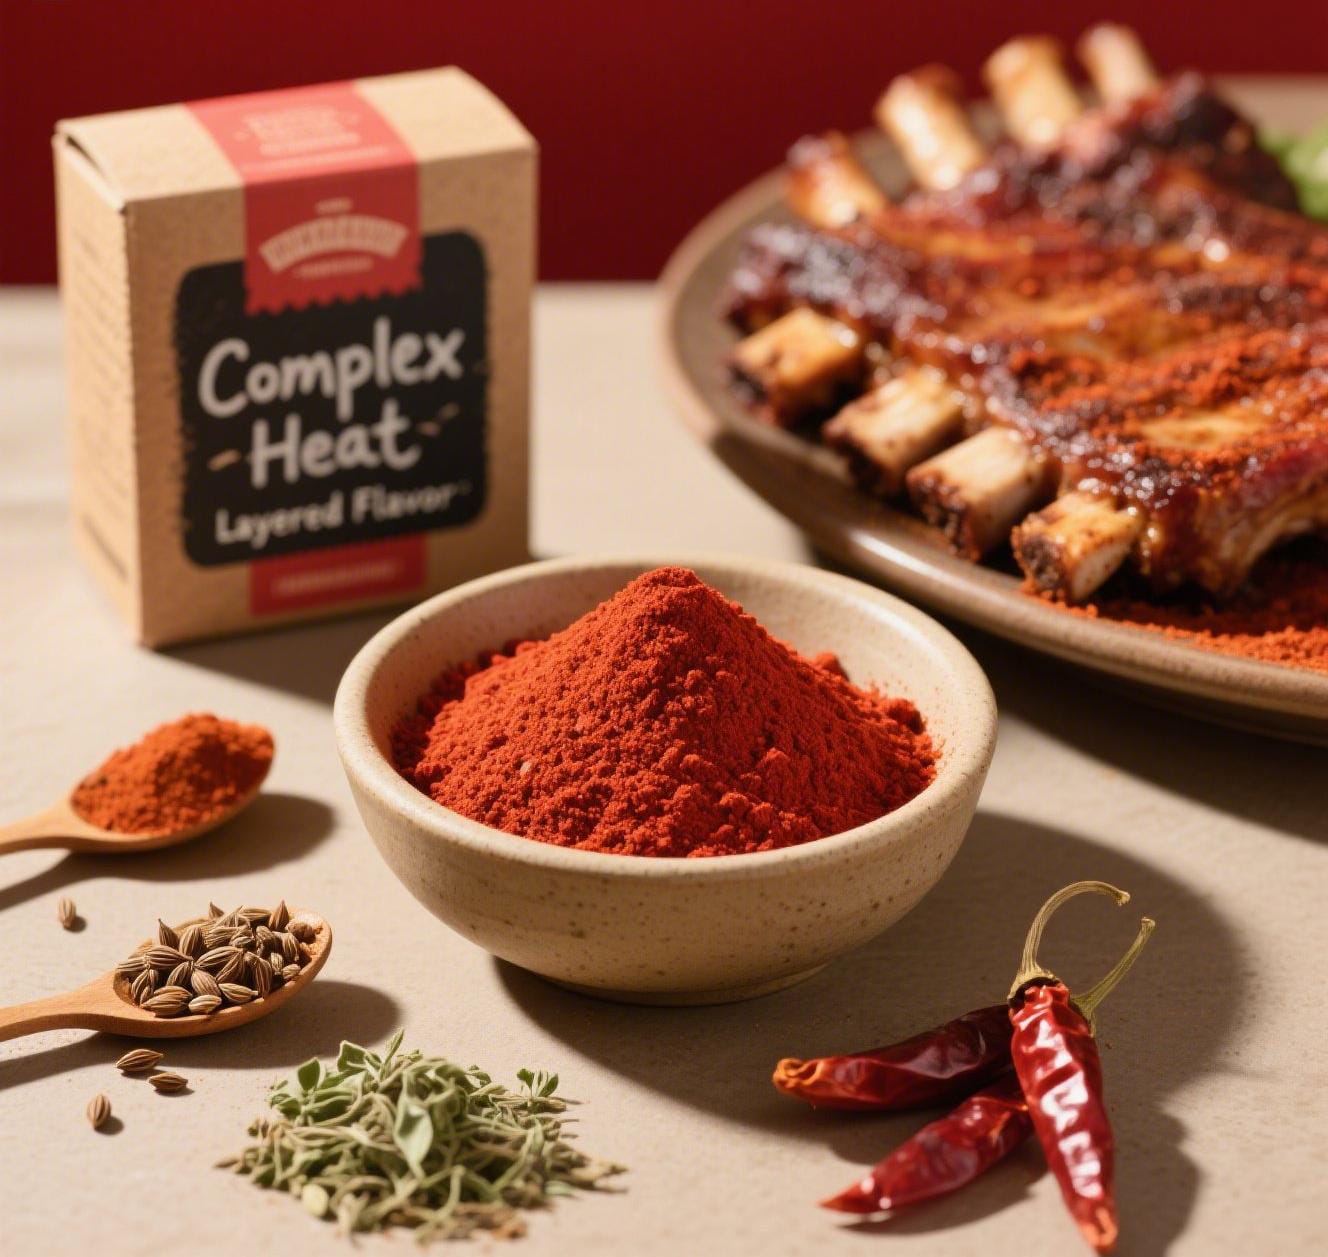
Mystery Solved: Why Are Birria Tacos Red?
The beautiful red color of the consommé and tacos comes from the Guajillo and Ancho chiles! When we dip tortillas in the red consommé or fat before cooking, they soak up that color and flavor.
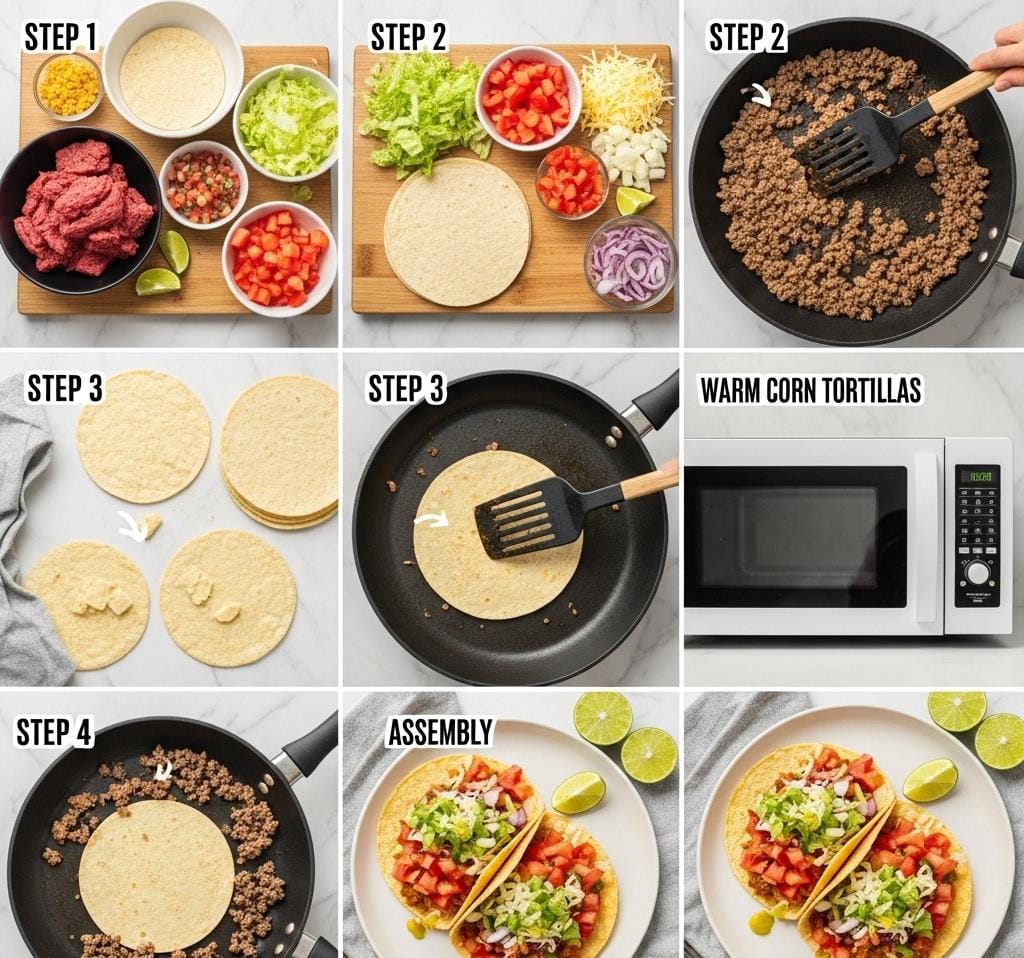
Taco Assembly Line! (Grown-Up Help for Frying!)
Time to assemble and cook our birria tacos!

- Get your station ready: warm corn tortillas, shredded birria beef, shredded cheese, warm consommé (and skimmed red fat).
- Grown-up: Heat a skillet over medium heat with a bit of oil or the skimmed red fat.
- Dip It! Quickly dip a corn tortilla in the warm consommé.
- Fill It! Grown-up: Place dipped tortilla on the hot skillet. Sprinkle cheese on one half, then pile on birria beef.
- Fold & Fry It! Fold tortilla over. Grown-up: Cook a few minutes per side until golden, crispy, and cheese is melty. This is a “quesabirria” taco!
- What is “Pan-Frying”? Cooking in a hot pan with a little oil or fat to make food crispy.
Food Science Fun: Why Does Cheese Melt So Good?
Heat makes tiny parts in cheese (proteins and fats) relax and spread out, turning solid cheese into gooey deliciousness!
Food Science Fun: What Makes Tacos Brown and Yummy? (The Maillard Reaction!)
When heat makes sugars and proteins in food change, it’s called the Maillard (my-YAR) reaction. It makes food brown and creates new tasty flavors, like on toasted bread or our crispy tacos!
Level Up Your Tacos! Awesome Ideas for Your Birria Tacos Recipe Slow Cooker Creations!
Topping Party!
Set up a taco topping bar with small bowls of:
- Chopped fresh onion, cilantro, lime wedges.
- Mild salsa, pico de gallo, sour cream, sliced radishes. Everyone can build their own perfect birria taco!
Birria Taco Fiesta!
Serve the birria meat and consommé on the table with warm tortillas and toppings. Play some fun music! Remember, birria is celebration food!
Food Science Fun: The Magic of Lime!
Lime juice is an acid. Acids wake up and brighten other flavors! A squeeze of lime on your rich birria taco makes all the flavors pop!
Beyond the Taco: Other Cool Ways to Eat Birria!
That yummy birria meat is great in:
- Birria Quesadillas: Extra cheese, extra birria!
- Birria Ramen: Add birria meat and consommé to ramen noodles.
- Birria Nachos: Pile birria on chips with cheese and toppings.
- Birria Grilled Cheese: Add birria to your grilled cheese and dip in consommé!
You’re Officially a Birria Taco Boss! (Conclusion)
High Five! You Made Amazing Tacos!
WOW! You followed the birria tacos recipe slow cooker and made some of the most delicious tacos ever! You learned about birria’s story 5, how a slow cooker works 9, and even some food science!
Why This “Birria Tacos Recipe Slow Cooker” Rocks!
It’s super yummy, fun to make, and pretty easy because the slow cooker does most of the work!
Keep Being an Awesome Kitchen Explorer!
Cooking is a fantastic adventure. Keep trying new recipes and having fun in the kitchen (with your grown-up buddy!). What will you cook next?
Happy cooking, Taco Boss!

To Know About Cooking Baking Recipe Check Ours Page’s
CookingBakingRecipes Home
CookingBakingRecipes About Us
CookingBakingRecipes Contact Us
CookingBakingRecipes Privacy Policy
CookingBakingRecipes Terms & Conditions